Phone:
(701)814-6992
Physical address:
6296 Donnelly Plaza
Ratkeville, Bahamas.

Phone:
(701)814-6992
Physical address:
6296 Donnelly Plaza
Ratkeville, Bahamas.
I guide you through essential steps to build a retaining wall with concrete blocks that...
Start by calling your local building department for permit rules and dialing 811 to locate utilities. Excavate a trench below your local frost line and pour a concrete footing. Then, carefully lay your first course of blocks level, building up courses with mortar and installing vertical rebar every 24 inches. After grouting all the cores solid, waterproof the wall, install drainage gravel, and set a cap. Stick around to nail the details for a wall that lasts.
Table of Contents
Before you even think about grabbing a shovel, you’ve got to play detective with your yard and your local building department.
Start by calling them to check permit rules; many areas require one for walls over a few feet. This saves you from a costly redo later.
Next, become best friends with your site. Figure out the slope and soil type, and definitely call 811 to locate buried utilities.
This homework makes certain your first block sits on a solid, legal footing. Remember, you must dig your footing below the frost line to prevent winter heaving. It’s a little extra work upfront, but it guarantees your wall won’t take an unplanned vacation in the spring. For heavy-duty post installation consider using a fence post driver tool to speed up the work and reduce strain.
1. Lay your base: Size the footing at least 16″ wide and 12″ deep.
placing it below the frost line.
2. Calculate blocks: Multiply your wall’s height in courses by its length in actual block lengths (15-5/8″).
adding 10% extra for cuts.
3. Plan for strength: Space 1/2″ rebar every 24″.
in cores you’ll solid-grout later.
4. Don’t forget mortar and membrane: Budget for a 1″ mortar bed per course.
and a peel-and-stick waterproof layer.
Consider consulting professional floor joist repair services for related structural concerns.
Getting your hands dirty with a proper trench and footing sets your whole retaining wall project up for success, giving it a rock-solid foundation to lean on for years.
You’ll start by digging a trench in well-compacted soil, making it twice as wide as your blocks and deep enough to go below your local frost line. Good soil compaction here prevents future settling.
Next, focus on your rebar and formwork alignment; those vertical bars need to line up perfectly with your block cores.
Pour your concrete, making sure it’s well-vibrated, and then the waiting game begins.
Proper concrete curing isn’t glamorous, but it’s crucial for strength, so be patient and let it harden fully before building on it.
For best results, use a plate compactor to achieve consistent compaction before digging the trench.
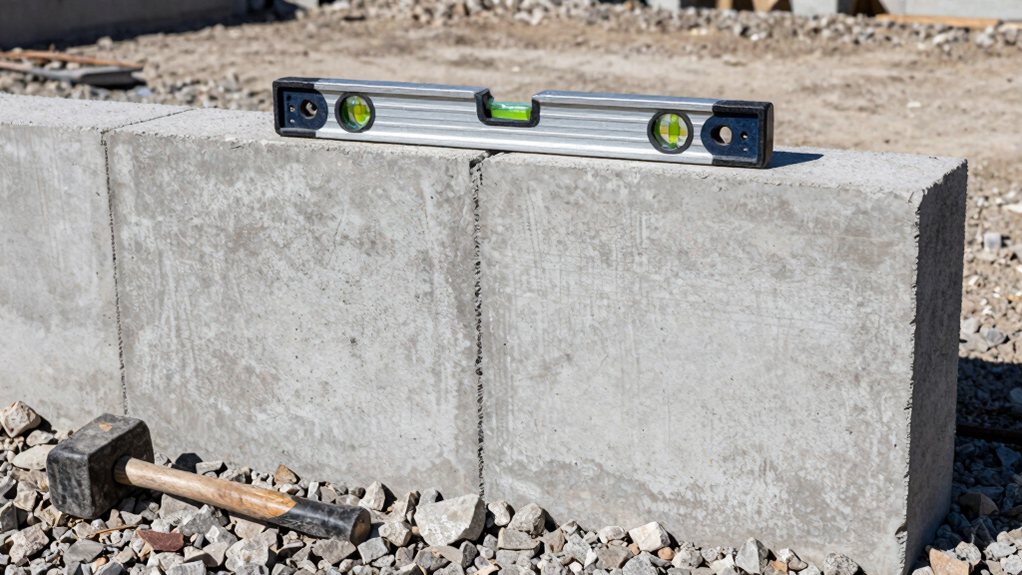
Start by setting your opposite corner blocks first to create a solid layout guide, then snap a chalk line between them to keep everything straight.
Next, dampen the footing, spread a 1-inch thick, furrowed mortar bed, and press each block firmly into place, making sure to leave a consistent 3/8-inch gap for the vertical joints.
Use a 4-foot level and a rubber mallet to tap each block until it’s perfectly level and plumb, which is the secret to a wall that won’t lean or wobble later on.
Before you commit to mortar, perform a dry run to dry lay the blocks and catch any alignment or layout problems early.
The very first, and perhaps most important, step in building your retaining wall is to establish your corner blocks perfectly. Think of them as your masonry benchmarks, setting the stage for everything that follows.
Get these two opposite blocks perfectly level and aligned, and your whole wall will thank you. Here’s your game plan:
Now that your corner blocks are perfectly set and guiding you like a masonry compass, you can begin laying the first course, which is where your wall truly starts to take shape. Dampen the footing first, then spread a one-inch thick mortar bed.
The key is getting the mixing consistency right—it should be wet enough to hang on a trowel but firm enough to support the block’s weight. Use a solid trowel technique: furrow the bed with your trowel tip to create a “V” shape for even distribution.
As you set each block, check for level and plumb immediately. Remember, patience with the curing time is essential; wait until joints are “thumbprint” hard before you tool them for a clean, compact finish. Also verify product-specific cure time and drying protocols to avoid premature loading or activating heat systems.
While your mortar bed is still fresh and workable, you’ll want to set the first course of blocks level and plumb—this is where your wall gets its straight, sturdy foundation.
It’s a bit like assembling the first row of a giant, heavy puzzle.
Follow these steps for a perfect start:
If you prefer to have the job handled professionally, consider hiring professional door frame installation services for precision and safety.
Once your first course is set, you’ll build up the remaining courses by buttering the block ends and laying a fresh mortar bed, keeping everything flush and plumb.
At the same time, you’ll drive vertical rebar into the footing every 24 inches, making sure each bar is aligned with the hollow cores so it’s ready for grout.
This double-duty work ties your wall together, both literally and structurally, giving it the strength to stand tall for years.
When selecting materials for adjoining projects, consider adhesives with a shear strength rated at 400 psi or higher to resist sliding forces on heavy elements.
Before you begin, check the underlying soil and slab for substrate flatness to prevent future settling and uneven pressure on the wall.
With your first course of blocks perfectly aligned and level, it’s time to build upwards and add the steel skeleton that gives your wall its strength.
As you lay each new course, you’ll install vertical 1/2-inch rebar into the footing, spacing it every 24 inches.
Plunge each bar at least 6 inches into the fresh concrete before it hardens for a solid grip—this is key for seismic detailing.
Material sourcing is straightforward; your local home center will have the rebar and coarse grout you need.
Later, you’ll pump grout into the cores to fully encase the steel, which provides vital corrosion protection.
It’s like giving your wall an indestructible backbone, guaranteeing it stands strong for decades.
For long-term maintenance, consider applying a penetrating grout sealer to nearby masonry joints to help prevent moisture intrusion and staining.
Grouting all the block cores is the secret to transforming your wall from a stack of hollow blocks into a single, rock-solid monolith.
You’re creating a continuous concrete column that massively boosts strength. To get it right, follow these key steps:
Proper grout curing is vital.
While mix additives can help in cold weather, remember that solid filling is what truly passes the real-world compression testing your wall will face!
Protecting your retaining wall from water is like giving it a permanent raincoat and installing its own drainage system, and it’s a step you really don’t want to skip. For long-term peace of mind, your membrane selection is key.
Apply a rubberized peel-and-stick sheet to the wall’s backside, bonding it fully from bottom to top. Backfill with crushed rock for drainage that guides water down. Then, install a perforated pipe along the footing, sloping it to a sump connection or other positive outlet.
This combo provides vital hydrostatic relief, whisking water away. Remember, while surface coatings are quicker, they don’t last as long as a buried membrane, saving you future digging adventures near tree roots.
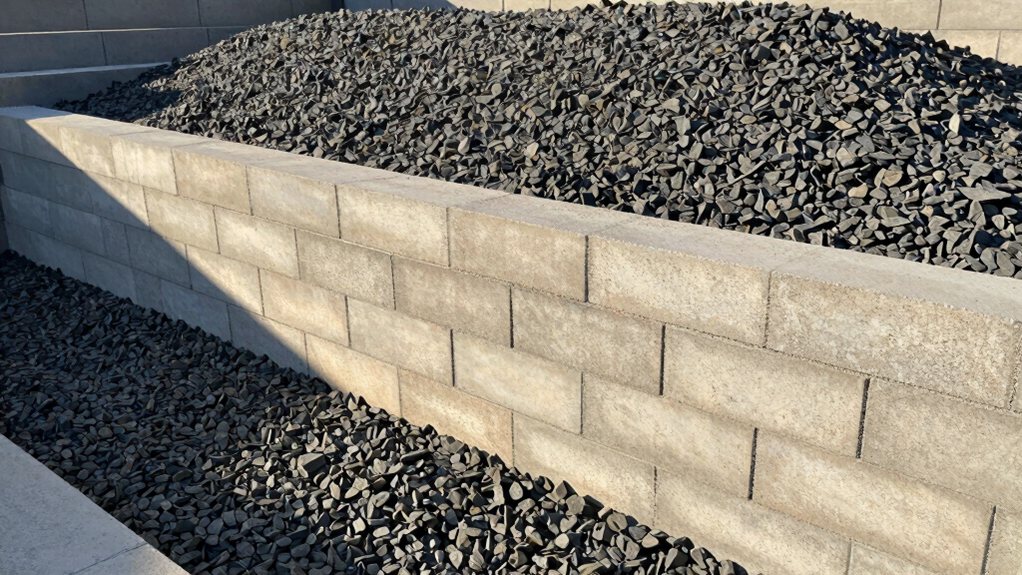
Finishing the backfill and capping off your wall is like giving your project a sturdy backbone and a handsome hat, all in one go.
Proper backfilling locks everything in place, and the final cap sealing gives you a clean, professional look that also fights moisture.
And there you have it! You’ve built a wall that’s strong enough to hold back the earth and handsome enough to be proud of. Remember, that solid base and good drainage are your best friends for a long-lasting structure. Stand back, admire your work, and maybe even plant a flower or two at its base. With proper care, this wall will be a sturdy part of your garden for many years to come. Great job!