Phone:
(701)814-6992
Physical address:
6296 Donnelly Plaza
Ratkeville, Bahamas.

Phone:
(701)814-6992
Physical address:
6296 Donnelly Plaza
Ratkeville, Bahamas.
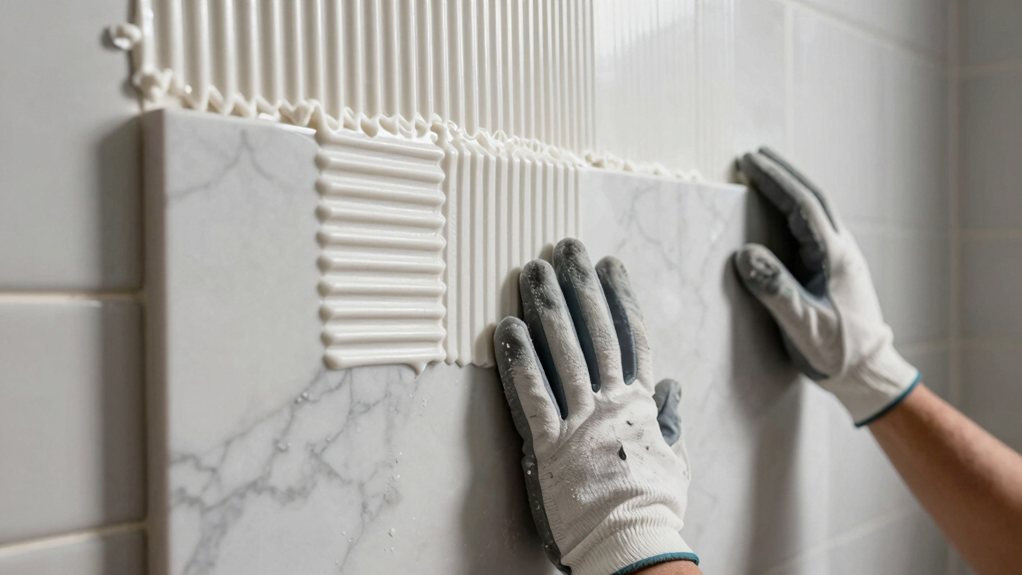
Discover which heavy-duty adhesives prevent massive tile failures and why your contractor might be using the wrong one on your floor.
You’ll want a modified thinset adhesive rated at 400 psi or higher for large, heavy tiles—those polymers boost flexibility and grip, especially on tricky substrates like plywood. Go with at least a 1/2-inch square-notch trowel, though many pros swear by 3/4-inch for better coverage. Don’t skip back buttering (a thin layer on the tile’s back) and work in small sections to prevent that dreaded mid-install slide. Expect to spend $1.50–$4.00 per square foot on materials, with premium options delivering the most reliable hold and the techniques below guaranteeing flawless results.
Table of Contents
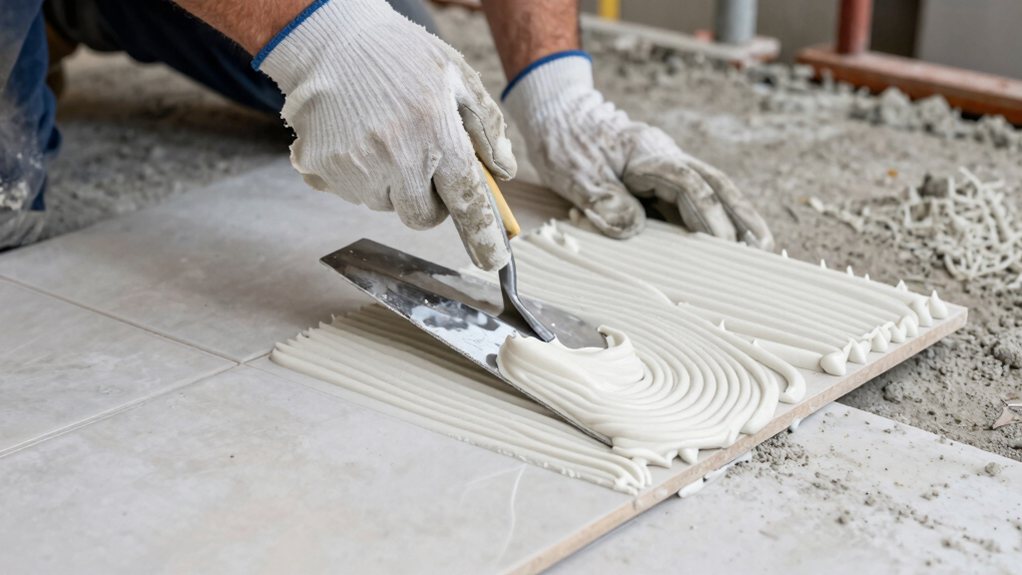
When you’re working with large format tiles—those beauties that are 15×15 inches or bigger—you’ll quickly discover that hardly any adhesive will do the job.
You need something with serious muscle behind it.
That’s where shear strength comes into play, measuring how well your adhesive resists sliding forces that want to pull those heavy tiles down.
Shear strength determines whether your adhesive can hold fast against the downward forces trying to drag heavy tiles off your wall.
Look for products rated at 400 psi or higher—anything less is asking for trouble.
But here’s the thing: even the strongest adhesive won’t help if you’ve got spotty application.
Coverage uniformity matters just as much, guaranteeing every square inch of your tile gets proper support.
You’ll want consistent bonding across the entire surface, more than a few hopeful dabs here and there.
For complete projects, consider a bathroom renovation tile kit that bundles necessary materials.
You’ve found the perfect adhesive with rock-solid bonding power, but now you’re staring at your project budget wondering what this miracle product will actually set you back.
Large format tile adhesives typically run between $1.50 and $4.00 per square foot for materials alone. Premium modified thin-sets sit at the higher end, while basic products cost less.
Regional pricing plays a substantial role—expect to pay more in major cities and less in rural areas. If you’re hiring a pro, factor in installation markup, which usually adds 30-50% to material costs. A 100-square-foot bathroom could mean $150-$400 just for adhesive.
Sure, it’s not pocket change, but proper adhesive prevents thousands in future repairs from fallen tiles. Using a professional caulk gun kit can improve application accuracy and reduce waste.
Spreading adhesive on a wall only to watch your expensive tiles slowly slide downward ranks right up there with stepping on a LEGO—painful, frustrating, and totally avoidable.
You’ll want to master two crucial techniques: back buttering and using temporary supports.
Back buttering means applying a thin layer of adhesive directly to your tile’s back, creating extra grip that fights gravity.
For vertical installations, wooden battens or T-bars work as temporary supports, holding tiles in place while the adhesive cures.
Apply adhesive in small sections you can tile within 15 minutes, and always use the right trowel size—typically a half-inch notched trowel for large format tiles.
Press firmly with a slight twisting motion to maximize contact and eliminate air pockets.
A professional caulking tool kit helps achieve smooth, consistent seals and speeds up the finishing process.
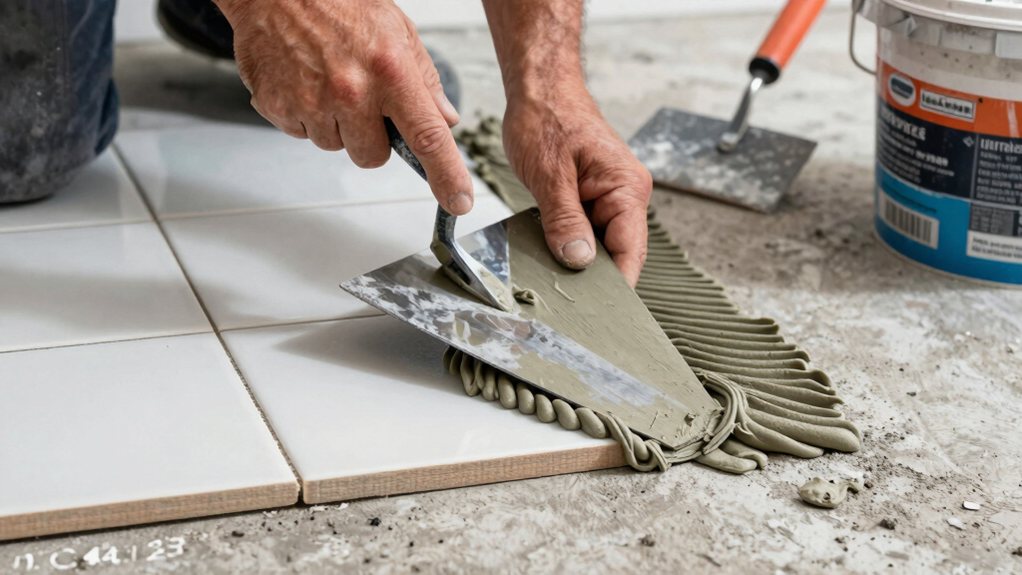
Although the terms “modified” and “unmodified” sound like they’re straight from a chemistry textbook, understanding the difference between these two thinset types could save your tile installation from disaster.
Here’s what you need to know:
Check your tile manufacturer’s specifications before choosing.
Using the wrong type won’t just disappoint you—it’ll likely mean redoing everything.
Once you’ve selected the right thinset for your heavy tiles, you’ll need the proper tools to spread it effectively—and that’s where trowel selection becomes surprisingly important.
For large tiles, you’ll want a trowel with at least 1/2-inch notches, though many professionals prefer 3/4-inch for maximum coverage.
Professional installers typically recommend trowels with 1/2-inch to 3/4-inch notches when working with large-format tiles.
The notch geometry matters too—square notches generally work better than U-shaped ones because they create taller ridges that collapse properly under heavy tile weight.
Don’t overlook trowel ergonomics either, since spreading thick adhesive across large areas can wear you out quickly.
Look for handles with comfortable grips and balanced weight distribution.
Your wrists will thank you after hours of troweling, and you’ll achieve better coverage when you’re not fighting an awkward tool.
Also consider keeping a drywall finishing tools kit on hand for complementary finishing and smoothing tools.
You’ve got all the tools now to tackle those big, beautiful tiles with confidence. Remember, the right adhesive and technique make all the difference between a stunning installation and a slipping disaster. Don’t skimp on quality materials, use the proper trowel size, and take your time with application. Your floors and walls will thank you, and you’ll avoid those costly do-overs that nobody wants. Now get out there and start tiling!