Phone:
(701)814-6992
Physical address:
6296 Donnelly Plaza
Ratkeville, Bahamas.

Phone:
(701)814-6992
Physical address:
6296 Donnelly Plaza
Ratkeville, Bahamas.
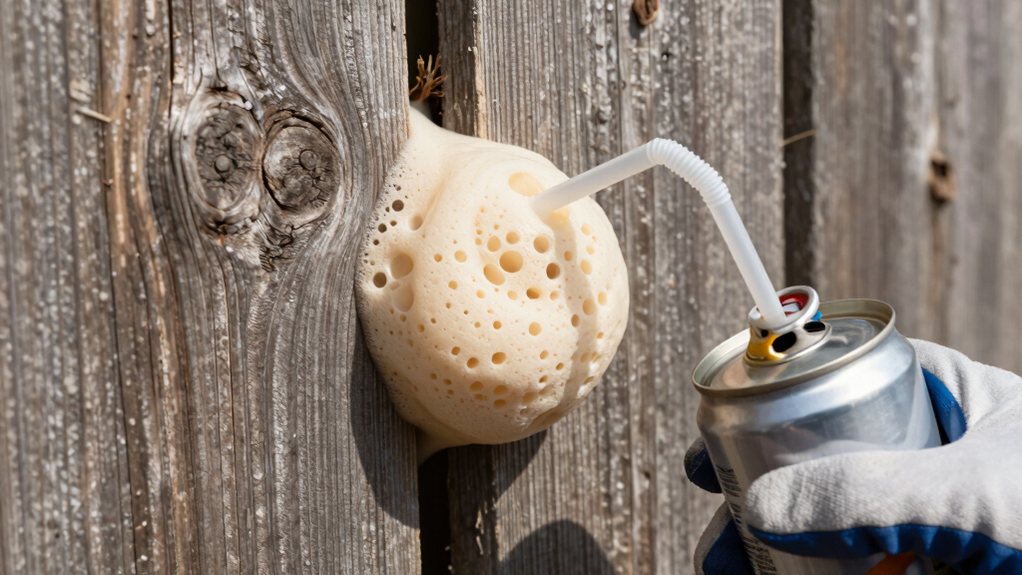
Follow our essential safety and application steps for expanding foam to seal gaps effectively, and discover more pro tips inside.
First, suit up with safety glasses and gloves, and grab your foam can with the right nozzle for the job. Prep your gap by measuring it and clearing out any dust or moisture, so the foam sticks perfectly. Shake the can well, apply at a steady angle leaving room for expansion, and avoid overfilling! Let it cure fully before you trim and paint. Stick with these basics, and you’ll find even more pro tips ahead.
Table of Contents
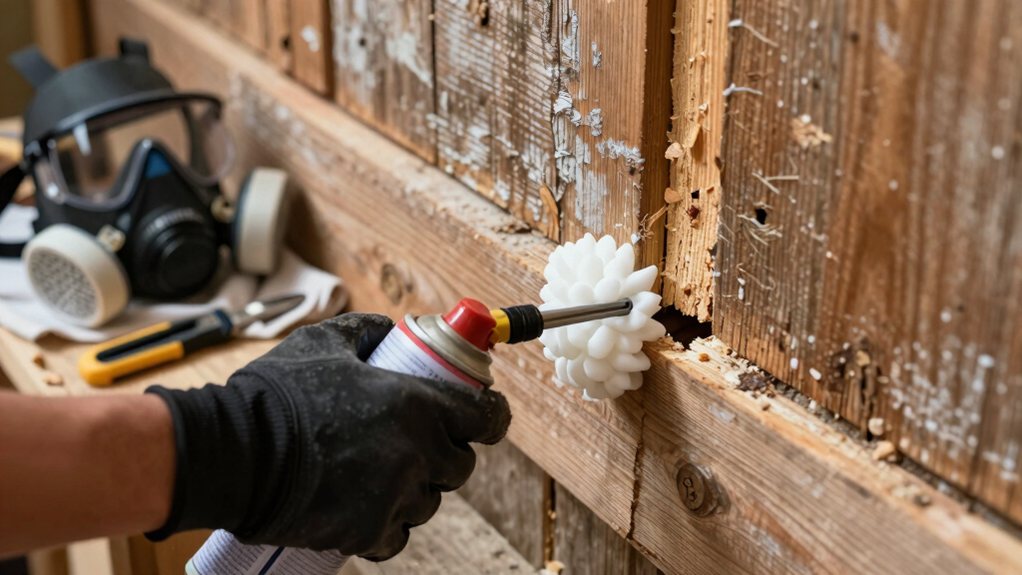
Before you even think about squeezing that trigger, let’s talk gear. You’ll need the foam can, of course, but your real mission is rounding up the right protective equipment.
Trust me, you don’t want this sticky stuff on your skin or in your eyes. Grab some safety glasses, chemical-resistant gloves, and old clothes you don’t mind ruining.
Next, check your can for different nozzle attachments. Those little plastic straws are great for tiny cracks, but wider applicators help with bigger gaps. Having the right tip ready saves you a huge, foamy mess later.
It’s like suiting up for a mini science experiment—one where the goal is a neat seal, not a sticky disaster. Get this stuff together first, and you’re set for success. Consider buying a professional safety equipment kit to ensure you have all the necessary items.
Now that you’ve got your gear ready, let’s turn your attention to the gaps you’re about to fill. Good prep is the secret to a perfect, lasting seal.
First, grab a tape measure for gap measurement. Knowing the width and depth tells you how much foam you’ll need and prevents messy overflow.
Next, tackle moisture management. The surface must be dry, so wipe away any dampness or dust with a cloth. Foam hates sticking to wet or dirty areas, and it won’t cure properly. Think of it like painting a wall—you wouldn’t paint over grime! Taking these few minutes saves you from future headaches and makes your project look professional. A little prep now means a perfect seal later. For best results consider using a professional foam applicator gun to control application and reduce waste.
Since you’ve prepped your gaps, let’s get to the fun part—actually applying the foam. Remember, a little foam expands a lot, so don’t overfill.
Start by shaking the can vigorously, then hold it upside-down. Your nozzle angle is important; aim it at about a 45-degree angle to the gap, which helps the foam crawl deep into the crack.
Apply in a steady, slow motion, using a back-and-forth sweeping motion rather than holding it in one spot. Pay attention to your bead spacing—leave a little room between passes for expansion.
If you see it start to bulge, you can stop. It’s okay if it looks messy; the foam will keep growing, and you can trim the excess later once it’s fully cured and hard.
For best finishing results, consider using a professional caulking tool kit to trim and smooth cured foam.
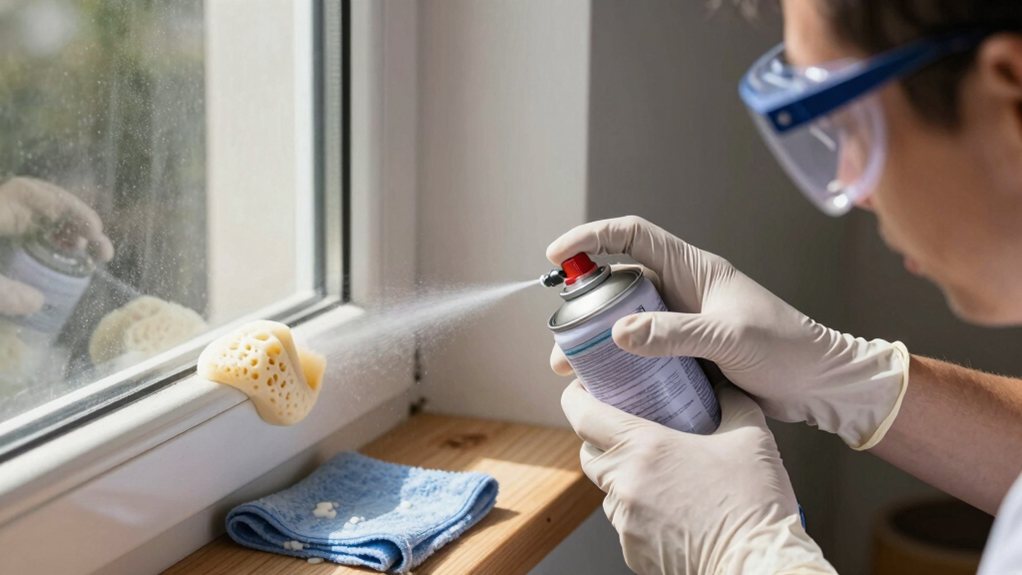
Even though you’ve got the application technique down, it’s easy to make a few classic slip-ups with expanding foam that can turn a simple project into a sticky situation.
First, never overfill a gap. The foam expands dramatically, and if you pack a cavity too full, it can warp window frames or even cause structural damage as it cures and pushes outward.
To avoid warping frames or structural damage, never overfill a gap—expanding foam needs room to grow.
Another common error isn’t letting the foam cure fully before you trim it or, worse, paint over it. If you paint too soon, you’ll ruin the paint adhesion, leading to a bubbly, peeling mess.
Always wait the full time recommended on the can. Patience here saves you from a gooey cleanup and a do-over later.
Consider keeping a professional caulk gun kit on hand to make neat, controlled applications and to handle complementary sealing tasks.
Once you’ve got your expanding foam perfectly in place and cured, you’ll want to wrap things up properly so your hard work doesn’t end up stuck to everything you own.
The final surface finishing makes all the difference.
Once the foam is fully hardened, you can easily trim any excess with a serrated knife or a fine-tooth saw.
Then, you can sand it flush for painting or sealing, giving your project a clean, professional look.
For the disposal protocols, never just toss a used can in the trash.
The leftover foam inside is still pressurized.
Follow the instructions on the can to safely dispense the last bit into a bag, making it safe for disposal.
Finally, wipe your tools with a recommended solvent before the foam sets like cement. If you plan to paint or finish the area, ensure thorough degreasing and use the appropriate primer for best adhesion.
You’ve got the basics down for tackling those gaps and cracks. Remember, a little patience and prep work go a long way with expanding foam. You’ll feel like a real DIY pro when you’re done, and your home will be cozier and more efficient. Just don’t forget to clean that nozzle right away, or you’ll have a permanent foam statue on your hands. Great job