Phone:
(701)814-6992
Physical address:
6296 Donnelly Plaza
Ratkeville, Bahamas.

Phone:
(701)814-6992
Physical address:
6296 Donnelly Plaza
Ratkeville, Bahamas.
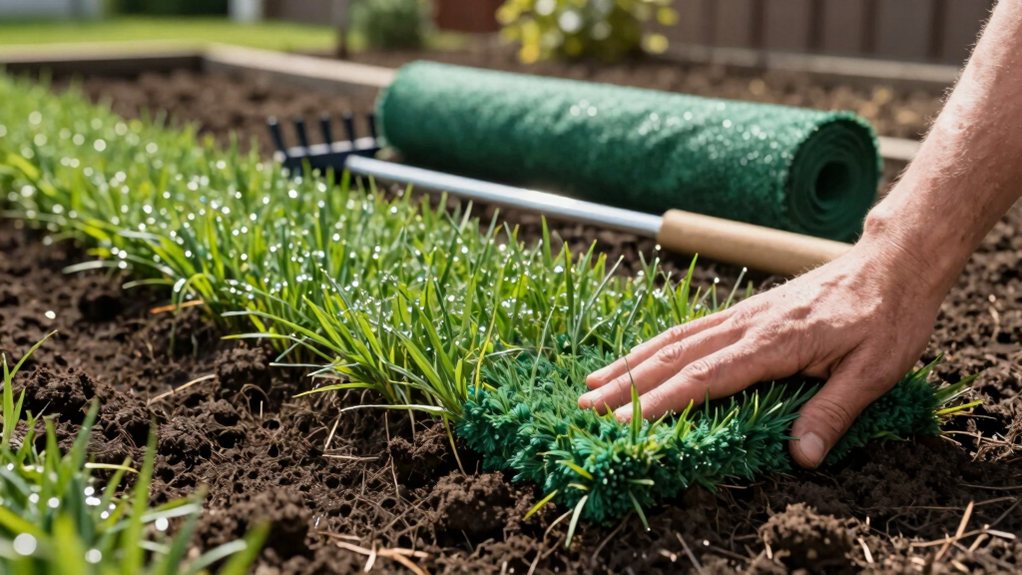
Master laying sod yourself with our step-by-step guide, from soil prep to watering secrets that ensure a lush lawn—discover the expert tips for a flawless finish.
To lay sod, first prep your soil by tilling and amending it. Then measure your yard, add 10%, and order your fresh sod, installing it the day it arrives. Lay pieces in a staggered pattern, roll them to remove air, and water immediately. Keep the new lawn damp for two weeks to help it root. Stick with these basics, and you’ll be set—there’s a lot more to discover about each step for a flawless finish.
Table of Contents
Picture your lawn as a giant, living jigsaw puzzle—and laying sod is the satisfying moment you click all the pieces into place.
Your success starts with soil preparation.
Use those soil test results to guide you, tilling in compost and any needed starter fertilizer to create a welcoming bed.
When you lay sod, timing is key; install it the same day you get it.
Begin laying sod along a straight edge in a staggering the seams brick pattern, which prevents lines and helps it knit together.
Afterward, use a lawn roller to eliminate air pockets so roots contact soil.
Immediately water your sod deeply.
In a few weeks, after it passes the tug test, you can enjoy the first mow on your new, vibrant lawn.
Consider also choosing the right raised garden bed kit to simplify planting and soil management.
While you might be keen to get that lush green carpet rolled out, the secret to a lawn that thrives for years is actually found in the soil underneath. Start by soil testing to know your soil pH and nutrients—this guides your fertilizer and amendment choices.
Next, clear the area; you can rent a sod cutter to remove old grass. Then, loosen the soil to a depth of about 4–6 inches deep to break up compaction.
The magic step is mixing in compost or other organic matter. This Organic Matter improves structure, making Preparing the soil worth the effort.
After grading, keep the soil consistently moist (damp, not soggy) before your sod arrives for the perfect start.
Consider renting a plate compactor to help break up compaction and ensure a firm base.
Now that your soil is prepped and ready, it’s time to figure out exactly how much green carpet you’ll need.
First, measure your lawn in sections, tallying up the total square feet. Always add about 10% extra for waste, as sod is a living product and you’ll need pieces for odd edges.
Measure your lawn carefully, adding 10% extra to account for the living sod and those inevitable odd edges.
Next, choose the right Kind of Grass for your area—cool-season grasses for northern climates and warm-season grasses for southern heat. Call suppliers to confirm availability and ask, “How much does it cost per square foot?”
Once you order, schedule delivery so you can install within 24 hours, keeping the sod fresh and ready to bond with the soil beneath. Then, you’re set to roll it out!
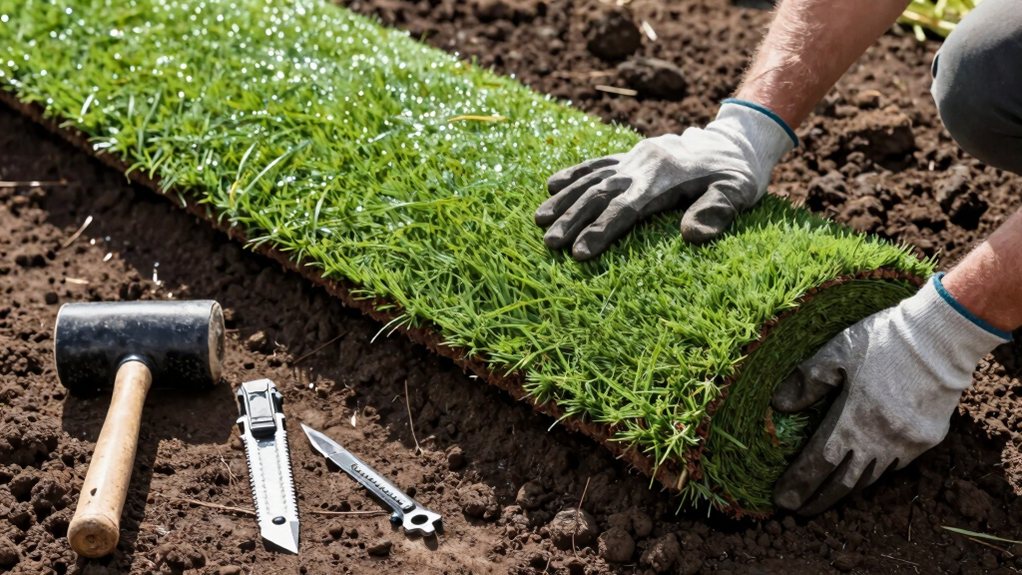
Roll once, then roll perpendicular for perfect soil contact.
It’s satisfying work!
Since you’ve just finished laying your beautiful new sod, it’s essential to give it the right start with proper watering, because those thirsty roots need immediate and consistent moisture to settle in.
Water new sod within 30 minutes, soaking the top few inches.
For the first two weeks, you’ll need to water about twice daily to keep everything damp.
After that, switch to watering every other day with deeper soakings to encourage those new roots.
Avoid foot traffic for a few weeks to let it knit firmly to the soil.
Make sure the soil stays moist but not flooded.
You’ll also want to check your sprinkler heads for even coverage.
This initial lawn care is important, so hold off on mowing for the first time until the grass is firmly rooted.
Now, let’s talk about two big mistakes you can easily avoid: improper soil preparation and incorrect watering. If you don’t take the time to till the soil and add compost, your new lawn won’t have a strong foundation to grow into.
And remember, you’ve got to water that sod deeply right after you lay it, or those little roots will dry out before they even get started. Consider using Premium Cedar Planter Boxes to complement your new lawn.
Before you roll out that lush, green carpet of sod, make sure you don’t skip the most important step—proper soil preparation.
Rushing this part is the biggest reason new lawns fail.
You’re more than simply installing sod; you’re creating a healthy home for it.
To succeed, focus on the soil underneath.
This work upfront guarantees your sod roots deeply and thrives. Also, properly compact and grade the soil to avoid standing water which leads to pooling and root problems.
Of all the sod installation mistakes, watering errors are surprisingly common and can quickly undermine all your hard work.
First, don’t water the sod before you lay it—just moisten the soil. Your sod can dry out fast, so start watering your laid sod within 30 minutes.
A frequent question is, “How Often Should I Water?” For the first Two weeks, water Two times daily to keep the top few inches of sod and soil moist. This helps roots grow and fills any pockets between the sod.
But take care not to overdo it! Soggy soil isn’t able to absorb oxygen, which can harm the grass blades. Time your sessions for early morning to keep your new lawn healthy and happy.
So, should you tackle sod installation yourself or call in the pros?
DIY can save you a lot, but it’s a major project.
You’ll need to remove old grass, grade the soil, and lay the new sod quickly, which is hard work.
Consider these key points before deciding:
If you’re up for the challenge in spring to early summer, you can do it.
Otherwise, hiring out is a smart investment for peace of mind.
Now you know how to lay sod yourself! It’s a rewarding project, and your hard work will pay off with a beautiful lawn. Remember to water it faithfully and avoid those common mistakes. In a few weeks, you’ll be enjoying your own lush, green carpet. You’ve got this—just follow the steps, be patient with yourself, and get ready to admire your handiwork every time you step outside.