Phone:
(701)814-6992
Physical address:
6296 Donnelly Plaza
Ratkeville, Bahamas.

Phone:
(701)814-6992
Physical address:
6296 Donnelly Plaza
Ratkeville, Bahamas.
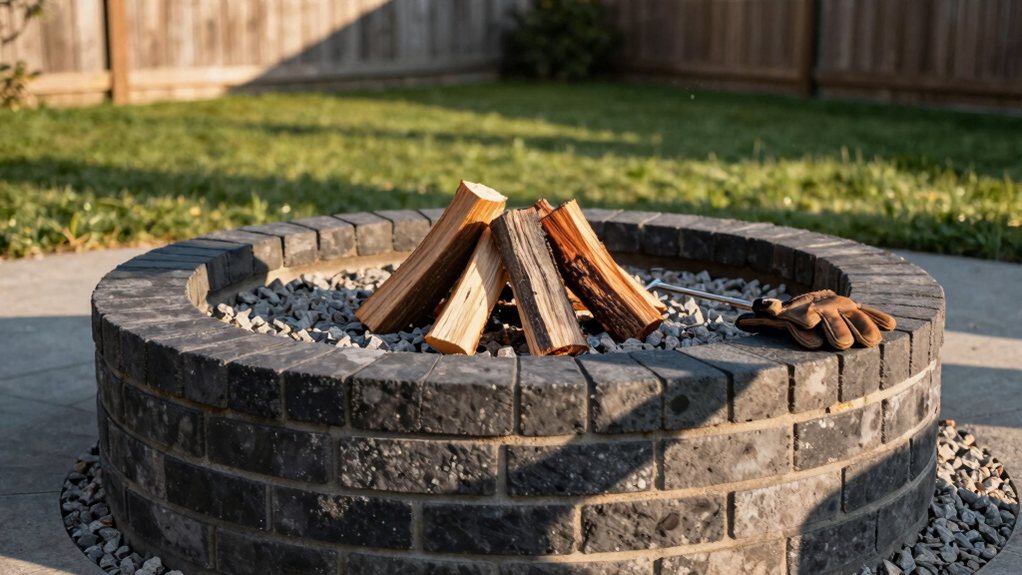
A step-by-step guide on building a durable brick fire pit, including essential tips for safety and longevity you won't want to miss.
Pick a dry day and a safe spot at least 10 feet from anything flammable. Dig a 33-inch square, lay down six inches of compacted gravel for a solid base, then dry-fit your first course of heat-rated bricks. Stagger your joints, bond each layer with masonry adhesive, and constantly check for level. Cap it all off with coping stones, and you’ve built a backyard centerpiece. Stick around for all the insider tips on making it last.
Table of Contents
Before you start stacking stones or dreaming of marshmallow roasts, you’ve got to pick the perfect spot and get your site ready—trust me, this step is the secret to a safe and long-lasting fire pit.
Choosing the right location and properly preparing your site is the key to a safe, durable fire pit that lasts for years.
First, choose a spot at least 10 feet from your house, deck, and trees.
Check local codes, then call 811 to locate underground utilities.
Grab your tape measure; this classic home improvement tool is your best friend.
Mark a square outline with spray paint, like 33” x 33”.
Remove the sod, then dig down, leveling the base.
You’ll want to add about 6 inches of gravel for drainage, compacting it well.
Proper prep now means your fire pits won’t settle or tilt later!
If you’re also planning planting areas nearby, consider a raised garden bed kit to keep soil and materials organized.
Now that your site is prepped and ready, it’s time to pick your building blocks and round up your tools—think of this as the fun, hands-on part where your fire pit really starts to take shape.
Choose outdoor paver bricks in consistent dimensions, like 3″x6″ or 6″x9″, so your pattern fits together neatly. Make sure you select materials rated for high heat, especially if you’re dreaming of a roaring gas fire pit; otherwise, plan for a protective liner. Gather enough bricks for four stacked levels.
You’ll also need a caulk gun with masonry adhesive, a level, and a tape measure. Feel free to add gravel for a stable base, and don’t forget your gloves—this is where the real building begins! A professional caulk gun kit provides the right tools and adhesives for masonry work, making installations quicker and more durable.
1. Excavate and level your site, digging out grass and creating a flat area
with a small trench for your first paver course.
2. Fill with 6″ of compacted gravel for superior drainage and stability,
a far better choice than plain dirt that can settle.
3. Tamp and test your base thoroughly until it’s hard and level,
showing no movement when you press on it.
For the most consistent results, consider renting a plate compactor to achieve uniform compaction across the gravel base.
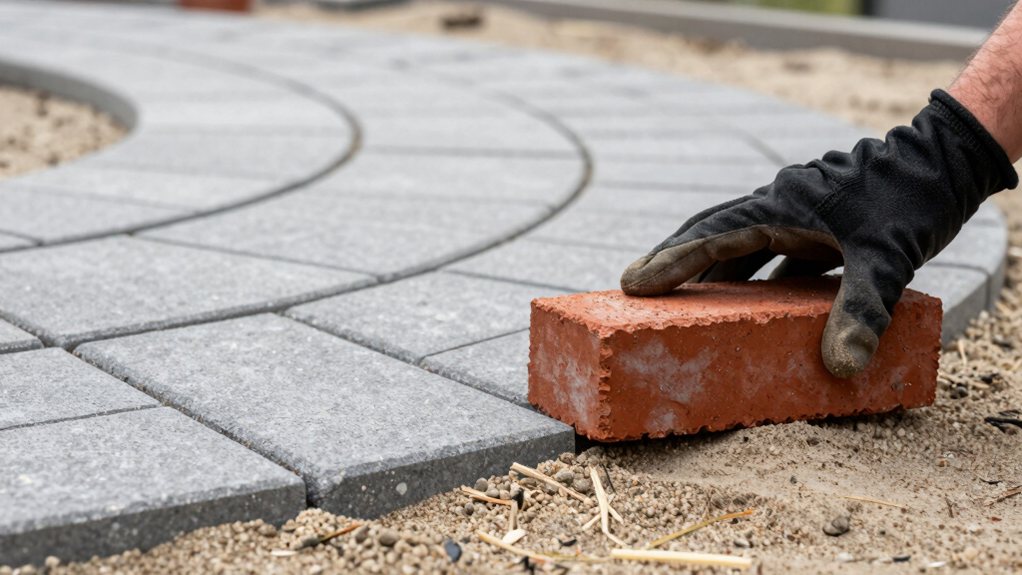
Start by laying your first course of bricks on that compacted base, making sure they’re flush and level so your fire pit doesn’t look tipsy later on.
Remember to apply masonry adhesive between each course and stagger your joints for strength, which is like giving your pit a tight, secure hug.
Don’t forget to leave a couple of bricks out on opposite sides in the lower courses for airflow, because even a fire needs to breathe.
Proper substrate prep using self-leveling compounds can prevent future cracking and unevenness.
Begin by laying out your bricks in a dry run on that solid base you’ve prepared.
This dry-fit lets you perfect your pattern and spacing before anything is permanent. It’s your last chance to tweak the layout for that perfect 33-inch square.
Here’s your three-step guide to a rock-solid start:
Before setting bricks, also confirm substrate moisture and priming requirements to ensure long-term bond moisture testing and prevent adhesion failure.
Laying and bonding your bricks in secure, patterned courses is where your fire pit really starts to take shape—and where smart airflow planning comes into play.
Stack your second and third courses in an offset pattern, but here’s the key step: omit two small bricks on opposite sides of each level. This strategic intake placement creates cross-ventilation that feeds the fire from below.
Proper draft optimization is vital because it pulls in fresh air, which is your secret weapon for effective smoke management—meaning less smoke in your eyes!
Bond every paver with masonry adhesive on its top, bottom, and sides as you go; this locks everything together against the heat. Just remember to keep those airflow gaps clear for a strong, clean burn. For bonding pavers in a fire pit, choose a modified thinset rated for high shear strength to ensure a durable, heat-resistant bond.
Do a dry lay to preview the final look and catch layout problems early.
Now, you’ll want to protect your brickwork from intense heat, so consider installing a steel liner inside your pit for the best defense.
If you’d rather skip the liner, you can instead create a solid, heat-dissipating base by adding a thick layer of compacted gravel. Your choice here really depends on whether you’re dreaming of crackling wood fires or the easy glow of a gas setup, as each option guides your next steps.
Protecting your fire pit’s masonry from intense heat is a smart move that can save you repairs down the road, and that’s where a steel liner comes in.
Think of it as a heat shield for your pavers.
For success, focus on three key things:
Also consider using corrosion-resistant materials for nearby metal fixtures to reduce maintenance and prevent accelerated rusting.
Before you even think about laying your first brick, you’ll want to get the ground beneath your fire pit ready, because a solid gravel base is the unsung hero that keeps everything level and stable for years. Consider sourcing recycled gravel to lessen your environmental impact, and pick a dry day for the work—seasonal timing matters, as you don’t want to compact mud.
Excavate your pit deep enough for about 6 inches of compacted gravel beneath your pavers. Use angular gravel, like pea gravel, and compact it in 2–3 inch layers with a tamper; this prevents annoying settling later.
If you’re adding a steel liner, set your gravel base so the liner will sit centered with a small gap from the bricks. Consider also having a deck building tools kit on hand to make the job easier.
Your fire pit’s interior is like its engine room—what you put inside determines how well it performs and how long it lasts.
You’ll typically choose between a steel liner for wood-burning or a gravel fill for gas.
1. For Wood-Burning Pits: Install a steel liner to protect your masonry, then line the bottom with fire‑rated brick.
This creates a durable, scrapeable surface for ash, far better than just using decorative glass or river stones for looks alone.
2. For Gas/Propane Pits: Skip the brick.
Fill the core with 3–6 inches of pea gravel or lava rock to support and disperse heat from the burner. Crushed granite also works for drainage.
3. Always Check Specs: Follow your fire-ring or burner manufacturer’s instructions for clearances and required fill depth—safety first!
Giving your fire pit a polished, finished look involves topping it off with coping stones, which not merely cap the structure neatly but also give you a comfortable edge to lean against.
First, choose caps sized for your pit’s radius; common bullnose pieces about 6×12” work well. For neat edge profiles, lay pieces dry to mark your cutlines, then wet-cut them for a perfect fit.
Apply two pinky-sized beads of masonry adhesive underneath each stone before setting it to prevent shifting and aid seam finishing. Work on just a few caps at a time, checking your alignment as you go.
Using narrower units avoids a choppy look around the curve and even allows for clever lighting integration later if you wish. Also consider ordering 10–15% extra caps to allow for cuts, breakage, and future repairs.
And there you go—your own cozy fire pit is ready for action! You’ve earned those relaxing evenings with friends, so go ahead and light it up. Remember to keep a water bucket handy, just in case your marshmallows get a little too enthusiastic. Now, kick back, enjoy the crackling flames, and take pride in what you’ve built with your own two hands. Happy fireside chilling