Phone:
(701)814-6992
Physical address:
6296 Donnelly Plaza
Ratkeville, Bahamas.

Phone:
(701)814-6992
Physical address:
6296 Donnelly Plaza
Ratkeville, Bahamas.
Planning a DIY project properly before you start saves more time and money than any tool or technique - here's how to actually do it.
Seventy-two percent of homeowners who start a DIY renovation without a written plan end up spending 30% more than their initial budget and take twice as long to finish. That gap between enthusiasm and execution costs real money and creates real frustration. The difference between a successful home improvement project and one that stalls halfway through almost always comes down to planning, not skill level.
Learning how to plan home renovation work properly means understanding what happens before the first nail goes in. This guide walks through the complete planning process for DIY home improvement projects, from defining your goals to creating shopping lists, establishing realistic budgets, and knowing exactly when to call a licensed professional instead of doing it yourself.
Table of Contents
Before researching techniques or pricing materials, write down exactly what you want to accomplish. Vague goals like “update the bathroom” lead to scope creep, budget overruns, and half-finished projects. Specific goals like “replace vanity, install new faucet, paint walls, replace light fixture” give you a clear finish line.
Define your project boundaries. Walk through the space and note every surface, fixture, and feature. Decide what you’re keeping, what you’re removing, and what you’re adding. Take photos from multiple angles. Measure the room dimensions and note any obstacles like pipes, vents, or electrical boxes.
Document your current conditions. Note any existing damage, water stains, cracks, or structural concerns. These issues often need addressing before cosmetic improvements, and discovering them mid-project without a plan causes delays and budget problems.
Separate wants from needs. Your project scope should distinguish between essential work (fixing a leaking pipe) and aesthetic upgrades (replacing functional but dated tile). This separation helps when budget constraints force you to make cuts. For guidance on breaking down complex projects into manageable phases, see our article on breaking down big projects into achievable DIY steps.
Create a simple scope document that includes:
This document becomes your reference point when you’re tempted to add “just one more thing” halfway through the project.
Honest self-assessment prevents dangerous mistakes and expensive do-overs. Some home improvement work is genuinely DIY-safe for beginners. Other work requires licensed professionals, either for safety reasons or because local building codes mandate it.
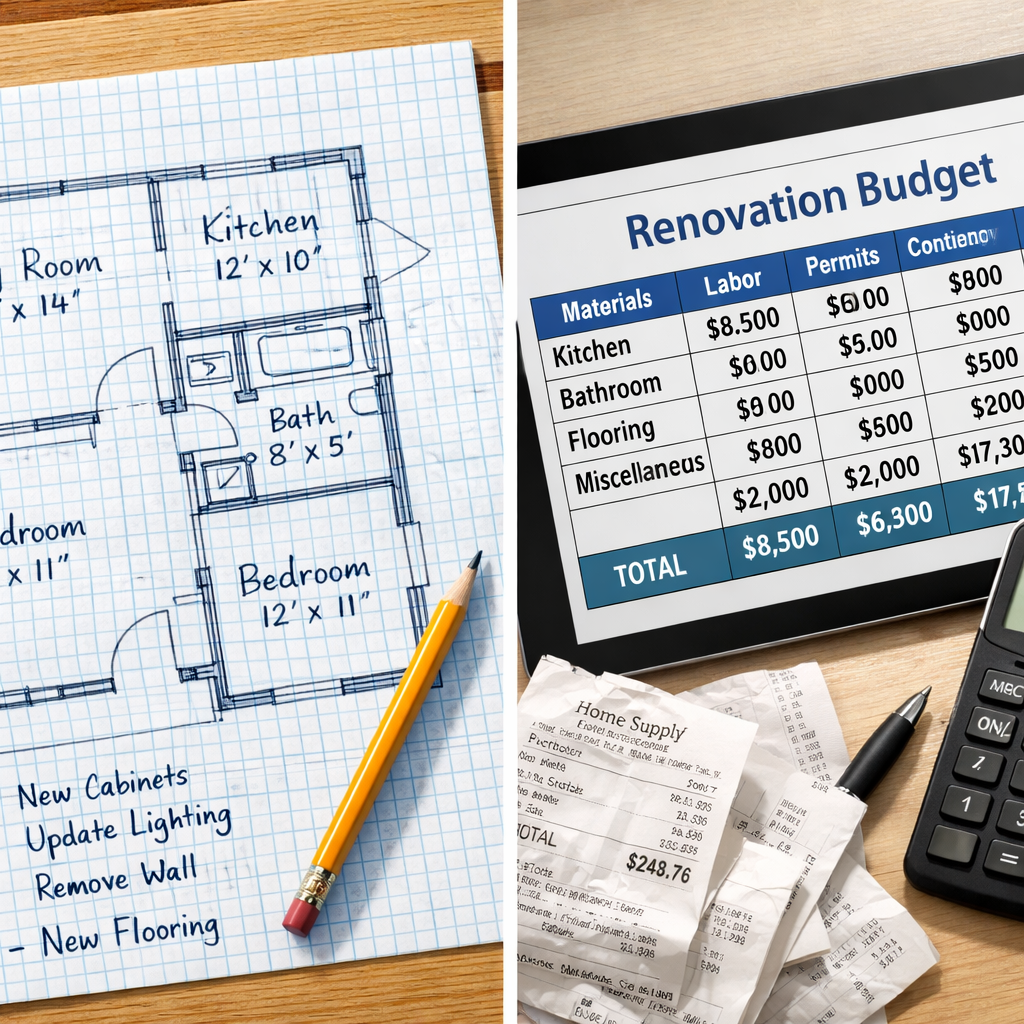
DIY-safe projects for most homeowners include:
Licensed professional required for:
Gray area work (DIY-safe with proper research and caution, but consider professional help):
Check your local building department’s requirements. Many jurisdictions require permits and inspections even for work you’re legally allowed to do yourself. Permit requirements vary significantly by location, but common triggers include:
Before you start, verify whether your project needs a permit. Working without required permits can result in fines, forced removal of completed work, and complications when selling your home. Most building departments list permit requirements on their websites or will answer questions by phone.
For projects involving your electrical system, read our homeowner’s guide to understanding your electrical panel to know what’s safe to touch and what requires professional work.
Home improvement projects consistently cost more than initial estimates. Building a realistic budget means researching actual material costs, accounting for tool purchases or rentals, and padding for the inevitable surprises.
Start with material costs. Visit home improvement stores or check online retailers to get real prices for your specific materials. Don’t estimate based on what you think things should cost. Prices for lumber, tile, fixtures, and other materials fluctuate significantly.
Create a detailed material list organized by project phase:
Demolition phase:
Preparation phase:
Installation phase:
Finishing phase:
Add 15-20% to your material total for waste, mistakes, and items you forgot. This isn’t pessimism; it’s reality. You’ll cut boards wrong, break tiles, and discover you need additional supplies mid-project.
Tool costs deserve separate consideration. If you don’t own the necessary tools, decide whether to buy, rent, or borrow. For one-time use of expensive specialty tools, rental makes sense. For tools you’ll use repeatedly, buying pays off. Check out our guide on choosing tools without breaking the bank for smart purchasing strategies.
Sample budget breakdown for a bathroom vanity replacement:
| Category | Item | Cost |
|---|---|---|
| Materials | New vanity with top | $450 |
| Materials | Faucet and drain assembly | $120 |
| Materials | Supply lines and P-trap | $35 |
| Materials | Plumber’s putty, caulk, tape | $25 |
| Tools | Basin wrench (if needed) | $15 |
| Contingency | 20% buffer | $129 |
| Total | $774 |
Hidden costs to remember:
Track expenses as you go. Keep receipts organized by category. This documentation helps you stay on budget and provides records for warranty claims or future reference.
Time estimates for DIY projects should account for your actual available work hours, not theoretical best-case scenarios. A project that takes a professional crew eight hours might take you three weekends when you factor in your day job, family commitments, and the learning curve.
Calculate realistic work time. Be honest about how many hours per week you can dedicate to the project. Weekend warriors typically get 8-12 productive hours per weekend, not the 16 hours that exist between Saturday and Sunday morning.
Break the project into phases:
Add buffer time between phases. Material deliveries get delayed. You’ll discover issues during demolition that need addressing before moving forward. Weather affects outdoor projects and any work requiring open windows or doors.
Common time-consuming surprises:
Create a week-by-week schedule that shows what you’ll accomplish each work session. This schedule keeps you accountable and helps identify potential conflicts with holidays, vacations, or other commitments. Our article on time management secrets for DIY projects offers practical strategies for staying on track.
Plan for living disruptions. Renovation work affects your daily routine. Kitchen projects mean eating out or using temporary cooking setups. Bathroom projects require alternative facilities. Factor these inconveniences into your timeline and budget.
Quality information prevents mistakes that cost time and money. Not all DIY tutorials are created equal, and following bad advice can create safety hazards or code violations.
Prioritize sources that include:
Red flags in DIY tutorials:
Cross-reference multiple sources. If you’re learning a new technique, watch three different tutorials and read two written guides. This repetition helps you identify the consistent core techniques versus individual preferences or shortcuts.
Manufacturer instructions trump generic tutorials. When installing specific products, follow the manufacturer’s installation guide. These instructions account for that product’s unique requirements and using them protects your warranty.
Join online communities focused on DIY home improvement. Forums and social media groups let you ask questions, share photos of your specific situation, and get feedback from experienced DIYers. Just remember that internet advice isn’t a substitute for professional assessment when safety or structural issues are involved.
For beginners looking to build foundational skills, explore our collection of simple DIY projects to build useful skills that teach techniques applicable to larger renovations.
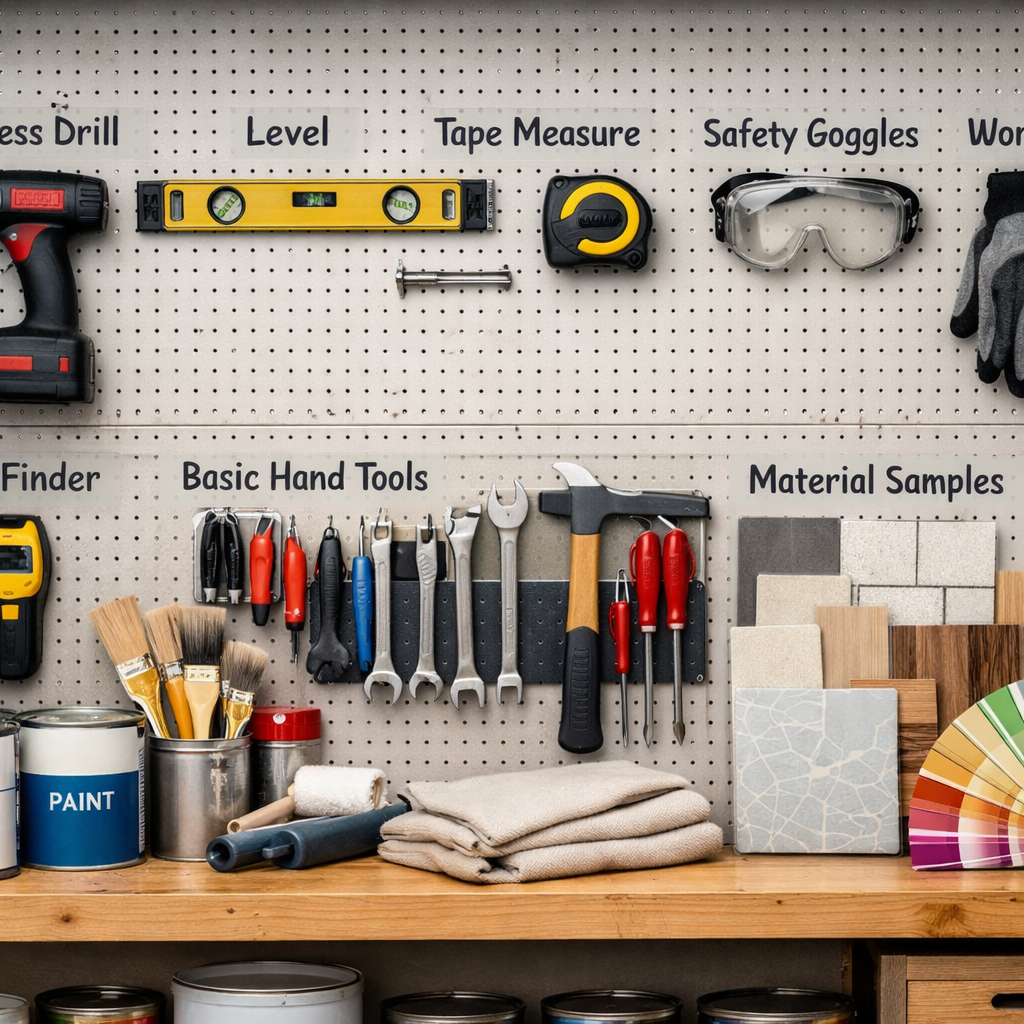
A complete list prevents mid-project trips to the hardware store that break your momentum and extend timelines. Create separate lists for tools and materials, organized by project phase.
Tool list categories:
Measuring and marking:
Cutting tools:
Fastening tools:
Safety equipment:
Project-specific tools vary based on your work. Tile projects need tile cutters, spacers, and trowels. Painting requires brushes, rollers, and trays. Plumbing work needs basin wrenches and pipe cutters. List these separately and verify you have them before starting.
Material list best practices:
Order materials strategically. Some items need ordering weeks in advance (custom cabinets, special-order tile). Others you can pick up the day you need them. Create a procurement timeline that ensures materials arrive when you need them without cluttering your workspace months early.
Organize your shopping list by store. Group items available at home improvement centers separately from specialty suppliers. This organization streamlines shopping and helps you compare prices across retailers. For essential tools every homeowner should have on hand, see our guide to essential DIY tools every homeowner should own.
Proper preparation prevents damage to areas you’re not renovating and makes the actual work safer and more efficient.
Create a contained work zone:
Set up a staging area for tools and materials. This dedicated space keeps everything organized and prevents the project from taking over your entire home. A folding table or sawhorses with plywood create a temporary work surface.
Establish a cutting station for outdoor work if possible. Cutting lumber, tile, or other materials outside reduces indoor dust and noise. If you must cut inside, set up near a window with a fan blowing out.
Plan for debris removal. Demolition creates surprising amounts of waste. Rent a dumpster for major projects or designate a staging area for bagged debris you’ll haul away yourself. Don’t let trash pile up in your work area where it becomes a safety hazard.
Protect utilities you’re not working on:
Safety setup:
For detailed guidance on creating a safe DIY workspace, read our article on setting up a safe DIY workspace at home.
Underestimating demolition complexity. Removing old materials often reveals hidden problems: water damage, outdated wiring, pest damage, or structural issues. Budget time and money for addressing these discoveries.
Skipping the permit process. Working without required permits risks fines, insurance complications, and problems when selling your home. The permit process exists to ensure safety and code compliance, not to create bureaucratic hassles.
Ordering materials too early or too late. Materials ordered months in advance clutter your space and risk damage. Materials ordered too late delay your project. Create a procurement timeline that balances these concerns.
Ignoring manufacturer instructions. Generic installation techniques don’t account for product-specific requirements. Following manufacturer instructions protects warranties and ensures proper performance.
Failing to test before committing. Buy one box of tile or one can of paint to test in your space before ordering the full amount. Colors and textures look different in your lighting than in the store.
Not planning for disposal. Old cabinets, flooring, fixtures, and debris need somewhere to go. Arrange disposal before demolition day.
Attempting work beyond your skill level. Confidence is valuable, but overconfidence creates safety hazards and expensive mistakes. Know when to call a licensed professional.
Starting without a complete plan. Beginning work before you’ve thought through every step leads to mid-project paralysis when you encounter decisions you haven’t researched.
For insights on avoiding common pitfalls, check out our article on smart ways to avoid DIY project setbacks.
Some situations require professional expertise, regardless of your DIY skill level or confidence.
Safety-critical systems:
Code-mandated professional work varies by jurisdiction but commonly includes:
Work requiring specialized equipment:
When you’re in over your head. If you start a project and discover complexity beyond your skill level, stop and call a professional. Continuing when you’re uncertain creates safety risks and often costs more to fix than hiring help from the start.
Get multiple quotes when hiring professionals. Verify licenses and insurance. Check references. A licensed professional costs more than DIY, but provides expertise, proper tools, code compliance, and warranty protection.
For specific guidance on what homeowners can safely handle themselves, see our article on what HVAC maintenance homeowners can do themselves.
Take before photos from multiple angles. These photos help you remember original conditions and provide reference when you’re reinstalling items or troubleshooting issues.
Photograph hidden work before covering it. Take pictures of plumbing connections, electrical wiring, framing modifications, or anything that will be hidden behind walls or finishes. These photos are invaluable for future repairs or renovations.
Keep a project journal noting:
Save receipts and warranties. Create a project folder with all purchase receipts, product warranties, and permit documentation. This folder becomes part of your home’s permanent records.
Note what you’d do differently. After completing the project, write down lessons learned while they’re fresh. This reflection improves your planning for the next project.
How long should I expect my first DIY renovation to take?
Plan for projects to take 2-3 times longer than online tutorials suggest. A bathroom vanity replacement that takes a professional two hours might take a first-timer a full weekend when accounting for learning, mistakes, and unexpected issues. Add buffer time to every estimate.
Do I really need a permit for small projects?
Permit requirements vary by location, but many jurisdictions require permits even for work that seems minor. Check with your local building department before starting. Working without required permits can result in fines and complications when selling your home.
How much should I budget for unexpected problems?
Add 20% to your material budget for contingencies. Demolition frequently reveals hidden issues like water damage, outdated wiring, or structural problems that need addressing before cosmetic improvements.
What’s the best way to learn new DIY skills?
Cross-reference multiple high-quality sources: watch several video tutorials, read written guides, and consult manufacturer instructions. Start with smaller practice projects before tackling major renovations. Join DIY communities where you can ask questions and get feedback.
When should I hire a professional instead of doing it myself?
Always hire licensed professionals for gas line work, electrical panel upgrades, structural modifications, and any work your local code requires professional licensing. Also consider professional help when projects involve safety-critical systems, require specialized equipment, or exceed your skill level.
How do I know if my project needs a permit?
Contact your local building department or check their website. Common projects requiring permits include electrical work beyond fixture replacement, plumbing that adds or moves fixtures, structural changes, deck construction, and HVAC equipment installation. Requirements vary significantly by jurisdiction.
Learning how to plan home renovation projects properly makes the difference between successful DIY work and frustrating false starts. The planning phase isn’t wasted time; it’s the foundation that prevents expensive mistakes, safety hazards, and abandoned projects.
Start every project with a clear written scope that defines exactly what you’re changing. Build a realistic budget that accounts for materials, tools, permits, and a 20% contingency fund. Create a detailed timeline based on your actual available work hours, not optimistic estimates. Research thoroughly using multiple reliable sources, and know your limits regarding when to call a licensed professional.
Prepare your workspace properly, organize your tools and materials, and document your work for future reference. The hours spent planning prevent days lost to mid-project confusion, missing materials, or discovering you’re attempting work that requires professional expertise.
Ready to move from planning to action? Start by defining your project scope in writing today. List exactly what you want to accomplish, measure your space, and begin researching material costs. For step-by-step guidance on turning your ideas into actionable plans, explore our guide on how to plan a DIY project from idea to shopping list. Your successful renovation starts with a solid plan, not a trip to the hardware store.