Phone:
(701)814-6992
Physical address:
6296 Donnelly Plaza
Ratkeville, Bahamas.

Phone:
(701)814-6992
Physical address:
6296 Donnelly Plaza
Ratkeville, Bahamas.
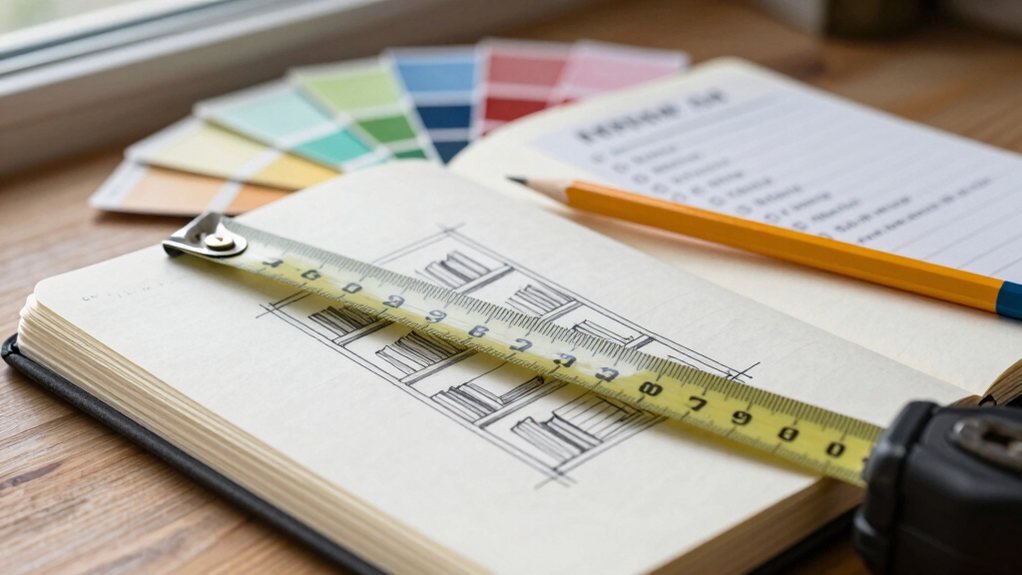
Guide your DIY project from vision to shopping list with expert planning tips that ensure you're prepared for...
Start by nailing down your vision—is it for storage or for style? Next, sketch your design and break down every step, like a recipe, to make it manageable. Research your materials and tools to avoid frustration, and then build a foolproof shopping list, grouping items by store. Finally, map a realistic timeline with wiggle room for surprises. Stick to this plan, and you’ll turn your great idea into a shopping trip with confidence.
Table of Contents
Have you ever started a DIY project only to realize halfway through that you’re not exactly sure what you’re building?
That’s why your first step is to nail down your vision. Start by asking yourself the big questions to define purpose. Are you building a bookshelf for storage, or is it a statement piece? Knowing the “why” guides every decision.
Your first step is to define your project’s purpose, letting the “why” guide every decision from start to finish.
Next, establish your style direction. Browse magazines or online galleries, saving images that spark joy. This isn’t about strict rules, but about discovering a cohesive look you love, whether it’s modern farmhouse or eclectic boho.
A clear vision acts as your roadmap, saving you from mid-project panic and countless extra trips to the hardware store. Consider material and finish options early—like subway tiles—to help match your project’s style and durability needs.
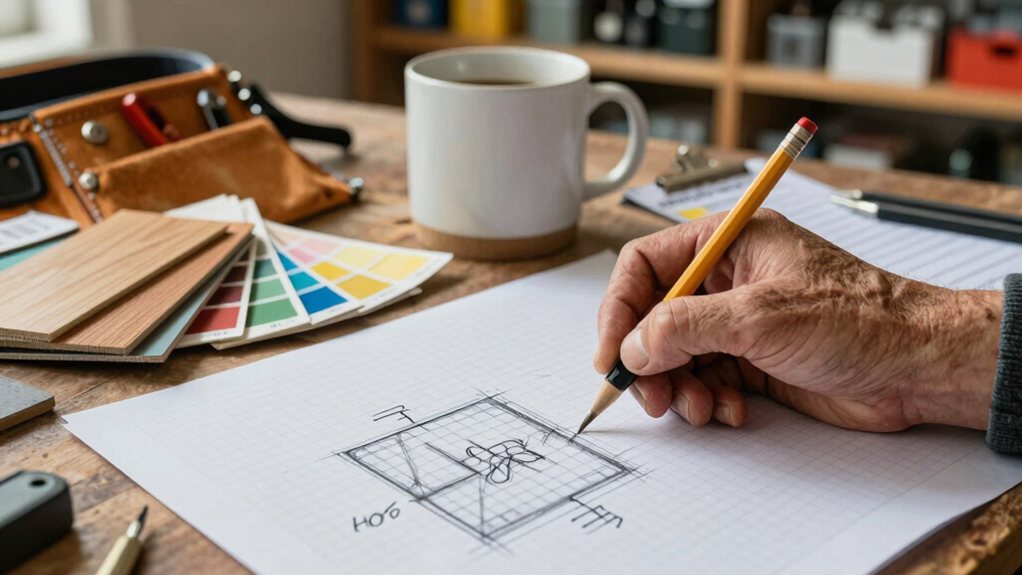
Now that you’ve got your vision clear, it’s time to get it out of your head and onto paper.
Start with rough layered sketches on graph paper or a digital app, adding details in passes.
Don’t worry about artistic skill; these are just for you.
Next, tackle task sequencing.
List every single step, from “buy lumber” to “sand edges.”
Breaking it down makes a huge project feel manageable, like eating an elephant one bite at a time.
This process reveals hidden tools you’ll need or tricky steps to research.
You’ll avoid that classic mid-project panic of realizing you forgot an essential part.
Think of this as your project’s recipe—it guides you seamlessly from start to finish.
Also, include a 10–15% waste allowance when calculating materials to avoid mid-project shortages.
Ever stared at a hardware store aisle feeling utterly lost?
You can avoid that by researching your materials and tools before you go. First, consider material durability—will that pine board hold your books, or do you need sturdier oak?
Avoid the hardware store aisle stare-down: research material durability like pine versus oak before you go.
Next, check tool compatibility. Your drill might need a special bit for tile, or your saw blade mightn’t cut metal. A quick online video can save a frustrating afternoon.
Jot down specific brand names, sizes, and quantities. This prep turns an intimidating trip into a confident mission. You’ll walk in knowing exactly what to grab, saving both time and money, and you’ll be back home building in no time. Consider stocking your workspace with premium tool sets to ensure quality and durability for a range of projects.
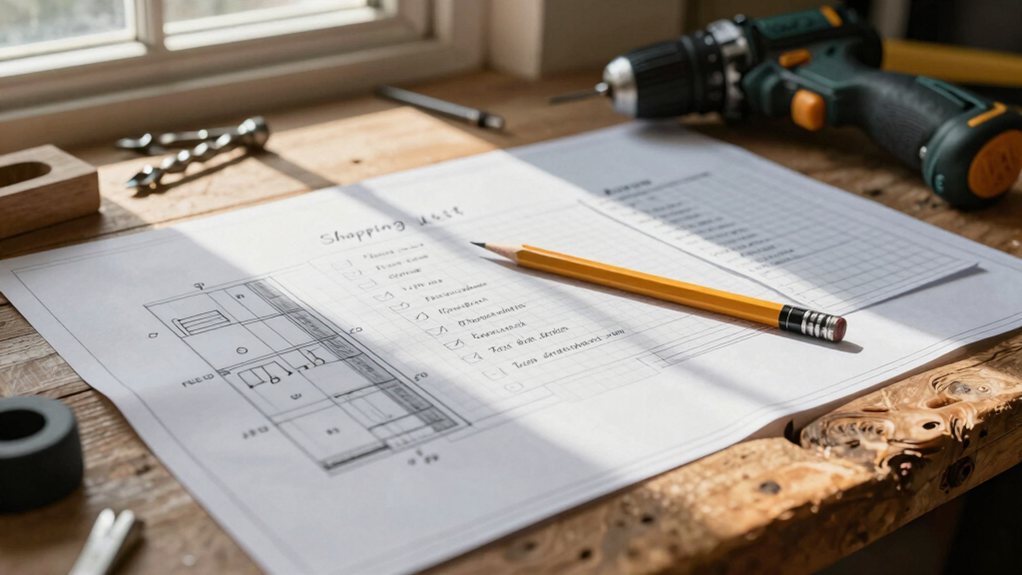
Armed with your material and tool research, you’re ready to transform that knowledge into a foolproof shopping list—your secret weapon against forgotten items and extra trips. Start by grouping items by store or project phase.
For common supplies like screws or paint, consider bulk buying; it often saves money for future tasks. As you shop, practice good receipt organization.
Snap a photo or tuck paper receipts into a dedicated folder. This isn’t just for returns—it’s a brilliant record for what you actually used versus what you guessed.
Double-check quantities against your plans, because discovering you’re one bracket short mid-project is a special kind of frustration. This list is your map, so make it detailed and cruise through the store with confidence. Also, always check the weight capacity of shelves and organizers to avoid overloading the unit.
If you’ll be replacing cabinetry hardware, be sure to measure existing holes before buying new handles to avoid extra drilling.
You’ve got your plan, and now you’re ready to roll. With your list in hand, you can shop with confidence, knowing you won’t forget that one essential thing. Sure, you’ll probably run into a small hiccup or two, that’s just part of the DIY fun. Take a deep breath, trust your prep work, and jump in. You’re all set to turn that great idea into something you’ve built yourself.