Phone:
(701)814-6992
Physical address:
6296 Donnelly Plaza
Ratkeville, Bahamas.

Phone:
(701)814-6992
Physical address:
6296 Donnelly Plaza
Ratkeville, Bahamas.
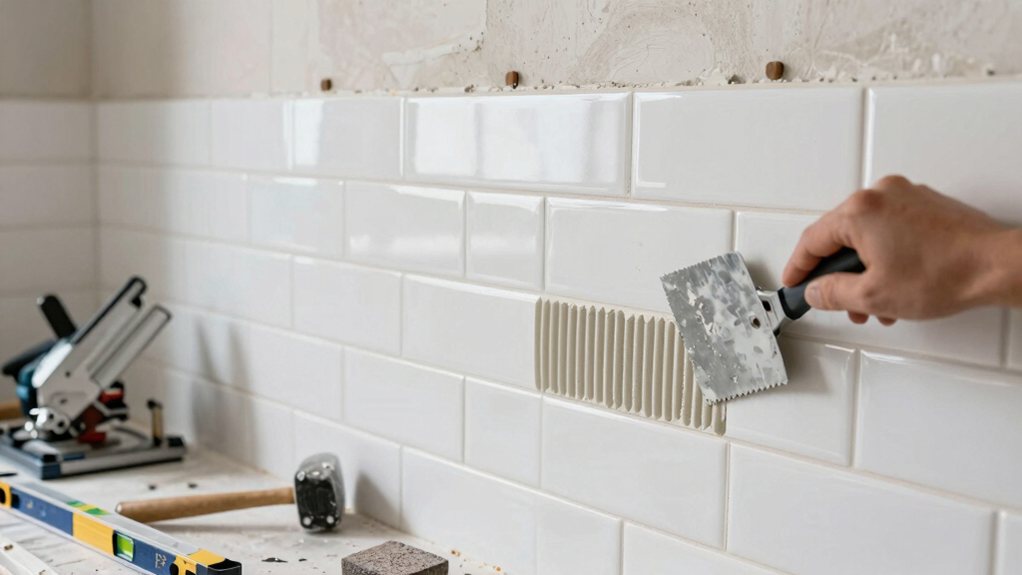
Budget-friendly subway tile backsplash installation seems simple until you discover the one critical mistake that ruins everything.
You can create a stunning subway tile backsplash on a budget by choosing glossy ceramic tiles from big-box stores that mimic expensive designer versions. Start by measuring your space carefully, adding 10-15% for waste, then prepare walls with degreasing cleaner and primer. Install tiles row by row using spacers for consistency, checking alignment every few rows to avoid wonky lines. Cut tiles with a wet saw for clean edges around outlets, then grout diagonally and seal for lasting results that’ll have you discovering professional techniques.
Table of Contents
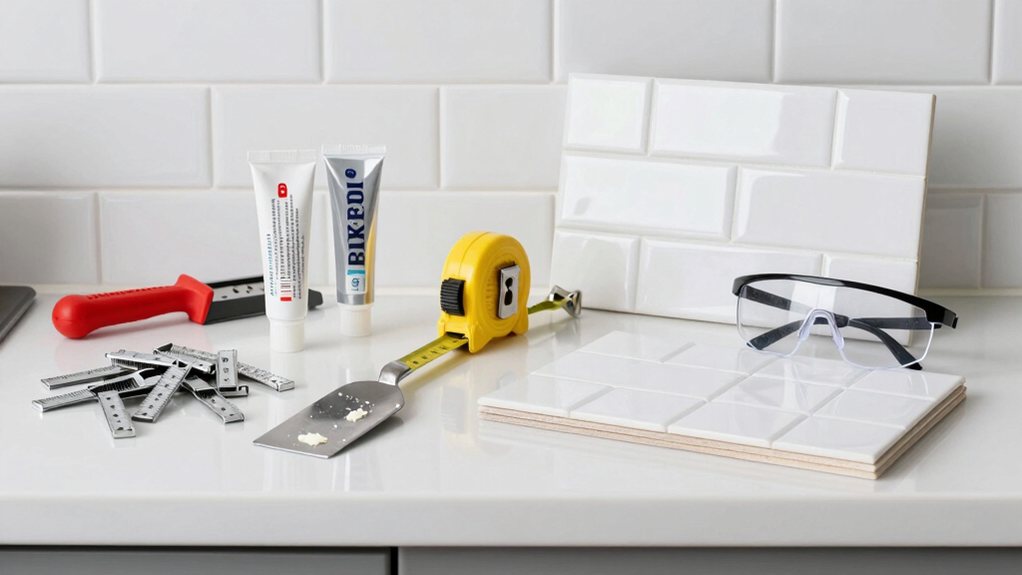
Before you get started on your subway tile backsplash project, you’ll need to gather the right tools and materials – and trust me, having everything ready beforehand will save you from those frustrating mid-project trips to the hardware store.
You’ll need a notched trowel for spreading adhesive, tile spacers for consistent gaps, and a wet saw or tile cutter for clean cuts.
Don’t forget your safety gear: protective eyewear, dust mask, and work gloves are vital.
When choosing adhesive types, consider your wall surface – pre-mixed adhesive works great for drywall, while cement-based adhesives handle uneven surfaces better.
Round out your toolkit with a rubber float, grout, tile sponges, and a level to keep everything perfectly straight.
Why spend a fortune on premium subway tiles when you can achieve that same sophisticated look for a fraction of the cost? Smart shopping makes all the difference.
Look for ceramic tiles with glossy finishes – they reflect light beautifully and create that expensive, polished appearance you’re craving. Don’t overlook basic white tiles from big-box stores; they’re often indistinguishable from pricey designer versions once installed.
Glossy ceramic tiles from budget retailers can perfectly mimic expensive designer versions while delivering that coveted high-end aesthetic.
Consider creative color pairings to enhance your design.
Classic white with dark grout creates stunning contrast, while soft grays paired with white grout offer timeless elegance. You’ll be amazed how strategic choices can fool even the pickiest guests into thinking you splurged on high-end materials. Your wallet will thank you, and your kitchen will look absolutely gorgeous.
When you’re ready to transform your kitchen with that perfect subway tile backsplash, accurate measurements become your best friend – and trust me, eyeballing it won’t cut it here.
Grab your measuring tape and record the height and width of each wall section you’ll be tiling.
Don’t forget those tricky spots around outlets, windows, and cabinets – they’ll come back to haunt you later if you skip them now.
Create visual mockups by sketching your layout on paper or using free online tile calculators. This helps you visualize how your tiles will flow and where cuts might fall.
Always add a 10-15% waste allowance to your total square footage calculation. You’ll thank yourself when you have extra tiles for those inevitable mishaps or future repairs.
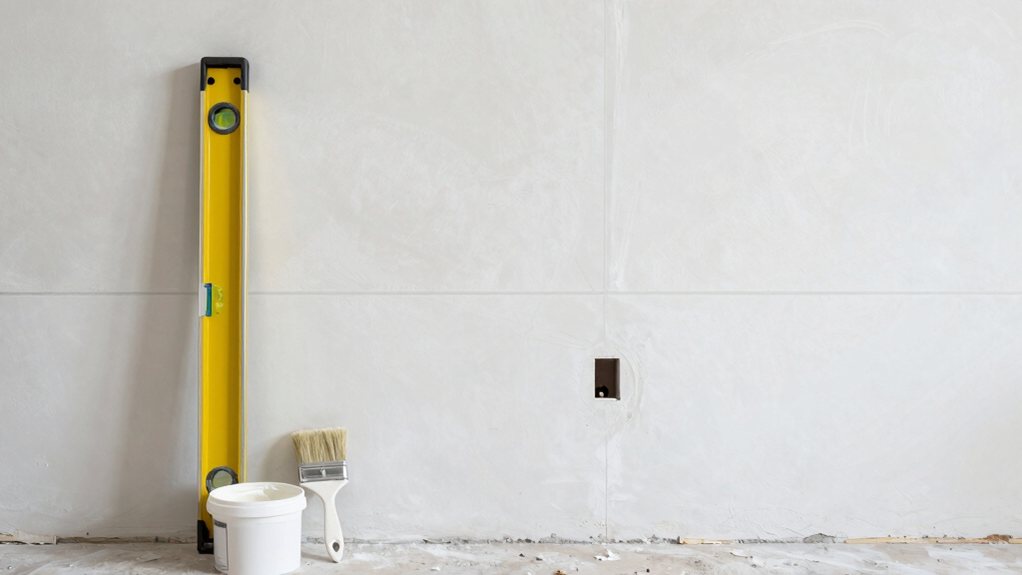
Before you can start placing those beautiful subway tiles, you’ll need to prep your wall surface properly – think of it as creating the perfect canvas for your kitchen masterpiece.
Start by giving the wall a thorough cleaning to remove any grease, dust, or old adhesive that might interfere with your tile’s grip. Next, you’ll want to check that your surface is level and apply a quality primer, because these foundational steps will make the difference between a professional-looking backsplash and one that screams “weekend warrior gone wrong.”
Although you might be tempted to jump straight into laying those gorgeous subway tiles, stopping to clean your wall surface first will save you from headaches later.
Think of it as giving your tiles the cleanest possible foundation to stick to – because nobody wants their beautiful backsplash peeling off next month!
Here’s your wall-cleaning game plan:
A spotless wall guarantees your tile adhesive bonds properly, creating a backsplash that’ll last for years.
Your freshly cleaned wall might look perfect at first glance, but don’t let appearances fool you – even the smallest bumps and dips can turn your subway tile project into a wonky nightmare.
You’ll need to run your hands across the entire surface, feeling for any irregularities that could throw off your tile alignment. Grab a long level or straight edge and check both horizontally and vertically for problem areas.
Most tile installations follow tolerance standards that allow for slight variations, but subway tiles are particularly unforgiving when it comes to unevenness.
Your inspection criteria should focus on finding bumps larger than 1/8 inch over a 10-foot span. Sand down high spots and fill low areas with spackling compound before moving forward.
Once you’ve confirmed your wall is level and even, it’s time to tackle the often-overlooked step that can make or break your tile installation – priming. Think of primer as your tile’s best friend, creating the perfect bond between your wall and adhesive.
Skipping this step is like going on a first date without brushing your teeth – technically possible, but why risk it?
Here’s your priming game plan:
Your patience here pays dividends later!
Starting with a perfectly straight first row will make or break your entire subway tile installation – it’s like building a house on a solid foundation versus quicksand.
You’ll want to snap a chalk line or use a level to mark where your first row begins. This reference line becomes your best friend throughout the project.
Measure twice, cut once – especially for your corner tiles. Apply adhesive with your toothed trowel, working in small sections so it doesn’t dry out.
Press each tile firmly against your guide line, using spacers to maintain consistent gaps. Check for visual symmetry as you go, stepping back occasionally to assess your progress. If you’re planning project photography later, you’ll thank yourself for taking time to get this foundation row absolutely perfect.
Now that you’ve nailed your first row, it’s time to build upward while keeping everything perfectly aligned and evenly spaced.
You’ll want to measure your row gaps consistently, use those trusty tile spacers properly, and check your alignment frequently to avoid any wonky surprises later.
Think of it like building a brick wall – each row depends on the one below it, so consistency is your best friend here.
Getting consistent spacing between your tile rows can make the difference between a professional-looking backsplash and one that screams “DIY disaster.”
You’ll want to use tile spacers throughout the entire installation, not just for the first few rows where you’re feeling confident.
Think of measuring gaps like conducting quality audits on your work – each row needs the same attention to detail.
Establish documentation protocols by marking your measurements and checking them twice.
Here’s your gap-measuring game plan:
Consistent measurements prevent the wonky, wavy look that’ll haunt you every morning.
While you’ve got your measurements locked down, the real magic happens when you place those tile spacers with surgical precision throughout every remaining row.
Think of spacers as your tiny construction crew—they’ll keep everything perfectly aligned while you focus on the bigger picture.
Press each spacer firmly into the adhesive, creating that satisfying “click” that means it’s properly seated.
Here’s where spacer ergonomics comes into play: use tweezers or needle-nose pliers to avoid cramped fingers during long installation sessions.
Your hands will thank you later!
Consider spacer sustainability too—quality plastic spacers can be cleaned and reused for future projects.
Remove them while the adhesive’s still workable, typically within 20-30 minutes.
This prevents them from becoming permanent fixtures in your beautiful backsplash.
Step back every three to four rows and survey your handiwork like an artist critiquing their masterpiece.
Visual fatigue can sneak up on you, making small alignment issues invisible until they become glaring problems.
Your eyes need those communication cues that only distance provides.
Here’s your alignment checkpoint routine:
Don’t worry if you spot imperfections – catching them early saves you from major headaches later.
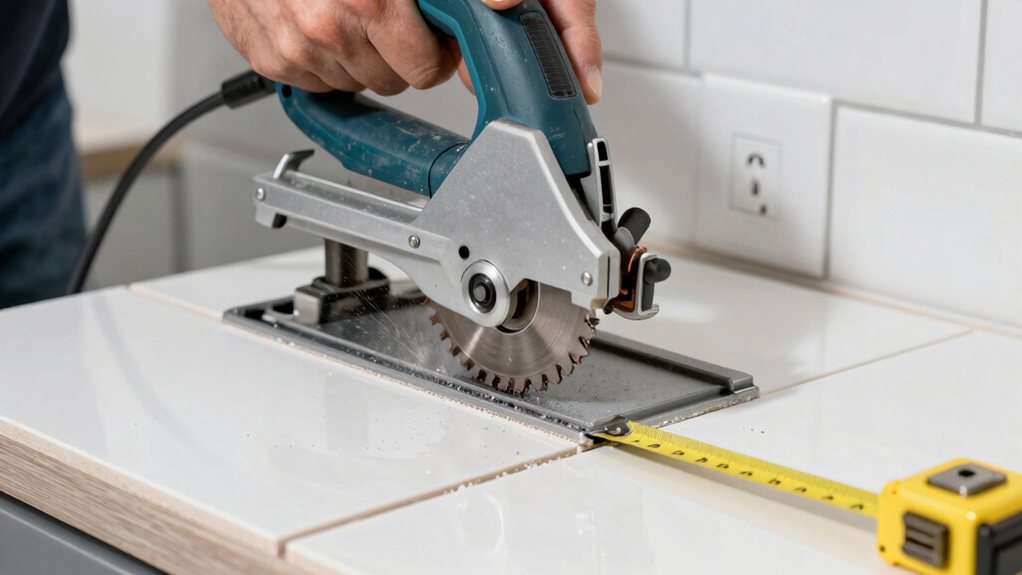
As you approach outlets, switches, and corners, you’ll need to make precise cuts that fit like puzzle pieces around these obstacles. Don’t worry—it’s easier than it sounds!
For outlets, measure carefully and mark your tile before cutting. A wet saw works best for clean, straight cuts around outlet boxing.
Take your time here; rushing leads to chipped tiles and frustration.
Corner miters require a different approach. You’ll want to create clean 45-degree angles where tiles meet at inside or outside corners.
Practice on scrap pieces first—trust me, it’s worth the extra effort. Remember, imperfect cuts around outlets will be covered by switch plates, so don’t stress over tiny gaps.
Just focus on getting a snug fit that looks professional once everything’s installed.
Now that your tiles are perfectly positioned and set, it’s time to fill those gaps with grout—the unsung hero that’ll make your backsplash look polished and professional.
Your grout color choice can make or break the whole look, so don’t rush this decision.
Here’s how to grout like a champion:
Work in small sections because grout waits for no one.
Keep that sponge handy and stay patient—rushing leads to hazy tiles that’ll haunt you forever.
While your grout’s still settling into its new home, you’re entering the home stretch of this subway tile adventure—sealing and putting the finishing touches on your masterpiece.
Now it’s time to protect your investment with the right sealer.
When choosing between sealant types, you’ve got two main options: penetrating sealers that soak into grout lines, or topical sealers that create a surface barrier.
Think of penetrating sealers as your grout’s invisible shield versus topical sealers that act like a protective raincoat on the surface.
Penetrating sealers typically last longer and look more natural.
Apply sealer with a small brush or applicator, focusing on grout lines while avoiding tile surfaces.
Here’s your golden maintenance tip: reapply sealer annually to keep everything looking fresh.
Wipe down your backsplash regularly with mild soap, and you’ll have a stunning kitchen feature that’ll make you smile every morning.
You should wait 24-48 hours before normal kitchen use. This allows grout to fully cure and addresses ventilation needs from adhesives. Complete your cleanup timing after curing, then you’re ready to cook again.
You can install subway tiles over existing backsplash, but proper surface preparation is vital. Clean thoroughly, sand glossy surfaces, and confirm adhesive compatibility with both old and new tiles for lasting results.
You’ll pay $1-5 per square foot for budget subway tiles. Ceramic costs less than natural stone in material comparison. Regional pricing varies considerably, with urban areas typically charging more than rural locations for both tiles and installation.
You don’t need to remove outlets completely, but you’ll need to turn off power for outlet safety and likely install box extensions to accommodate the tile thickness around outlet covers.
You’ll typically reseal subway tile backsplashes every 1-2 years, depending on sealant types used. Grout longevity varies with kitchen usage and moisture exposure, so inspect annually and reapply when water absorption increases noticeably.
You’ve just transformed your kitchen with a stunning subway tile backsplash that looks like a million bucks but didn’t break the bank. Pat yourself on the back – you’ve tackled measuring, cutting, installing, and grouting like a seasoned pro. Your friends won’t believe you did this yourself! Now step back, admire your handiwork, and enjoy that satisfying feeling of a job well done. Time to show off your gorgeous new backsplash.