Phone:
(701)814-6992
Physical address:
6296 Donnelly Plaza
Ratkeville, Bahamas.

Phone:
(701)814-6992
Physical address:
6296 Donnelly Plaza
Ratkeville, Bahamas.
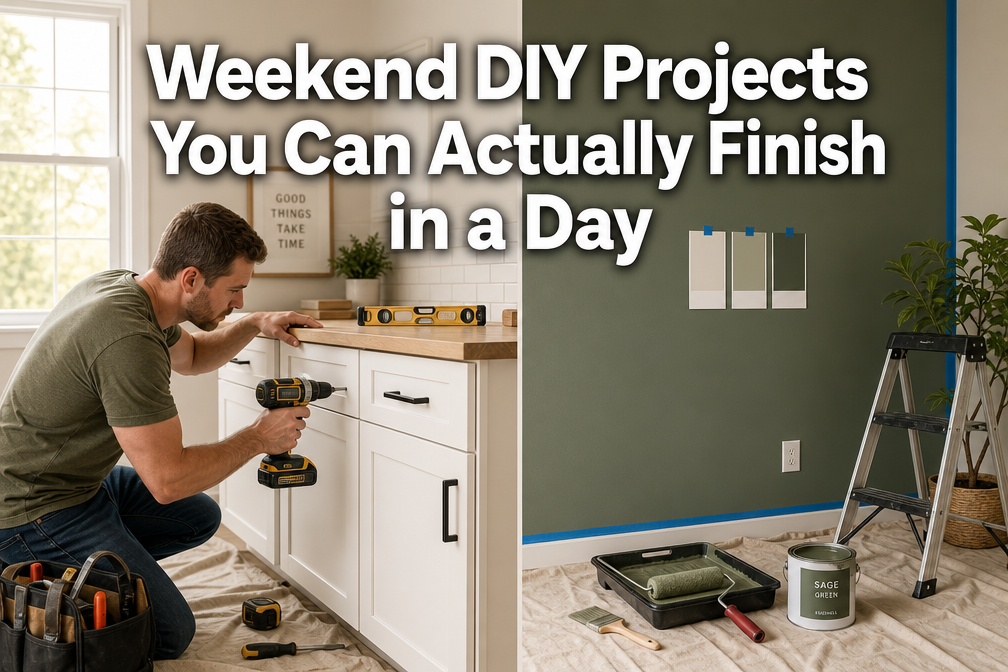
A weekend project only counts if you can actually finish it in a weekend - here's a list of DIY jobs sized realistically for two days.
Most homeowners abandon 60% of their DIY projects within the first month, according to home improvement industry data. The culprit? Overambitious plans that stretch across multiple weekends, drain budgets, and leave rooms unusable for weeks. The solution isn’t to stop improving your home, it’s to choose weekend DIY home improvement projects designed for completion in a single day. These projects deliver visible results, build confidence, and actually get finished.
This guide focuses exclusively on projects you can start Saturday morning and admire by dinner time. Each project includes real time estimates, complete tool lists, actual cost breakdowns, and clear safety boundaries. Whether you’re a first-time DIYer or someone tired of half-finished projects, these weekend DIY home improvement projects offer the satisfaction of completion without the frustration of endless work.
Table of Contents
A truly one-day project isn’t just about hours, it’s about realistic scope, available materials, and your actual skill level. Before you start, understand what separates achievable weekend DIY home improvement projects from those that inevitably drag into next month.
Time boundaries that work: Plan for 6-8 hours of active work, not 12-hour marathons. Factor in trips to the hardware store (they happen), lunch breaks, and cleanup time. If a project claims “4 hours” in a tutorial, budget 6 hours for your first attempt.
Skill level honesty: First-time DIYers should stick with projects requiring three or fewer new techniques. Painting an accent wall? That’s one technique. Installing floating shelves? That’s measuring, leveling, and drilling, three techniques. Re-tiling a bathroom? That’s eight techniques minimum, not a one-day project for beginners.
Material availability: Projects requiring special-order materials, custom cuts, or multiple store trips rarely finish in one day. Successful weekend projects use standard materials available at any home improvement store. Before you start, verify your local store stocks everything on your list.
Tool requirements: Limit projects to tools you own or can borrow. Renting specialty equipment adds complexity, cost, and time pressure. The psychology of finishing your first DIY project shows that tool frustration is a top reason people quit mid-project.
These weekend DIY home improvement projects meet the one-day criteria and deliver visible impact. Each includes honest time estimates, complete tool lists, and clear safety boundaries.
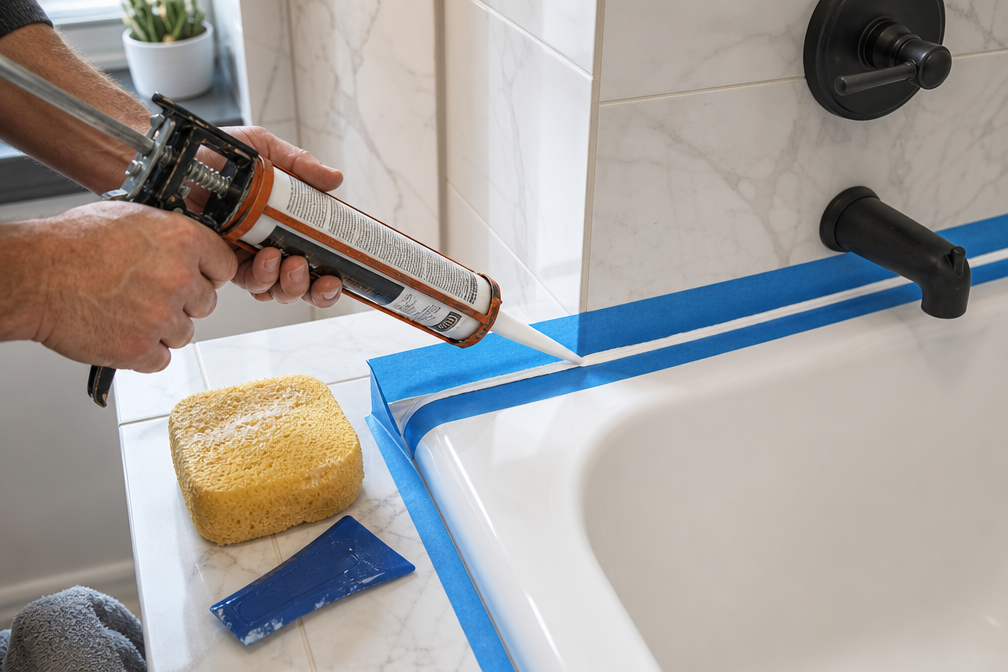
Time estimate: 3-4 hours (including drying time between steps)
Difficulty: Beginner-friendly
Cost breakdown: $25-$45 (caulk, remover tool, painter’s tape, cleaning supplies)
Old, cracked caulk isn’t just ugly, it allows water damage behind your walls. This project delivers immediate visual improvement and prevents expensive repairs later. Our detailed guide on re-caulking a bathtub or shower the right way walks through every step.
Tool list:
Step-by-step:
Common mistakes: Applying new caulk over old (it will peel), using too much caulk (creates bulges), removing tape too late (tears caulk edge).
Safety note: This is DIY-safe. No plumbing or electrical work involved.
Time estimate: 4-5 hours
Difficulty: Intermediate (involves basic electrical)
Cost breakdown: $80-$150 (LED strip lights, wire connectors, mounting clips)
Under-cabinet lighting transforms kitchen functionality and ambiance. Modern plug-in LED strips make this project DIY-safe without hardwiring.
Tool list:
Before you start: Use plug-in LED strips that connect to existing outlets. Hardwiring into your electrical system requires a licensed electrician and may need permits. Check our best under-cabinet strip lights for DIY-friendly options.
Step-by-step:
Licensed professional required: Any work inside your electrical panel, adding new circuits, or hardwiring fixtures into existing wiring. These require permits in most jurisdictions.
Common mistakes: Placing strips too far forward (creates glare), insufficient cable management (looks messy), skipping the test run (can’t troubleshoot after mounting).
Time estimate: 3-4 hours for two shelves
Difficulty: Beginner to intermediate
Cost breakdown: $60-$120 (shelves, mounting hardware, stud finder, level)
Floating shelves add storage and style without the commitment of built-ins. Success depends entirely on proper wall anchoring. Our guide on DIY floating shelves with hidden brackets covers advanced techniques.
Tool list:
Step-by-step:
Weight limits matter: Studs support 50+ pounds per shelf. Drywall anchors support 10-25 pounds maximum. For heavy items (books, equipment), you must hit studs. Learn more about understanding screws, nails, and anchors for proper selection.
Common mistakes: Trusting drywall anchors for heavy loads (they fail), not using a level (shelves look crooked), measuring from ceiling instead of floor (ceilings aren’t level).
Safety note: This is DIY-safe. No electrical, plumbing, or structural modifications involved.
Time estimate: 5-6 hours (including prep and cleanup)
Difficulty: Beginner-friendly
Cost breakdown: $40-$80 (paint, primer, tape, supplies)
An accent wall delivers maximum visual impact with minimal skill requirements. Proper preparation determines whether your paint job looks professional or amateur.
Tool list:
Step-by-step:
Before you start: Calculate paint needs accurately. Measure wall height and width, multiply for square footage. One gallon covers 350-400 square feet with one coat. Most projects need two coats.
Common mistakes: Skipping primer (paint won’t cover evenly), removing tape after paint fully dries (pulls paint off), not maintaining wet edge (creates lap marks).
Safety note: This is DIY-safe. Ensure adequate ventilation and use low-VOC paint in enclosed spaces.
Time estimate: 3-4 hours
Difficulty: Beginner to intermediate
Cost breakdown: $35-$70 (lumber, hooks, stain/paint, mounting hardware)
A custom coat rack adds functionality and character to your entryway. This project teaches basic woodworking skills without requiring a full workshop. Check out our complete tutorial on how to build a wall-mounted coat rack with shelf.
Tool list:
Step-by-step:
Lumber selection: Use 1×6 or 1×8 pine, poplar, or oak. Avoid warped boards, sight down the length before purchasing. Learn more about choosing the right lumber for any DIY project.
Common mistakes: Not pre-drilling hook holes (splits wood), mounting to drywall only (pulls out under weight), uneven hook spacing (looks unprofessional).
Safety note: This is DIY-safe. Wear safety glasses when drilling and cutting.
Some weekend DIY home improvement projects appear simple but hide complexity that extends timelines. Avoid these common traps when planning your one-day project.
Tile work: Whether it’s a backsplash or floor, tile projects require substrate preparation, layout planning, cutting, setting, grouting, and sealing. Even small areas take 2-3 days minimum when you factor in mortar and grout curing times. Our guide on beginner mistakes to avoid when planning your first tile project explains why rushing tile work causes failures.
Cabinet installation: Hanging cabinets requires precise leveling, shimming, and securing to studs. Upper and lower cabinets must align perfectly. Plan 2-3 days minimum, not one weekend day.
Replacing toilets: While removing and installing a toilet is mechanically simple, wax ring placement, flange condition, and supply line connections create multiple failure points. Water damage from mistakes is expensive. This is a job for a licensed plumber unless you have prior experience.
Electrical outlet or switch replacement: Swapping a cover plate is DIY-safe. Replacing the actual outlet or switch involves working with live wires and requires understanding circuit breakers, wire gauges, and proper connections. Licensed professional required for anything beyond cosmetic changes.
Drywall repair beyond small holes: Patching nail pops or small holes is DIY-friendly. Repairing large holes, water damage, or structural cracks requires cutting, framing, hanging new drywall, taping, mudding (multiple coats), sanding, and painting. Plan multiple days. See our guide on DIY patch for a medium-sized hole in drywall for scope guidance.
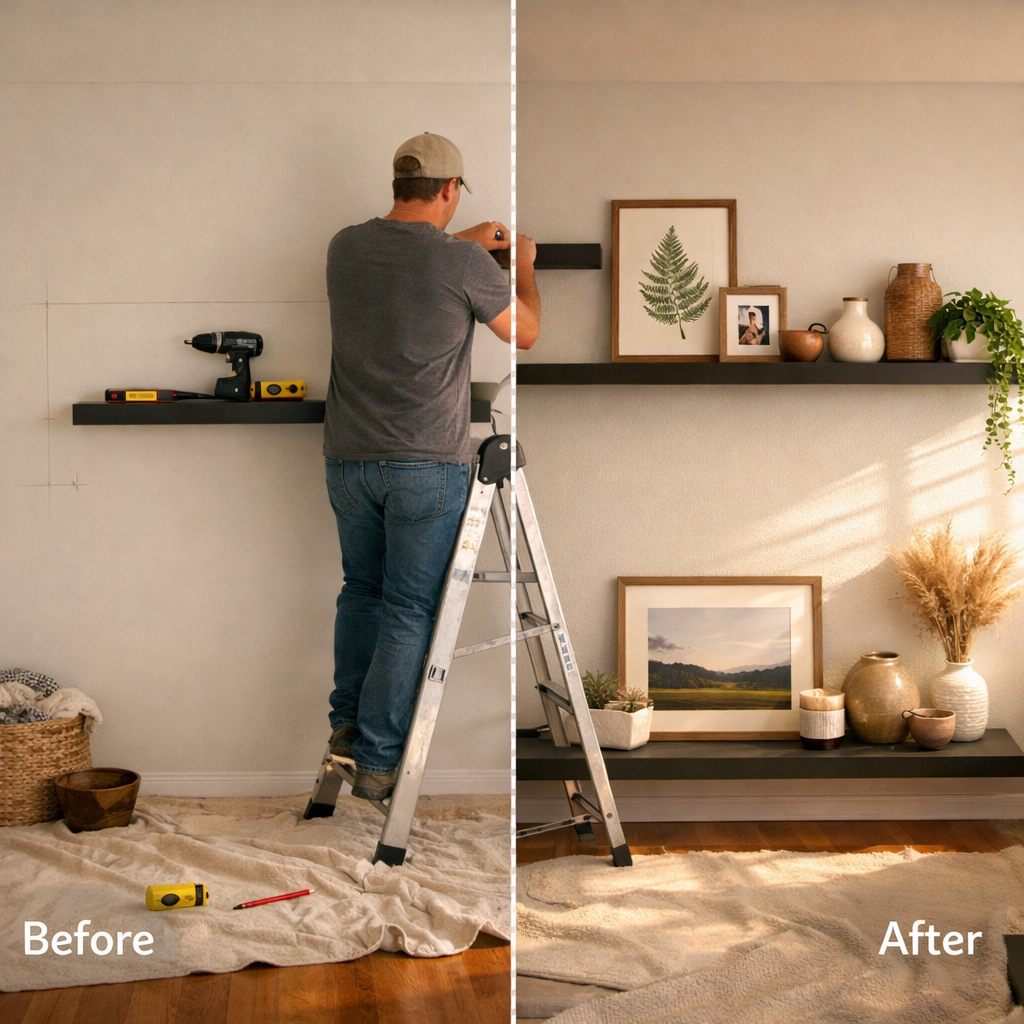
Finishing in one day requires more than enthusiasm, it demands realistic planning. These steps separate completed projects from abandoned ones.
Create a complete shopping list: Walk through each project step mentally and list every material and tool. Include quantities, sizes, and specifications. Add 10% extra for materials like paint, caulk, or lumber to account for mistakes. Nothing kills momentum like mid-project store runs.
Verify tool availability: Confirm you own or can borrow every required tool before starting. Renting tools adds time pressure and cost. If a project requires tools you don’t have, consider whether it’s truly a one-day project for you.
Check weather for exterior projects: Painting, staining, or caulking exterior surfaces requires specific temperature and humidity ranges. Most products need 50-90°F temperatures and no rain for 24 hours. Check forecasts before starting.
Prepare the workspace: Move furniture, lay drop cloths, and organize tools before you start the actual project. Preparation time doesn’t count toward project time, it’s prerequisite work that determines whether you finish on schedule.
Set a realistic start time: Beginning at 8 AM gives you a full day. Starting at noon means you’re working until 8 PM or later, increasing fatigue and mistakes. For more strategies, see our guide on time management secrets for DIY projects.
Build in buffer time: If a tutorial says “4 hours,” plan for 6 hours. First-time execution always takes longer than experienced demonstration. Buffer time prevents the frustration of unfinished projects at bedtime.
Have a cleanup plan: Factor 30-60 minutes for proper cleanup, tool storage, and material disposal. Leaving a mess creates resistance to starting your next project.
DIY saves money, but some work legally and safely requires licensed professionals. Knowing these boundaries protects your home, your safety, and your insurance coverage.
Licensed professional required for:
Electrical work: Anything inside your electrical panel, adding new circuits, running new wiring through walls, or hardwiring fixtures. Most jurisdictions require permits and inspections. Improper electrical work causes house fires and voids insurance.
Plumbing beyond shutoffs: Replacing supply lines, drain pipes, or fixtures that require soldering or cutting into existing plumbing. Water damage from failed DIY plumbing costs thousands to repair.
Gas line work: Any work involving natural gas or propane lines. Gas leaks cause explosions. This work requires licensed plumbers or gas fitters in all jurisdictions.
Structural modifications: Removing or cutting into walls that might be load-bearing, modifying floor joists, or altering roof structures. Structural failures cause catastrophic damage and injury.
HVAC system work: Beyond changing filters and cleaning coils, HVAC work requires EPA certification for refrigerant handling and specialized tools for proper installation.
Permit-required work: Most jurisdictions require permits for electrical, plumbing, structural, and HVAC work. Unpermitted work must be disclosed when selling your home and can kill sales or reduce value.
When in doubt: If you’re asking “Do I need a professional for this?”, the answer is probably yes. The cost of hiring a licensed professional is always less than fixing DIY mistakes or dealing with insurance claims after accidents.
Completing one-day projects builds confidence and skills for more ambitious work later. Each finished project teaches techniques applicable to future improvements.
Start with high-impact, low-complexity projects: Painting, installing shelves, or updating hardware delivers visible results without overwhelming new DIYers. Success creates momentum for tackling more challenging work. Our article on kickstart your DIY journey with practical projects offers a progression path.
Document your work: Take before and after photos. Note what worked, what didn’t, and what you’d do differently. This documentation helps when planning similar projects and shows your skill progression over time.
Invest in quality tools gradually: Each project justifies purchasing one or two quality tools that you’ll use repeatedly. A good drill, level, and stud finder support dozens of future projects. Avoid buying entire tool sets, accumulate tools as projects require them.
Learn from each project: Every project teaches techniques applicable elsewhere. Measuring and leveling skills from shelf installation apply to hanging pictures, mirrors, or curtain rods. Painting techniques transfer to furniture refinishing. View each project as skill-building, not just home improvement.
Connect with other DIYers: Online communities, local workshops, and home improvement store classes provide support, answer questions, and offer project ideas. Learning from others’ mistakes saves time and money.
How do I know if a project is really achievable in one day?
Count the distinct steps, estimate time for each, and add 50% buffer time for your first attempt. If the total exceeds 8 hours, it’s not a true one-day project. Projects requiring multiple coats, curing times, or special-order materials rarely finish in one day regardless of active work time.
What tools should I buy first as a new DIYer?
Start with a quality cordless drill, stud finder, level, measuring tape, and basic hand tools (hammer, screwdrivers, pliers). These tools support 80% of beginner projects. Add specialty tools only when specific projects require them. Quality matters more than quantity, one good drill beats five cheap ones.
Can I do electrical work myself if I’m careful?
Replacing light switch covers or changing light bulbs is DIY-safe. Anything involving wiring, replacing outlets, switches, or fixtures that require wire connections, requires understanding electrical codes, proper techniques, and often permits. Most jurisdictions require licensed electricians for this work. Improper electrical work causes fires and voids insurance coverage.
How much should I budget for a typical one-day project?
Most achievable weekend DIY home improvement projects cost $50-$300 in materials. Painting projects run $40-$80, shelf installation costs $60-$120, and caulking projects need $25-$45. Budget an extra 20% for unexpected material needs or mistakes. Tool purchases are separate investments that support multiple future projects.
What if I don’t finish in one day?
Plan stopping points where you can safely pause work. For painting, finish complete walls rather than stopping mid-wall. For installations, complete mounting before attaching final pieces. Clean up properly and secure the work area. Most importantly, schedule time to finish within a few days, projects left incomplete for weeks rarely get finished.
Should I watch tutorials before starting?
Yes, watch at least two tutorials for any new project. Different instructors highlight different challenges and techniques. Pause videos to take notes on tool lists, measurements, and safety warnings. Watching tutorials the night before helps you spot potential problems and prepare questions for hardware store staff.
Weekend DIY home improvement projects you can actually finish in a day offer the perfect balance of impact and achievability. By choosing projects with realistic scope, preparing thoroughly, and respecting safety boundaries, you’ll build a track record of completed improvements rather than a house full of half-finished work.
Start with one project from this guide. Gather all materials and tools before you begin. Follow the step-by-step instructions, respect the safety boundaries, and give yourself permission to take the full day. The satisfaction of completing a visible improvement in your home builds confidence for tackling the next project.
Remember that DIY success isn’t about attempting the most complex projects, it’s about consistently finishing what you start. Each completed weekend project teaches skills, builds confidence, and improves your home one achievable step at a time. For more project ideas and detailed tutorials, explore our weekend project plans and start your next one-day transformation.