Phone:
(701)814-6992
Physical address:
6296 Donnelly Plaza
Ratkeville, Bahamas.

Phone:
(701)814-6992
Physical address:
6296 Donnelly Plaza
Ratkeville, Bahamas.
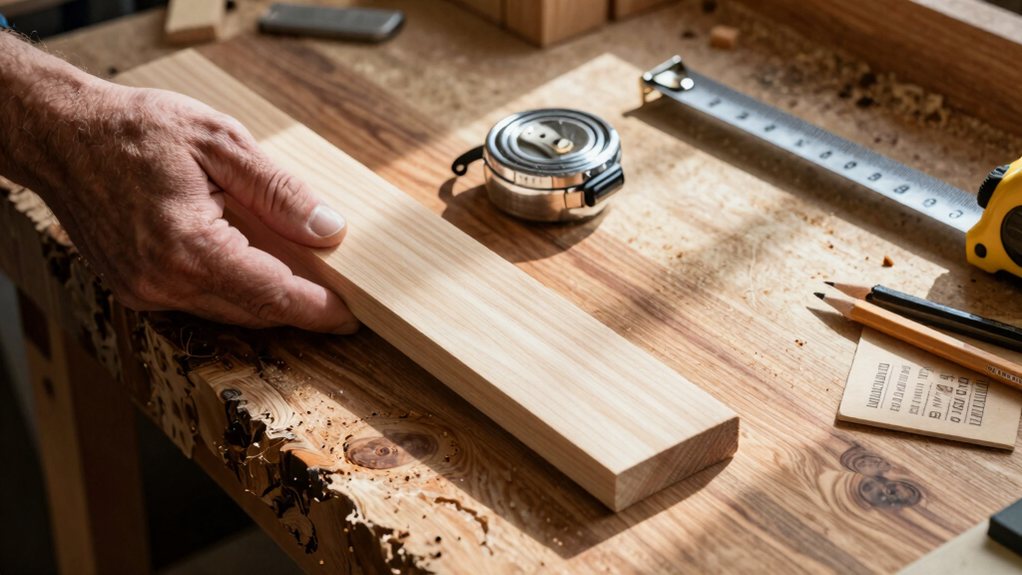
Need tips for picking lumber? Learn how to choose the right wood for your DIY project.
To choose the right lumber, start with the basics. For sturdy furniture or flooring, you’ll want dense hardwoods like oak or maple. For framing or cost-effective builds, softwoods like pine are great. Always inspect boards for warping and check the moisture content. Don’t forget lumber’s “nominal” size isn’t its actual size, so plan your cuts carefully. Grab an extra 10% to cover mistakes, and your project will be off to a solid start. We’ve got more handy tips where that came from.
Table of Contents
Before you begin your next woodworking project, you’ve got a basic choice to make: hardwood or softwood?
Before you begin any woodworking project, your first fundamental decision is choosing between hardwood and softwood.
Hardwoods like oak, maple, and walnut are dense, durable superstars.
They resist dents beautifully, making them perfect for furniture, cabinets, and flooring that needs to last.
Softwoods like pine, fir, and spruce are lighter, easier to cut, and kinder to your budget.
They’re the go-to for framing walls or building quick jigs.
Remember, softwoods can show dents more easily, so they’re less ideal for a fancy tabletop.
When you Choose the Right Lumber, think long-term.
Pick hardwoods for heirloom-quality looks and softwoods for structural, cost-effective builds.
Your project’s success starts with this simple, smart decision.
For best results, consider investing in premium woodworking tool sets to ensure you have durable, accurate tools for cutting and finishing.
Now that you’ve picked between hardwood and softwood, the next step is matching that lumber to exactly where and how it’ll be used.
For outdoor decks or garden beds, you’ll want rot-resistant options like pressure treated wood; just remember to use galvanized fasteners with it.
If you’re building a beautiful table or bookshelf, go with gorgeous hardwoods like oak or maple—they’re tough and show off a lovely grain.
Always keep an eye on moisture content, too. Kiln-dried wood is your best friend for indoor jobs to avoid warping, while outdoor lumber needs time to dry before you stain it. Buying a little extra saves you from a last-minute panic if a board isn’t quite perfect.
Consider cedar for outdoor projects, especially the outdoor storage bench cedar options that are sold specifically for weather-resistant storage.
Start by checking each board for warping by laying it flat on a surface; a board that rocks or twists is a troublemaker waiting to happen.
Next, give those knots a good look, since a big, loose one near the edge can split later and ruin your hard work.
You’ll avoid a lot of headaches by taking these few minutes to inspect your lumber now, saving you from surprises when you’re halfway through your project.
If you need reliable tools to work with that lumber, consider investing in a professional set designed for woodworkers.
Picking up a beautiful board at the lumber yard is exciting, but giving it a quick, thorough inspection can save you from a frustrating project later on.
First, sight down the long edge to check for bowing; a gap over 1/8″ in eight feet is too much.
Look for cupping across the width, and check for twisting by seeing if it rocks on a flat surface.
You’ll also want to check the moisture level with a meter—aim for 6–8% for indoor projects.
Finally, examine the straight grain and avoid boards with wild patterns or large knots, as these can lead to structural weakness and more warping as the wood settles in your shop.
Also verify flatness by placing boards on a straight surface or using a straightedge to reveal hidden bows or cupping before purchase.
While you’re examining that board, don’t overlook the knots—they’re more than just a rustic detail, and where they’re located really matters.
First, inspect knots for size: avoid knots larger than one-third the board’s width in load-bearing members.
For visible surfaces, prefer smaller, tight knots under a quarter of the width for a more polished finish.
Critically, check knot placement—keep knots away from high-stress areas like beam centers, joint locations, and near screw lines where they can weaken the wood or cause splits.
Always look for loose or rotten knots, which feel soft or crumbly. Reject any board with these; they’ll likely fall out, leaving a weak hole.
Smart placement choices mean your project stays strong and looks great.
Using a professional woodworking tool set ensures precise cuts and better inspection when dealing with knots.
Now, let’s look at lumber sizes and grades, which can be a little tricky at first. You’ll often buy wood by its “nominal” size, like a 2×4, but the actual finished piece is a bit smaller, so it’s smart to check your tape measure.
The grading stamps tell you about the wood’s quality and strength, helping you pick the perfect board for your project, whether you’re building a sturdy frame or a beautiful bookshelf. Many woodworkers use a premium plywood router table to achieve precise cuts and smooth edges.
You’ve probably heard of a 2×4, but you might be surprised to learn that this classic piece of lumber isn’t actually two inches by four inches.
That’s its “nominal” size for ordering, while the actual, finished dimensions are about 1.5″ by 3.5″.
This difference happens because rough boards are planed flat and dried.
The same rule applies at the hardware store for plywood; a nominal 3/4″ sheet is actually about 23/32″ thick.
So, always measure the actual sizes before you cut and fit.
It’s a quirky system, but once you know it, you can shop smarter and avoid those frustrating gaps in your project.
Just remember to buy a little extra material to account for any miscuts.
If you want consistent results, consider investing in a professional woodworking tools set to ensure accurate cuts and smooth finishes.
Knowing the real size of a board is half the battle; the other half is understanding what the letters and numbers stamped on it actually mean. Lumber grades tell you about quality and purpose. For framing, you’ll want structural graded lumber, like Grade Southern Yellow Pine, which is rated for strength.
If you’re building a bookshelf or trim where looks matter, you’d choose a finish/clear grade with minimal knots. Panels use an A-D system, with ‘A’ being the sleekest face. Always check that stamp! It lists species, grade, and moisture content, so you can match the wood to your project.
Think of it as the wood’s resume, helping you pick the right candidate for the job. Consider investing in a premium woodworking tool set to ensure you have the right tools for working with different lumber types.
Ever wonder how to walk into the lumberyard and leave feeling like a savvy pro instead of a confused shopper?
Smart buying helps your woodworking projects succeed.
Start by choosing the right materials.
For outdoor projects, you’ll need treated lumber or rot-resistant species like cedar.
Here are key tips to remember.
Consider durable options like premium cedar planter boxes for outdoor use.
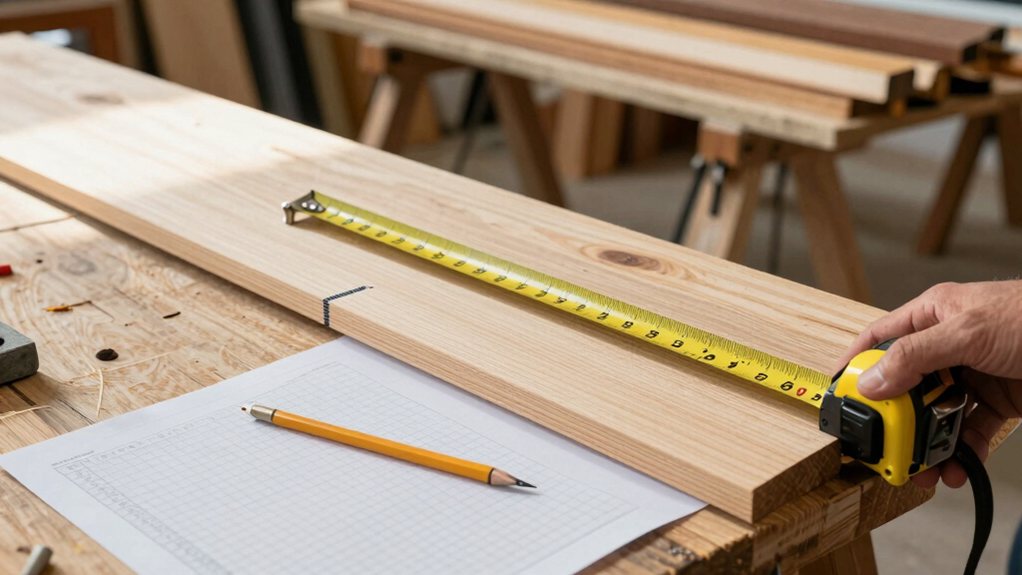
Now that you’ve picked out your lumber and brought it home, the real fun begins—turning those boards into something amazing without turning half of them into scrap. Start by creating a complete cut list with every part’s final dimensions. This simple step is key to Choosing the Right Lumber quantity, preventing overbuying.
Add 10–15% extra to your order for mistakes and defects, rounding up to full boards. When planning, remember your saw blade eats up material too—that kerf adds up! Nest your cuts on sheets to minimize waste.
Finally, inspect each piece of wood for DIY; mark knots and warps so they end up in offcuts, not your project. Smart planning saves money, material, and your sanity. Also, when ordering, remember to add ~15% extra to account for cuts, breakage, and manufacturing variance.
So you’re ready to pick your wood and start building! Remember, it’s about matching the right lumber to your project’s job. Take your time at the yard to find good, straight boards, and don’t let the size labels fool you. With a solid plan to reduce waste, you’ll save money and frustration. Now you’ve got the know-how—go grab some lumber and create something awesome with your own two hands.