Phone:
(701)814-6992
Physical address:
6296 Donnelly Plaza
Ratkeville, Bahamas.

Phone:
(701)814-6992
Physical address:
6296 Donnelly Plaza
Ratkeville, Bahamas.
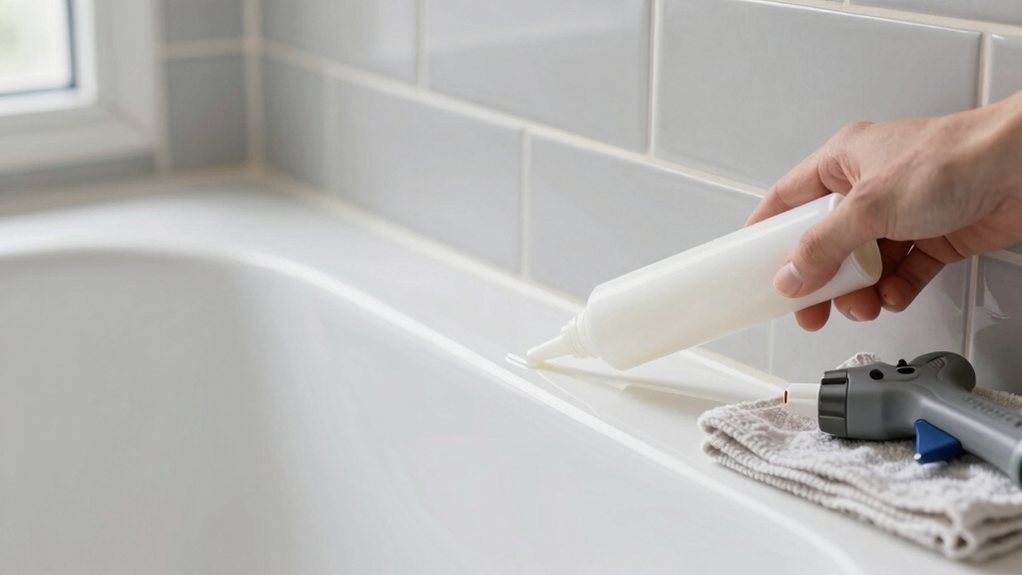
Uncover the crucial step most DIYers skip when re-caulking a tub for a perfect, lasting seal.
To recaulk your tub correctly, first peel off every bit of the old, cracked sealant. Scrub the joint clean and let it dry completely. Use painter’s tape for sharp lines, then apply a steady, thin bead of mold-resistant silicone caulk. Even it out with a damp finger or tool, and peel the tape for a pro finish. Let it cure fully, and you’ll find the full method keeps your shower leak-free for years.
Table of Contents
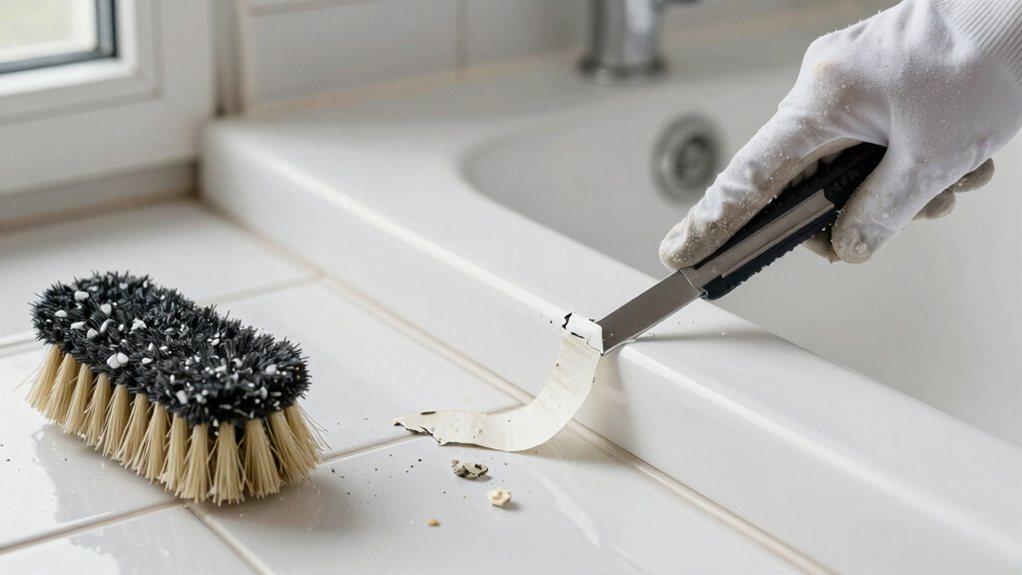
Before you grab that new tube of caulk, you’ve got to deal with what’s already there.
Start by peeling or cutting away every bit of the old, cracked sealant; a sharp utility knife works wonders, but please go slow to avoid nicks.
Next, a thorough surface inspection is key.
Run your fingers along the joint to feel for any hidden, stubborn bits you might’ve missed—they’ll ruin your new seal.
Now, scrub the area with a mildew removal solution to kill any lingering spores and guarantee a perfectly clean, dry surface.
This step isn’t glamorous, but think of it as the foundation for a job that’ll last for years, saving you from future drips and headaches.
A little elbow grease now pays off later.
If you want consistent professional results, consider using a professional caulking tool kit specifically made for smoothing, cutting, and cleaning joints.
Now that you’ve got a sparkling clean surface, it’s time to gather your all-star lineup of caulking tools and supplies.
Don’t worry, you won’t need anything too exotic. Having everything within arm’s reach makes the whole job more seamless and way less messy.
Remember, a little prep now saves a big headache later.
Think about storage solutions for leftovers; that half-tube will be handy for future touch-ups.
You’ve got this! Consider keeping a professional caulk gun kit on hand for the best results and easy future touch-ups.
Achieving those crisp, professional-looking lines is easier than you think, and it’s all thanks to a trusty roll of painter’s tape.
First, run a strip along the wall, leaving a tiny gap where your new caulk will go. Press it down firmly on the tub or tile.
The real secret is in the corner technique; you’ll overlap the tapes perfectly where they meet.
As you apply it, focus on maintaining a consistent tape tension—not too tight to pull it off-line, but snug enough to prevent caulk from sneaking underneath. It’s a simple step, but it makes cleanup a breeze. You’ll peel that tape away later to reveal lines so sharp, you’ll impress even yourself. For best results, choose a tape with Bleed-Block Tech to seal edges and stop caulk from seeping under the tape.
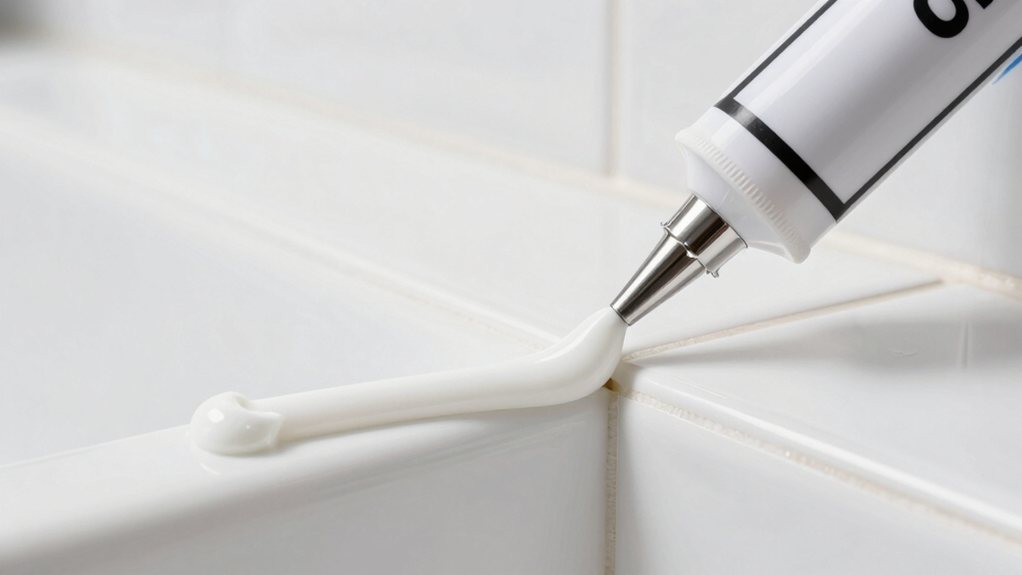
Grab your caulk gun and get ready to master the main event: laying down a seamless, perfect bead. Your Nozzle Selection is key—cut the tip smaller than you think for a thin, manageable bead.
Hold the gun at a consistent 45-degree angle and use a steady, confident pull. Remember, caulk is sensitive to Temperature Effects; a cool, dry room helps it set perfectly. Picture the process in your mind:
Resist the urge to go back and fix tiny flaws immediately; you’ll even it all out next. You can also find a variety of weatherstripping products for exterior door replacement that help seal gaps.
Now you’ll want to even out that fresh bead into a perfect seal.
Use your dampened finger or tool, applying steady pressure along the entire line to shape it nicely.
Finally, wipe away any excess caulk with a damp rag, leaving behind a clean, professional-looking finish you’ll be proud of. Also, make sure high-moisture areas have a properly applied paintable waterproofing membrane before finishing the seal to prevent future moisture problems.
A flawless bead of caulk is only as good as the final finishing step, so getting your tool ready is key to a pro-looking finish.
You can use a purpose-made caulk finishing tool or even a simple, damp finger. The goal is to have a sleek, consistent implement that will shape the seal perfectly. Before you start, take a moment for some quick prep.
This quick blade conditioning ensures a clean sweep, preventing tears in your fresh caulk line. For better comfort and control during longer jobs, prioritize tools designed with handle ergonomics in mind.
With your finishing tool prepped and ready, you can turn that fresh bead of caulk into a perfect, watertight seal.
The secret is applying uniform, even pressure along the entire line. Focus on keeping a steady wrist stability—imagine your hand is gliding on rails—to prevent wobbly, uneven results.
Find a comfortable rhythm control as you pull the tool; a slow, consistent motion is far better than rushing. This isn’t a race, and a steady pace means you won’t leave behind ridges or gaps.
As you blend, excess caulk will neatly collect on your tool. Just wipe it onto a rag periodically, which keeps your line clean and saves a huge mess later. A little patience here makes all the difference for a pro-looking finish. For even better results, consider using a drywall finishing tools kit to shape and smooth the caulk.
Feathering that fresh seal is your next step, and it’s where the magic really happens for a clean, professional look.
You must act within the perfect timing window—when the caulk is skinless but still tacky, usually 5-15 minutes after application. Use a wet finger or a finishing tool to glide along the line one final time, pressing firmly. This bonds the caulk and removes any excess. Immediately after finishing, wipe away the messy bits.
Your solvent selection is key for cleanup; for silicone, use rubbing alcohol before it cures.
For water-based caulks, soap and water works wonders.
Now step back and admire your handiwork—you’ve earned it!
If you’re working where new caulk meets grout, consider protecting adjacent grout with a penetrating grout sealer for an invisible finish and long-lasting protection; see natural-look sealer.
Even though you’ve just finished a meticulous caulking job, your work isn’t truly done unless you give that fresh bead a chance to cure properly.
First, assure good Ventilation Tips; open a window or run the fan for at least a day. This helps the caulk dry from the inside out, preventing mildew.
Next, remember your tub is a living thing—it expands and contracts with temperature changes. That’s why you filled those Expansion Joints; a flexible, mold-resistant silicone caulk moves with it.
Avoid using the shower for at least 24 hours, even if it looks dry. Patience here pays off for years.
Finally, for cleaning, use gentle, non-abrasive cleaners. Harsh scrubbing is the enemy of a long-lasting seal.
Treat it right, and your caulk will reward you. Also note that the waterproofing membrane beneath tiles provides the primary moisture protection, not the caulk.
And there you have it! You’ve tackled that old, grimy caulk and replaced it with a fresh, clean seal. Honestly, it feels pretty good to have done it yourself, doesn’t it? Just remember to let it cure fully before you take a shower, because a little patience now means you won’t have to do this again for years. Now go enjoy your sparkling, watertight tub—you’ve earned it.