Phone:
(701)814-6992
Physical address:
6296 Donnelly Plaza
Ratkeville, Bahamas.

Phone:
(701)814-6992
Physical address:
6296 Donnelly Plaza
Ratkeville, Bahamas.
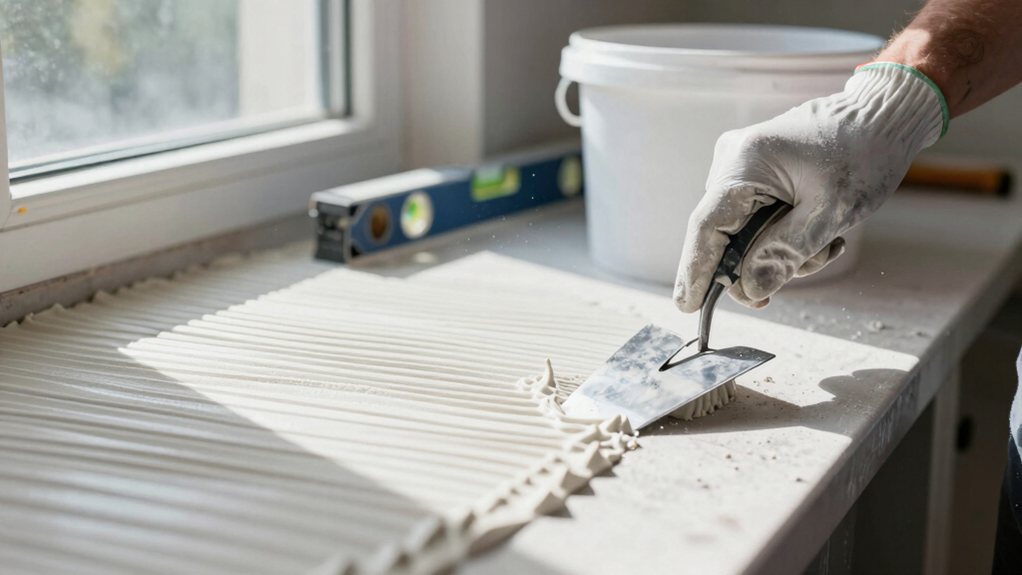
Find out why professionals spend 80% of their time on steps you can't see—the hidden prep work that separates flawless tile from future disasters.
The real secret to pro-looking kitchen tile? Spend most of your time on prep work nobody sees. Start by inspecting and repairing wall damage—especially mold issues that’ll haunt you later. Install cement or foam backer board with corrosion-resistant screws every eight inches, then waterproof high-moisture zones around sinks and stoves with quality membrane. Map your tile layout from center outward before touching adhesive, positioning full tiles where eyes naturally land. The guide ahead breaks down each step so you’ll avoid costly mistakes.
Table of Contents
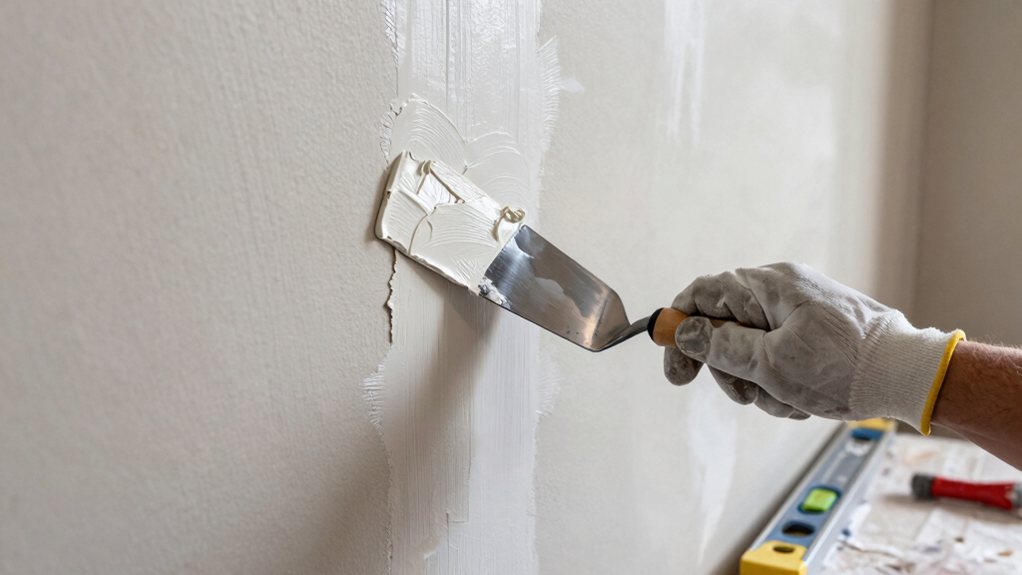
Before you even think about slapping tile on your kitchen walls, you’ll need to give them a thorough once-over to spot any damage that could sabotage your beautiful new backsplash. Look for cracks, holes, and water stains that need attention.
If you discover any suspicious dark spots or musty smells, mold remediation should be your first priority—tile won’t fix that problem, it’ll just trap it underneath. Once you’ve tackled any mold issues, grab some spackling compound or joint compound for plaster patching those imperfections. Fill cracks carefully, level everything out, and let it dry completely. Sand the patched areas until they’re flush with the surrounding wall. A perfectly even surface means your tiles will adhere properly and look professionally installed. For best results consider a professional drywall repair kit designed for quick patching and finishing.
Once you’ve got your walls even and repaired, it’s time to add a protective layer that’ll keep your tile installation looking great for decades.
A proper protective layer between your walls and tile is what transforms a weekend project into a lasting installation.
Cement board and foam board are your go-to options here.
Cement board’s the heavyweight champion—it’s waterproof and rock-solid, though it’s heavier to work with.
Foam board’s lighter and easier to cut, making it perfect for DIYers who’d rather not wrestle with materials all day.
Your fastener selection matters more than you’d think; use corrosion-resistant screws spaced every eight inches.
Don’t skip seam treatment either—apply mesh tape and thin-set mortar over every joint to prevent cracks from sneaking through.
This foundation isn’t glamorous, but it’s what separates amateur jobs from professional results.
You can find these materials grouped together in a bathroom renovation tile kit to simplify your project.
Your backer board’s in place, but water’s still public enemy number one in any kitchen installation.
Before you even think about setting tiles, you’ll need to tackle surface priming and waterproofing. Start by applying a quality primer to seal your cement board—it helps your waterproofing membrane stick like it means business.
Next comes membrane application, which is your real insurance policy against moisture damage. Focus on sink areas, behind the stove, and anywhere water might splash.
Use a paintable waterproofing membrane and work it into seams and corners with a brush, then roll the flat areas. Don’t skimp here—two coats beat one every time. Let it cure completely before moving forward, because rushing this step practically guarantees future headaches.
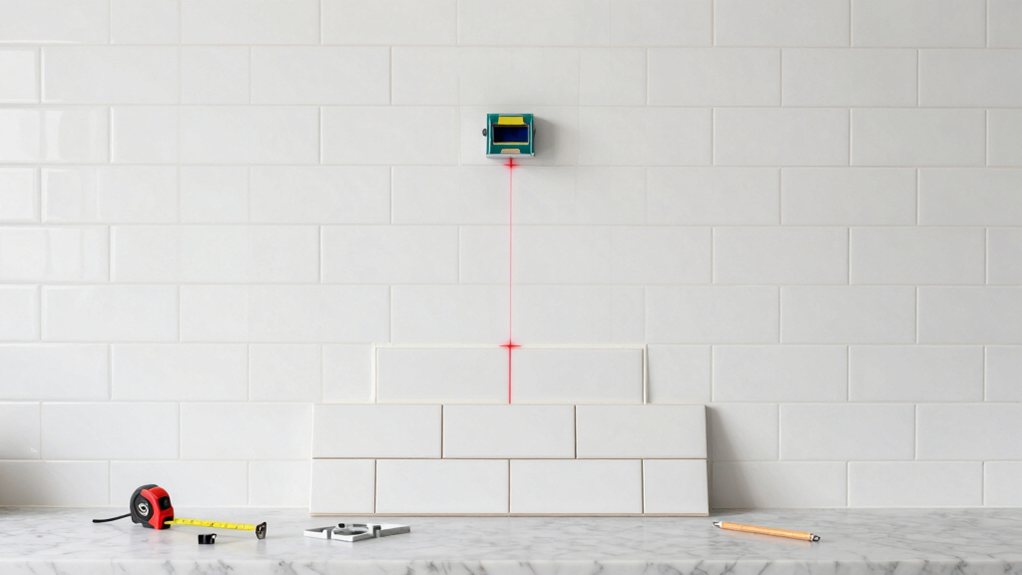
Why do so many DIY tile jobs end up with slivers of tile awkwardly crammed into corners or along edges? Poor planning, plain and simple.
Before you squeeze out a single drop of adhesive, you’ll want to dry-lay your tiles and map out your grid alignment.
Start from the room’s center and work outward—this guarantees balanced cuts on both sides rather than full tiles on one end and pathetic slivers on the other.
Centering your tile layout prevents awkward sliver cuts on one side while maintaining full, professional-looking tiles on the other.
Pay attention to focal placement, too. Your eye naturally gravitates toward certain areas, like the space behind your stove or sink.
Position full tiles in these high-visibility zones so cut tiles end up in less noticeable spots. Grab some chalk lines, mark your layout, and adjust until it looks right.
Trust me, spending thirty minutes planning now beats living with wonky cuts forever.
If you’re also updating adjacent openings, consider coordinating with professional door frame installation to ensure proper fit and finish.
After you’ve nailed down where every tile should go, here’s a suggestion that might sound smart but actually creates more headaches than it solves: pre-cutting, cleaning, and sealing all your tiles before installation. While it seems efficient, this approach backfires quickly.
Your Cutting Techniques won’t account for minor wall irregularities you’ll discover during installation, and pre-sealed tiles become slippery nightmares to handle. Plus, your Sealant Selection might be premature since different areas need different protection levels.
Here’s why you should skip this step:
Instead, cut and seal as you go. Consider using peel-and-stick tile options specifically designed for easy application and a clean finished look.
You’ve got the prep secrets now, so there’s no reason your kitchen tiles can’t look professionally installed. Sure, it takes some extra effort upfront, but you’ll thank yourself later when those tiles stay put for years without cracking or peeling. Take your time with each step, don’t rush the prep work, and remember—even pros started somewhere. Your kitchen transformation is closer than you think!