Phone:
(701)814-6992
Physical address:
6296 Donnelly Plaza
Ratkeville, Bahamas.

Phone:
(701)814-6992
Physical address:
6296 Donnelly Plaza
Ratkeville, Bahamas.
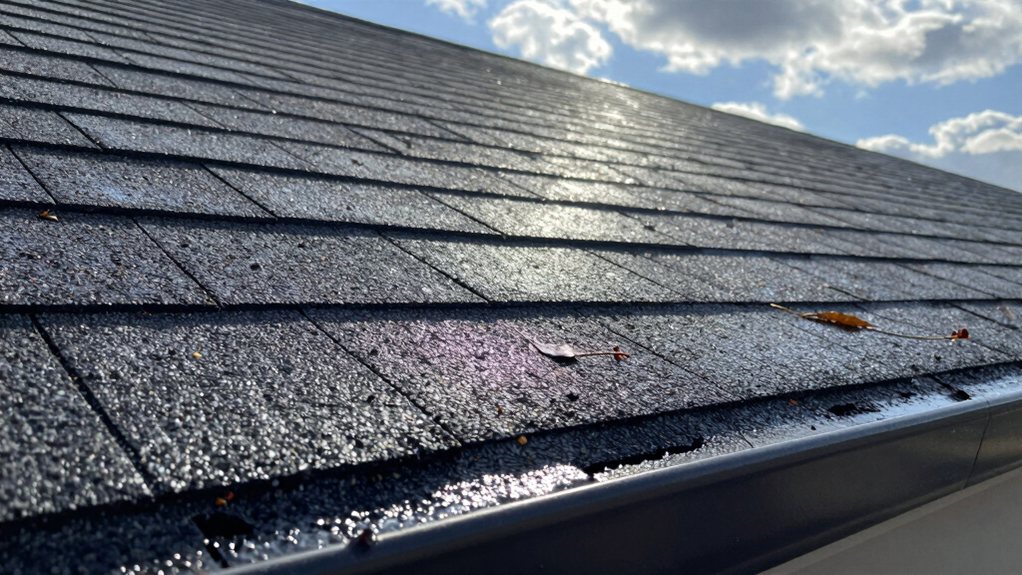
Spot clues after a storm safely from the ground first—discover what critical signs you might be missing.
Start safely on the ground with binoculars and polarized sunglasses. Walk your yard, looking for scattered shingles, dented patio furniture, or granule piles in gutters—these are big clues. Carefully check your roof for missing or cracked shingles and inspect seals around vents and chimneys. Don’t forget the attic for hidden damp spots. Take clear photos and notes for your insurance; if anything looks major, trust a pro. There’s plenty more smart advice ahead to guide you.
Table of Contents
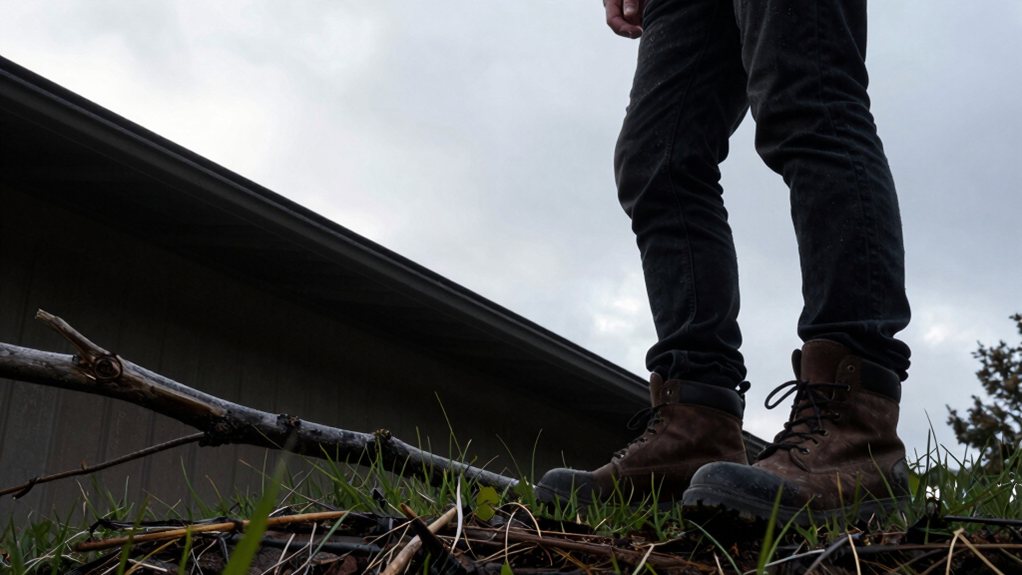
Before you even think about grabbing a ladder, you’ll want to start your roof inspection safely from the ground, since climbing up can be surprisingly dangerous. If you notice heavy debris, consider professional tools like a gutter cleaning pressure washer to safely remove buildup.
Falls from heights are a leading cause of injury, so let’s keep both feet firmly on the earth. First, gather your safety gear; polarized sunglasses are a must to cut that harsh sun glare.
For ideal visibility techniques, pick a bright day and walk slowly around your home’s entire perimeter, maintaining a good 10-15 foot distance from the walls. Use your binoculars to scan from multiple angles—this helps you spot shingle damage or clogged gutters without any climbing risk. It’s the smart, secure way to begin. A systematic approach is key, so mentally divide your roof into sections and inspect each one thoroughly from the eaves to the ridge.
Since you’ve safely scoped things out from a distance, now it’s time to put on your detective hat and take a closer look around your yard—it’s often full of telltale clues that can reveal what your roof endured.
Now, put on your detective hat and inspect your yard for clues about your roof’s recent battle.
Start by scanning for fallen shingles or debris piles; they’re a dead giveaway that wind got under your roofing.
Check for granules in your gutters or driveway, as this grit is literally the lifeblood washing off your asphalt shingles. Don’t ignore dented patio furniture or scratched metal, which hint at damaging hail.
Also, clear any broken branches for future playground safety and watch for soil erosion near your foundation, as it can signal major water runoff from a compromised roof. Hidden damage can be present even when obvious signs are minimal, so thorough documentation is key. Your yard tells quite a story if you listen!
Now, let’s move on to checking your gutters and downspouts—they often spill the beans on your roof’s condition after a storm. Look for dents, cracks, or sections pulling away, which signal wind or hail damage. Inside, check for clogs; a pile of shingle granules is a red flag for roof wear. Also, inspect the flashing for cracks, as openings there can allow hard-to-spot water leaks.
If water overflows in one spot, your downspout is likely blocked. In winter, watch for ice dams, which can cause gutters to crack. Consider installing gutter guards to minimize debris, and if you practice rainwater harvesting, keeping these systems clear is extra important. Also inspect nearby fascia and soffits for signs of water damage or rot, since significant decay may require replacement.
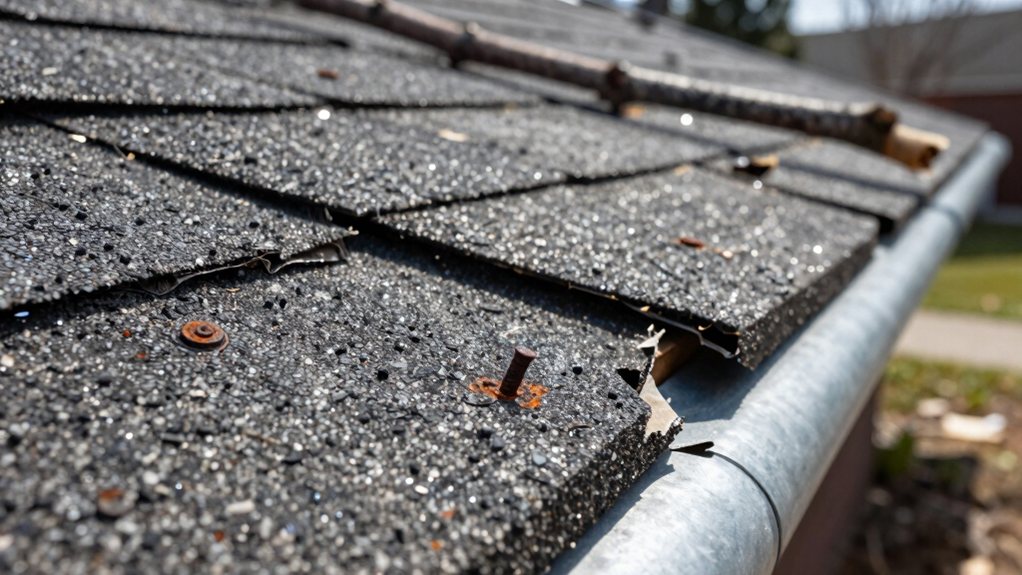
Next, you’ll want to look for any obvious issues on the roof surface itself, starting with missing or damaged shingles. After a storm, it’s also important to check for dents from hail, as impact damage can compromise the protective layer of your roofing materials. Check flashing condition around chimneys and vents, as even small gaps can lead to big problems.
Also, give your gutters and overhangs a quick once-over, since they often catch the first signs of trouble.
After a storm rolls through, you’ll want to take a good look at your roof from the ground to spot any missing or damaged shingles—these are often the most obvious signs that your roof needs attention.
Grab your binoculars and check for any gaps in the pattern, curled edges, or dark spots.
If you see shingle pieces in your yard, that’s a pretty clear message!
Finding damage early can save you a headache later, protecting your home from leaks. Prompt repair prevents escalation and avoids costly future repairs.
If repairs are needed, remember that getting proper color matching for new shingles keeps your roof looking uniform.
Also, check your warranty coverage, as storm damage might be included, which is a nice silver lining after rough weather.
Beyond looking for damaged shingles, your roof’s flashing deserves a close check. This metal trim seals areas around chimneys and vents, and storms can bend or dislodge it. For related structural work, consider professional door frame installation expertise to ensure adjacent framing isn’t compromised.
Walk around your house and look for obvious dents, cracks, or pieces that seem loose. Remember, flashing endures a lot, from thermal expansion on hot days to potential galvanic corrosion where different metals meet.
If the seal is broken, water sneaks right in. Your visual check from the ground is a great first step, but some damage hides. Professional roof inspections are recommended for finding hidden issues and for proper documentation for insurance.
If you spot anything questionable, call a pro. They’ve the tools and know-how to spot hidden issues, and your detailed notes and photos will help immensely with any insurance conversation.
While you’re checking your roof from the ground, your gutters and roof edges deserve a good look too, since they take the brunt of storm runoff. Check for clogs from leaves and branches, as blocked gutters cause overflow that can damage your foundation.
Look inside for shiny granules; a few are normal, but lots signal shingle erosion. Search for dents in the metal or missing fasteners, and scan for any cracked or missing shingles along the roofline. Record clear, well-lit photos of any damage you find from multiple perspectives for documentation and later review.
Don’t forget to peek up at the overhangs for signs of soffit rot or unexpected bird nesting, which can happen when storms create new openings. Also consider checking door thresholds for damaged weatherstripping that can allow water intrusion. A simple inspection can prevent a world of costly trouble later.
Next, you’ll want to closely check all the spots where things poke through your roof, as these are prime areas for sneaky leaks. Look at the rubber boots around your plumbing pipes and the metal flashing around vents or chimneys, checking for any cracks or sections that have pulled away. Also inspect the condition of metal flashing for corrosion or gaps that can compromise waterproofing. Pay particular attention to the sealant around flashing, as deteriorated sealant is a common failure point after weather exposure.
Even a tiny gap in these seals can let a surprising amount of water inside during the next downpour, so catching it now is a real win.
After a storm has passed, you’ll want to pay special attention to the flashing and sealants on your roof, since they’re like the waterproof seals around your windows and doors. Also inspect that flashing integrates with the waterproof membrane beneath roofing materials to prevent leaks at joints. Check for bent metal, loose edges, or exposed nails from hail or wind.
Look for cracked or dried-out sealant around chimneys, vents, and skylights; it shouldn’t be brittle. These materials handle a lot of thermal movement, so flexibility is key.
Small gaps can let water sneak in, leading to big problems later. Give joints a gentle probe, and if seals look failed, consider new coating options or professional repair. Failures often begin at terminations, edges, and overlaps rather than on the main roof surface, making these areas critical to check. Catching these issues early saves you from a headache, and possibly a much costlier repair, down the road.
Have you ever wondered how those pipes and vents sticking out of your roof stay watertight? It’s all thanks to pipe boots, the rubber or metal seals around them.
After a storm, grab your binoculars and check these critical spots. Look for visible cracks, gaps, or brittle material.
Inside your attic, search for water stains or grime lines on the pipe itself, telltale signs of a slow leak. Remember, material compatibility matters—sunlight can rot rubber, so make sure your boot matches your roof’s demands.
Also, consider thermal expansion; as materials heat and cool, they can pull apart, creating openings. A small crack today can mean a big puddle tomorrow, so don’t delay this check.
When you inspect, remember to prime and apply a paintable waterproofing membrane around the boot in high-moisture zones to prevent future leaks.
Just like those pipe boots protect your roof’s penetrations, the ridge cap—that row of shingles running along the very peak—acts as your roof’s crown and primary seal.
Grab your binoculars and scan that ridgeline for any caps that are lifted, cracked, or missing entirely; it’s a common trouble spot after high winds.
Look for manufacturing defects or fastener corrosion that could weaken its hold, and check your yard for scattered shingle pieces. A professional roof inspection can identify hidden issues like loose flashing or structural shifts that aren’t visible from the ground.
A damaged ridge cap is no joke—it’s a direct invitation for water to sneak in, so catching it early saves you from bigger headaches later. If you see curling or substantial granule loss up there, it’s definitely time to call in a pro for a closer look. Consider also inspecting adjacent structural components and hiring professional floor joist repair services if you find related support damage.
Ever wondered why your attic might be hiding secrets after a storm? It’s the first place to look for hidden leaks. Start with an insulation assessment; check for damp, sagging, or clumped material, which is a sure sign of moisture.
Use your nose for odor identification—that persistent musty smell often points to mold growth you can’t yet see. Grab a flashlight after rain and look for dark patches or those telltale tide-like rings on beams. Early detection minimizes structural damage and reduces overall repair costs.
Feel for dampness on joists and decking. Also note that moisture in substrate can prevent proper drying and lead to ongoing leaks. Remember, step only on solid beams to stay safe. Finding these clues early saves you from bigger, pricier problems down the road, making your detective work totally worth it.
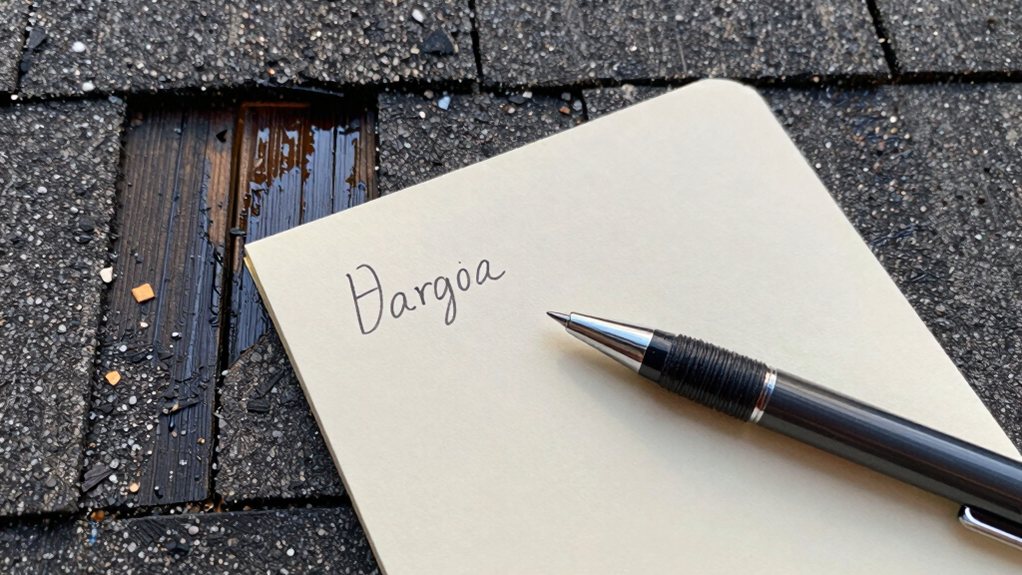
Documenting all the damage thoroughly is your key to a seamless insurance claim process after a storm. Also check for daylight under straightedge when inspecting flat surfaces near the roofline to reveal unevenness that could indicate structural issues. Start by taking clear photos and videos from multiple angles—get both wide shots for context and close-ups of dented or missing shingles.
Check your photos’ timestamp metadata; it’s solid proof for your insurer. Next, write detailed notes about the damage location and the storm’s timing, which helps counter any potential policy exclusions. For a thorough and safe assessment, consider a professional inspection to identify any hidden structural issues not immediately visible.
Importantly, gather every invoice from emergency repairs and your past maintenance records to show this is new damage. Finally, submit everything promptly to your insurance company.
Staying organized here might feel like a chore, but it truly eases the path to getting your roof repaired.
When should you call in a professional roofer after a storm?
Don’t wait if you see immediate dangers like large leaks, downed power lines, or sagging areas—these demand an emergency response now.
Also, consider insurance deadlines; getting a pro inspection within 24-48 hours gives you solid proof for your claim. Regular post-storm inspections create a valuable maintenance history for future resale or insurance needs.
Small issues, like a few missing shingles or minor hail marks, still need a trained eye to prevent bigger headaches later.
Always choose a local, reputable roofer who knows your area’s storms.
They’ll spot subtle damage you might miss, and their quick work protects your home from further trouble, giving you real peace of mind after all that wild weather.
You’ve done the hard work, so don’t forget the final steps! Taking pictures and writing notes about any damage is super important for your insurance. If you see anything that makes you nervous, like big missing shingles or a sagging roof, don’t hesitate—call a pro. It’s better to get expert help and keep your home safe and dry. Now, go enjoy that post-storm calm.