Phone:
(701)814-6992
Physical address:
6296 Donnelly Plaza
Ratkeville, Bahamas.

Phone:
(701)814-6992
Physical address:
6296 Donnelly Plaza
Ratkeville, Bahamas.
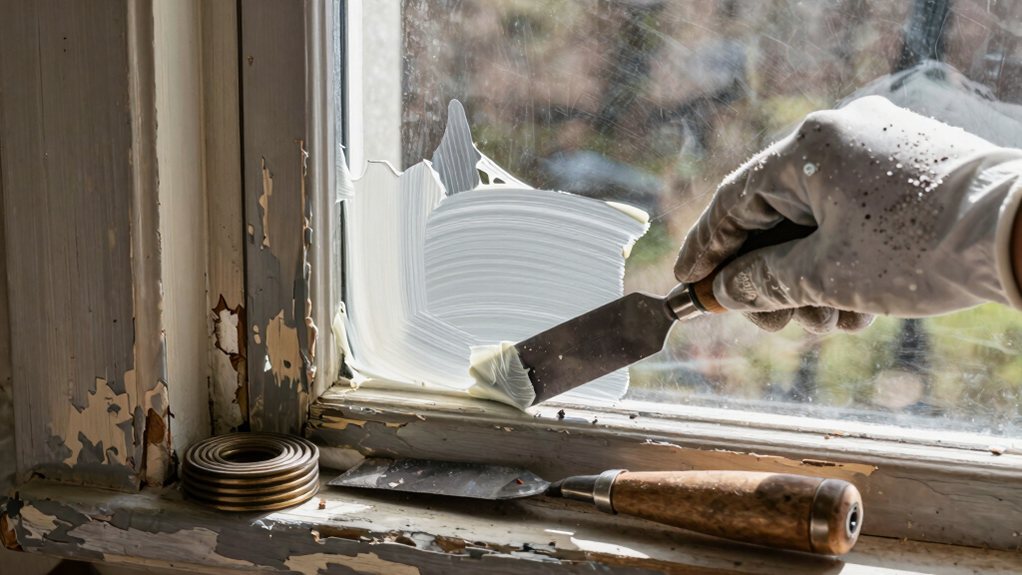
Gently revive your old wood windows by restoring and reglazing them, a process that saves their beautiful character when you follow the
Restoring your old wood windows involves safely removing the sash, stripping old paint and putty, and repairing any rotted wood with epoxy. You’ll then bed new glass in fresh glazing compound, prime all bare wood edges, and apply durable, flexible topcoats. It’s a rewarding project that saves beautiful windows. Stick with the process and you’ll find detailed steps ahead that make everything clear.
Table of Contents
Before you jump into the restoration, let’s get your old sash out and your workspace ready for action.
First, suit up in a P100 respirator, gloves, and coveralls, treating any old paint as lead.
Gently score and pry off the interior stop to free the window sash.
Tilt the sash in, support it well, and carefully disconnect its ropes so the weights don’t crash—trust me, that’s a noise you don’t want to hear.
Tilt the sash in, brace it firmly, and carefully disconnect the ropes to avoid a startling crash from the falling weights.
Lay the sash on a padded workbench with soft corner supports to protect the glass.
Finally, prep your area by sealing the floor with plastic and having a HEPA vacuum handy.
A dry, ventilated day is perfect, keeping your fresh repairs happy and moisture-free.
Consider picking up a professional safety equipment kit to ensure you have all necessary PPE.
You’ll need to strip the old paint and glazing to get down to clean, bare wood, starting with testing for lead and using safe removal practices.
Carefully chip out the glazing compound and remove the glazing points, softening stubborn bits with a heat gun instead of a flame to protect the glass.
Then, strip any loose paint using scrapers or a chemical stripper, and don’t forget to check the exposed wood for any soft spots that need fixing.
For best finishing results, consider having a professional caulking tool kit on hand to properly seal and smooth glazing lines.
Stripping away decades of old paint and dried glazing to reveal the beautiful bare wood underneath is a deeply satisfying step.
Doing it safely is the most important part, so you protect yourself and your home.
Your best tools are patience and the right gear.
Avoid super-high heat or open flames, as they can create dangerous lead fumes.
* Contain the Mess: Suit up in a respirator and gloves, and seal the area with plastic.
Every single chip and bit of dust needs to be HEPA-vacuumed and wiped up wet, then disposed of properly.
If testing indicates lead, follow proper lead abatement procedures or hire a certified professional to avoid hazardous exposure.
With the old paint safely dealt with, your focus can now shift to the woodwork that holds the glass itself.
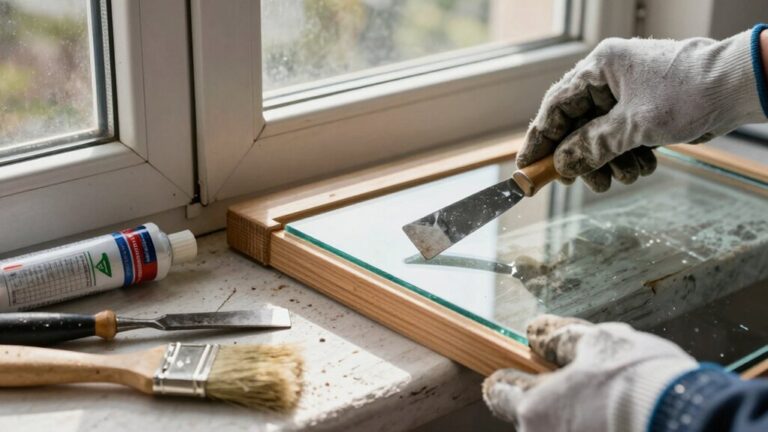
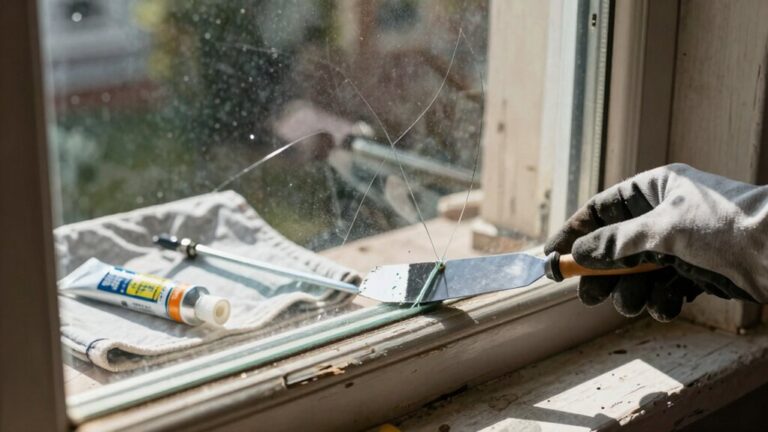
First, you’ll score and chip out all the loose, old glazing compound with a sharp putty knife.
If some putty is stubborn and painted over, gently soften it with a heat gun, then you can pry out the old glazing points.
Once those little metal points are out, carefully lift the glass free.
Clean any leftover gunk off the pane with vinegar and a razor blade.
Now, scrape the window rabbet down to bare, sound wood, checking for soft spots.
Only after this clean, solid base is ready can you later install glazing points and new putty for a weather-tight seal.
Ensure the wood is dry because moisture in substrate can prevent proper curing of new glazing compounds.
– Team Up Your Tools: Combine a heat gun for gentle softening with a stiff scraper for control.
For stubborn, thick layers, a chemical stripper can be your best friend—just follow the directions.
– Play Detective: As you strip, poke around with a screwdriver.
Any soft, crumbly wood needs to be cut out and replaced, not merely filled over.
– Finish Clean: Once down to bare wood, scrub the rabbet with mineral spirits, let everything dry completely, and you’re set for the next step.
Consider having a wood refinishing kit on hand to ensure you have the right supplies and specialized tools for the job.
Even though your old wood window frames are sturdy, they aren’t immune to decay, so diagnosing rot is a crucial first step. Grab a screwdriver and probe suspected areas like sills and corners; soft, spongy spots mean trouble. Peeling paint or drafts are also telltale clues.
For small, non-structural rot, cut out all the soft wood, apply a hardener, and rebuild the shape with epoxy filler—it’s like dentistry for your window!
However, when damage is extensive or structural, a full replacement of the rail or section is the only safe, lasting fix. After your repair, prime, paint, and seal everything well. Do it right, and you’ll easily get another decade of cozy, draft-free service from your refreshed windows. For larger restoration jobs, consider using a professional furniture refinishing kit to achieve consistent, durable finishes.
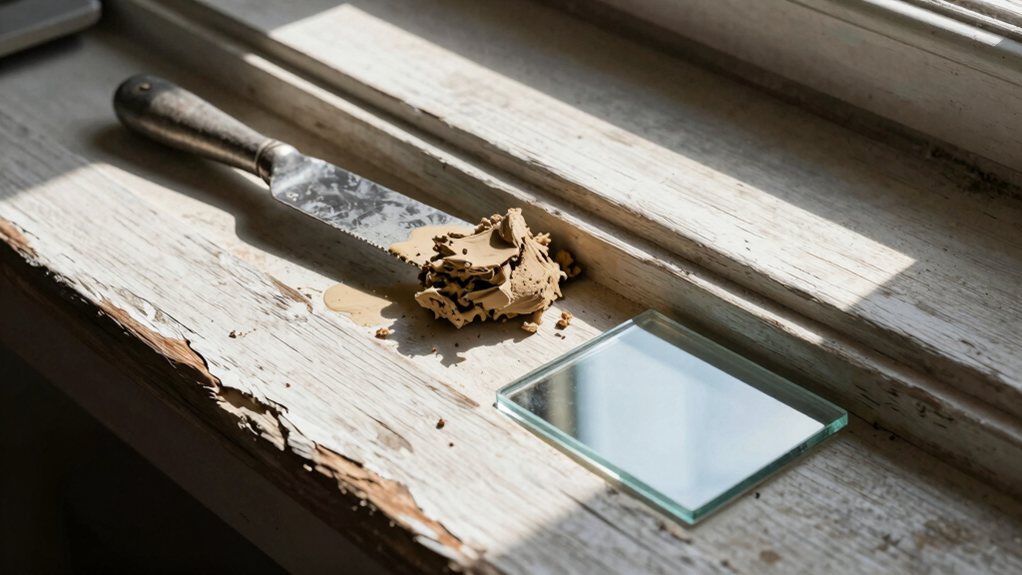
Now that your wood frame is solid and repaired, you’re ready to bring back the sparkle with new glazing.
With your frame restored, it’s time to make it shine again with fresh glazing.
This traditional art is easier than you think, as long as you’re patient and follow a few key steps.
Choosing the right primer and paint is a big deal, as it makes all the difference between a lasting finish and one that flakes in a year. You’ll want an oil-based primer for the best seal on bare wood, followed by a flexible acrylic topcoat that can handle the weather without cracking.
Don’t forget to check that your products play nice together, and consider mildew-resistant options if you live somewhere sticky and humid. If you’re planning to repaint many frames, consider using an exterior paint sprayer system to speed up the job and ensure even coverage.
Because you’re working with old wood that’s seen its share of weather, picking the right primer is like choosing a good foundation—it’s what makes your paint job last. Your primer and paint need to be a compatible team. For this dense, worn wood, an oil-based or alkyd primer is your best bet, as it really penetrates and sticks, flexing with the wood to prevent cracks.
In humid climates, pick one with mildewcide and stain-blockers to fight tannins and old water marks. Always check that your topcoat is safe to use over the primer you choose.
Also consider that oil-based primers generally bond best to aged, dense wood, improving adhesion and longevity.
Achieving a paint job that endures for years is a satisfying reward for your hard work, and it hinges on choosing a primer and paint that work together as a durable team. Start with a high-adhesion primer to seal the old surface; it’s the trusty foundation your exterior paint needs.
For the topcoats, always use a 100% acrylic exterior paint. It stays flexible so it won’t crack when the wood swells or shrinks in the heat.
Don’t skimp on layers—a proper primer plus two finish coats creates a tough, protective shield. Also, pick products with mildew fighters, because humidity loves to challenge your work.
Finally, seal every edge thoroughly; keeping water out is the ultimate secret to longevity. For crisp, consistent edges, consider using a paint edger compatible with an extension pole to reduce fatigue and prevent smudging.
Now that your repairs are rock solid and the wood is bone dry, you’re ready to transform your hard work with a durable finish and get that sash back in its frame.
Start by sealing all bare wood edges with an oil-based primer; this essential step locks out moisture.
Next, apply two topcoats of high-quality exterior paint, making sure to cover the bottom sill to shed water.
Finally, carefully reassemble the hardware and slide the sash home, checking that it moves easily.
Consider improving the seal and energy efficiency by installing proper door weatherstripping.
With your sash painted and ready, it’s time to hang it back in the frame and lock out drafts for good. First, verify your hardware works properly and the sash closes fully on its own. Carefully fit it into the frame, aiming for an even, hairline gap all around—if it binds, a little shimming or trimming does the trick.
Next, install your chosen weather‑stripping around the jambs, sill, and meeting rail; compress it just enough to seal without making the window hard to move.
Finally, do a candle test for drafts and cycle the sash a few times. Seal any last exterior gaps with paintable caulk, and you’ve restored a beautiful, efficient window.
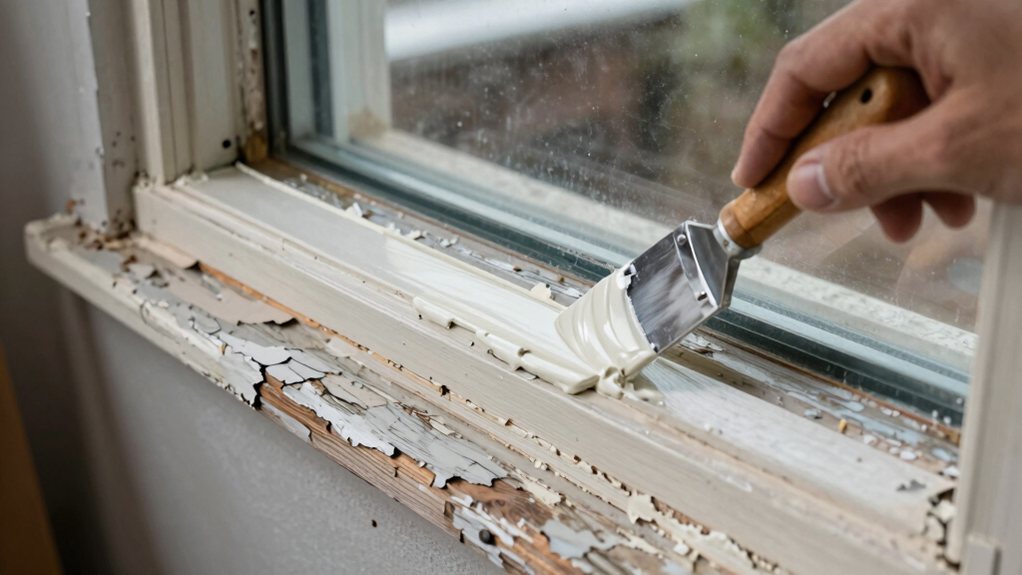
You should definitely call a pro if you find extensive rot in the structural frame, as that’s a job needing expert carpentry.
It’s also smart to hire a specialist for windows in a historic home, since matching the original style perfectly can be tricky.
And don’t forget about lead paint safety—bringing in a certified contractor guarantees the job is done without any health risks.
While you might be keen to tackle most window repairs yourself, recognizing when structural damage is too extensive is critical.
If rot or decay affects over roughly 20% of the frame, or key structural parts like the sill or jambs are compromised, it’s time to call a pro.
This isn’t just a patch job—it often requires full section replacements and expert reframing to keep your window square and secure.
Since old wood windows can be real treasures in a historic home, knowing when to bring in a specialist for their preservation is a smart move. If you need to match a unique historic profile or perform extensive wood splice repairs, you should call a pro.
They’ve the skills to replicate intricate details that modern replacements can’t. This is especially true for precise glazing work on original glass.
Additionally, always hire a lead-safe certified professional if your home is over a century old, as disturbing old paint is a serious health risk. They’ll handle containment safely. Getting expert help guarantees these beautiful windows are preserved correctly, protecting your home’s character and your investment for years to come.
Preserving the character of your old windows is important, but the paint on them might hide a hidden hazard. If your house was built before 1978, you should assume lead is present.
Disturbing it with sanding or scraping creates dangerous dust, so you must take this seriously.
Following these precautions protects your home and your health.
How can you keep your beautifully restored wood windows looking great and working effortlessly for years to come? Commit to a simple yearly check-up.
Each autumn, inspect sills, corners, and lower rails, probing any soft spots with a screwdriver to catch rot early. Watch the putty, too; re-glaze any cracked or shrunken sections immediately to keep the glass snug and dry inside.
Repaint exposed wood every five to seven years, sanding to sound wood and priming thoroughly first. Most importantly, stop moisture at its source—fix leaky flashings and consider adding storm windows.
With these mindful habits, your repairs can provide a decade or more of reliable, charming service, protecting your investment and your home’s character.
You’ve done the hard part, so give yourself a pat on the back! With your old window beautifully restored, it’ll be a source of pride for years to come. Remember, a little maintenance, like checking the putty and paint every so often, goes a long way. Enjoy the clear view and the character only original wood windows can provide—you’ve earned it.