Phone:
(701)814-6992
Physical address:
6296 Donnelly Plaza
Ratkeville, Bahamas.

Phone:
(701)814-6992
Physical address:
6296 Donnelly Plaza
Ratkeville, Bahamas.
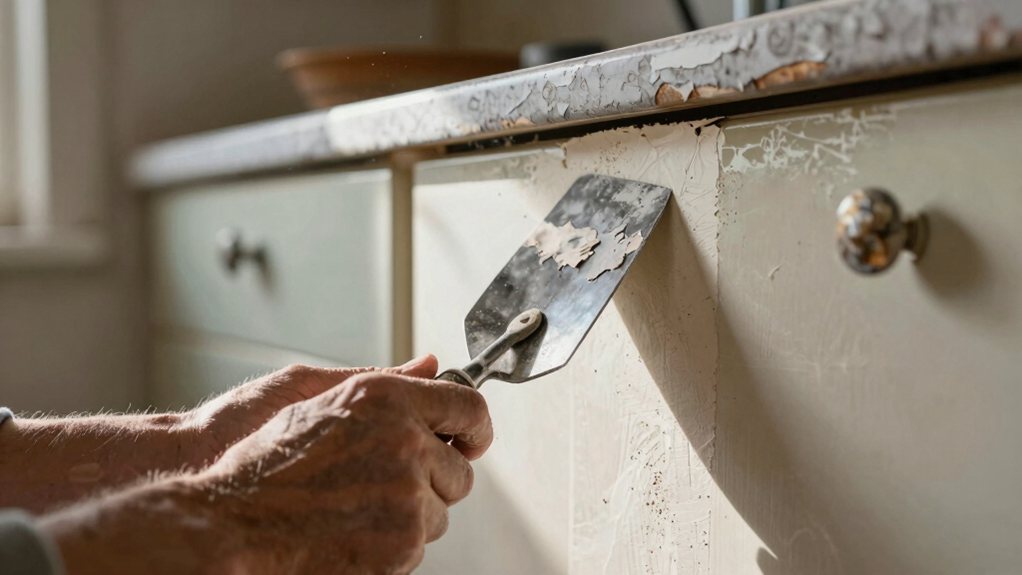
Uneven floors and wobbly cabinets ruining your vintage kitchen's charm—discover which quick fix will solve your specific leveling problem.
Your older kitchen’s uneven floors and wobbly cabinets happen because of foundation settling, water damage, or worn subflooring—but you’ve got options. For minor dips under ½ inch, pour self-leveling compound ($2–5 per sq ft) across large areas. For localized wobbles, slide shims beneath cabinet bases and adjust appliance legs. Straighten bowed walls by adding sister studs, and relevel sloped countertops with shimmed support cleats. The fix you choose depends on what you discover when you measure the problem and inspect what’s underneath.
Table of Contents
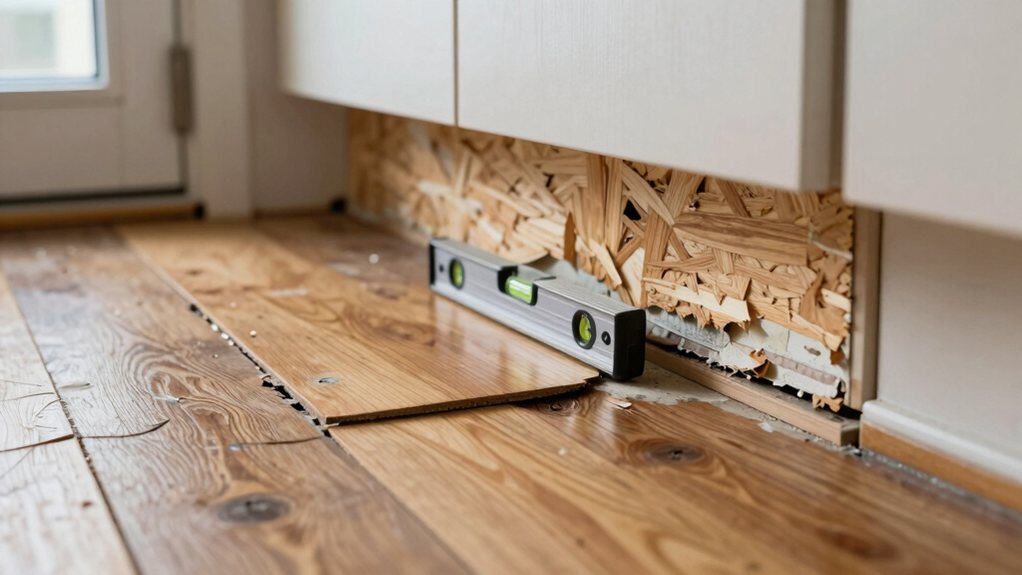
Why does your kitchen floor feel like a miniature mountain range when you’re trying to cook dinner? Before you can fix those frustrating dips and bumps, you’ll need to play detective and figure out what’s causing them.
Start by checking for plumbing leaks under your sink or around appliances—water damage can wreak havoc on subflooring over time.
Next, consider foundation settling, which happens naturally as houses age but can create some seriously wonky surfaces.
Look for cracks in walls or doors that don’t close quite right, as these are telltale signs.
Sometimes it’s just worn-out flooring materials giving up the ghost. Grab a flashlight, get down on your hands and knees, and investigate those problem areas thoroughly. Understanding the root cause will save you time, money, and headaches. If damage extends to structural supports, seek professional floor joist repair to ensure safe, lasting results.
Before you start ripping up flooring or tearing into walls, you’ll want to know exactly what you’re dealing with—because not all unlevel surfaces need the same fix.
Assess before you attack—different degrees of unlevel demand different solutions, so measure first and demolish later.
Measuring gives you real numbers to work with, more than mere guesswork.
Here are three reliable ways to measure:
Document your findings with photos and measurements—you’ll thank yourself later when planning repairs. For more precision, consider using a professional laser level kit to project consistent lines across the room.
You’ve measured your uneven floor, and now you’re facing the big decision: should you pour self-leveling compound or grab some shims and get to work?
Both methods can flatten out your kitchen floor, but they’re built for different situations, cost vastly different amounts, and won’t last the same number of years.
Let’s break down when each fix makes sense, what you’ll actually spend (in both time and money), and which option will still be holding strong a decade from now.
If you’re installing luxury vinyl plank flooring, proper subfloor prep is essential.
Choosing between self-leveling compound and shimming isn’t rocket science, but it does require you to assess your specific situation honestly.
Here’s when each method works best:
1. Use self-leveling compound when you’ve got minor dips (under ½ inch) across large floor areas.
It’s perfect for creating that level canvas before installing new flooring.
Check permit requirements and warranty implications with your flooring manufacturer first.
2. Choose shimming for localized problems like wobbly appliances or individual cabinet legs.
It’s your go-to for quick fixes that won’t break the bank.
3. Combine both methods when dealing with pronounced unevenness.
Start with self-leveling compound for major dips, then fine-tune with shims where needed.
Your floor’s telling you what it needs—you just need to listen.
Also consider investing in luxury home renovation tools to ensure professional results.
Let’s talk money and time—because both matter when you’re fixing your kitchen floor.
Self-leveling compound typically costs $2-5 per square foot for materials, plus labor if you’re hiring help.
It’s a one-day job once you prep everything.
Shimming runs cheaper at $50-200 total, and you can knock it out in an afternoon if you’re handy.
Here’s the catch: some major floor work might need permit fees depending on your local codes, so check first.
If budget’s tight, shimming wins for small areas.
For bigger problems, self-leveling pays off long-term.
Don’t forget—some contractors offer financing options if you’re not paying cash upfront.
Choose what fits your wallet and schedule.
Many power tools for home improvement can speed the job.
When your kitchen floor fix needs to last decades, rather than months, the durability difference between these two methods becomes crystal clear.
Self-leveling compound offers impressive material longevity, typically lasting 20-30 years with proper installation.
Shimming, however, can loosen over time as wood expands and contracts with humidity changes.
Here’s what wear analysis reveals about long-term performance:
You’ll want to factor in your kitchen’s daily demands when choosing your fix.
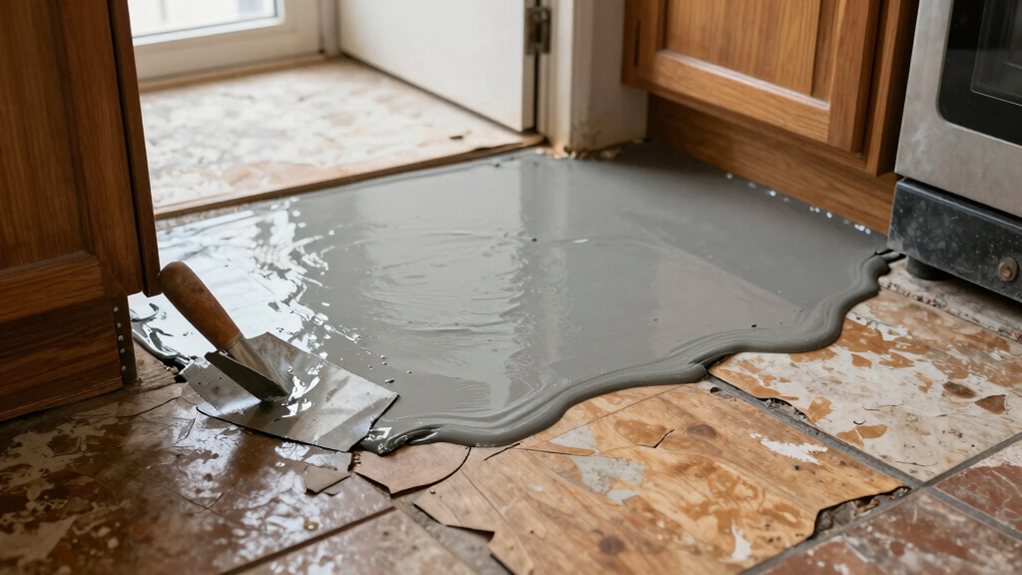
Pouring self-leveling compound across your kitchen floor might sound intimidating, but it’s actually one of the most forgiving fixes you’ll tackle in your home improvement project. You’ll mix the compound according to package directions, and here’s where it gets interesting—you can add mixing additives to improve performance based on your specific needs.
If you’re working against the clock, drying accelerators will speed up the curing process substantially. The compound naturally seeks its own level, which means you won’t stress about creating perfectly uniform surfaces manually.
Simply pour it out, give it a gentle nudge with a spreader, and watch it work its magic. Within hours, you’ll have a beautifully even floor ready for your new flooring material. You can also pair the process with a bathroom renovation tile kit to streamline installing your new tile.
Sometimes your floor remains stubbornly uneven even after treatment, or maybe you’ve decided that pouring compound just isn’t in the cards for your particular situation.
Don’t worry—shimming offers a practical alternative that’ll get your cabinets standing proud and level.
Shimming provides a reliable solution for leveling cabinets when floor leveling compound isn’t practical for your project.
Here’s how to tackle this challenge:
This method works beautifully when floors slope gradually, and you’ll appreciate how these simple adjustments transform wobbly cabinets into solid, professional-looking installations. If you need adjacent trim or frame precision, consider consulting professional door frame installation providers for expert alignment and finishing.
While floors get most of the attention during kitchen prep, bowed walls can wreak just as much havoc on your cabinet installation. You’ll spot these troublemakers by running a straight edge along the wall—any gaps mean you’ve got work to do.
For minor bows, you can attach sister studs directly to the existing wall framing. These reinforcement studs create a straight plane for mounting cabinets. Secure them with construction adhesive and screws, checking frequently with your level.
Severe bows need temporary bracing to pull the wall back into position before you add sister studs. Install braces from floor to ceiling, gradually tightening them over several days. This prevents cracking drywall. Once straight, add your sister studs for permanent support.
Consider keeping a professional drywall repair kit on hand to address any surface damage that appears during the straightening process.
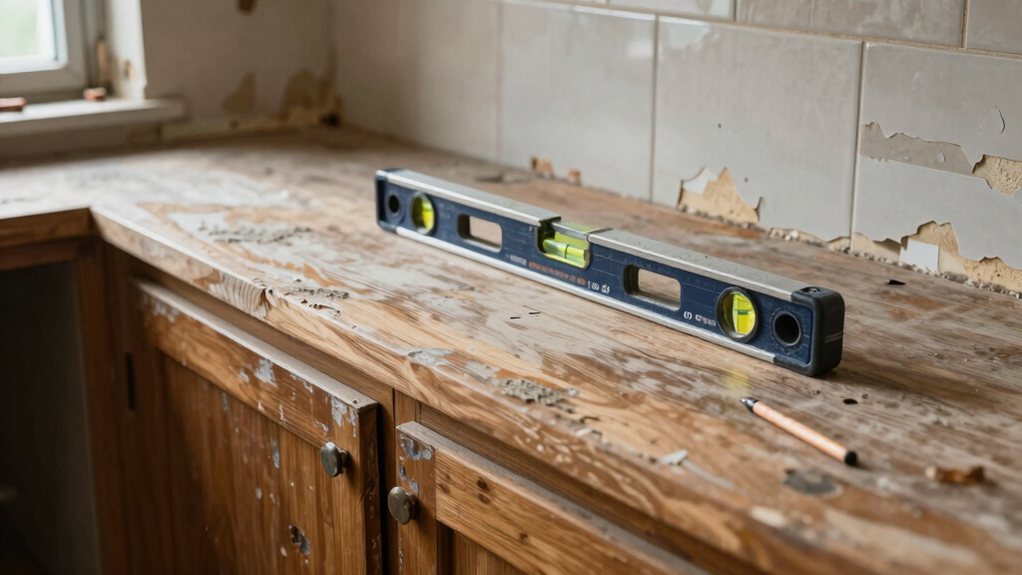
Sloped countertops in older homes aren’t just annoying—they’re a real problem when you’re trying to cook or set down a drink without it sliding away.
Here’s how to tackle this fix:
Once everything’s level, your countertop becomes functional again.
No more watching your cutting board drift across the counter while you’re chopping vegetables!
If you’re also updating fixtures during the remodel, consider coordinating finishes with a bathroom vanity cabinet for cohesive style.
When your refrigerator rocks back and forth every time you open the door, or your dishwasher sits at a weird angle that makes it look like it’s about to tip over, you’re dealing with the classic uneven floor problem.
Start by adjusting the leveling feet on your appliances—most have threaded legs you can twist to compensate for dips and slopes.
If that doesn’t quite cut it, slip anti-vibration mats underneath to absorb movement and provide extra stability.
For dishwashers and ranges, you’ll want flexible connectors on water lines and gas hookups, since they need to accommodate the adjusted positions without creating dangerous stress on rigid pipes.
These small tweaks keep your appliances stable, quiet, and properly functioning despite your floor’s quirks.
You can also free up space by installing a kitchen storage cabinet organizer to keep items neatly stored and accessible.
If you’ve noticed soft spots in your kitchen floor, or if you can feel the surface giving way slightly under your feet near the sink or dishwasher, you’re probably wondering whether you need a full subfloor replacement or if reinforcement will do the trick.
Here’s how to decide:
Minor sagging? Sistering joists works great.
But widespread damage means tearing it out.
Don’t patch serious problems – you’ll regret it when your fridge falls through.
Your wallet’s about to feel very different depending on which route you choose – and honestly, the price gap between DIY and professional kitchen leveling is pretty shocking.
You’ll spend $200-$500 doing it yourself (mostly on self-leveling compound and tools), while pros charge $1,500-$4,000 for the same job.
Here’s the catch: permit requirements vary by location, and some municipalities won’t accept homeowner-pulled permits for structural work.
That means you might need a licensed contractor anyway.
Then there’s warranty differences – your DIY job comes with zero guarantees, while most pros offer 1-3 year warranties on their work.
If something goes wrong six months later, you’re either covered or you’re not.
That protection alone might justify the professional price tag.
You’ve got this! Uneven kitchen surfaces might feel overwhelming at first, but you’re now armed with real solutions that’ll actually work. Whether you’re shimming cabinets, pouring self-leveling compound, or deciding when to call in the pros, you’re taking control of your space. Don’t let a sloped floor keep you from enjoying your kitchen—tackle it head-on, one level surface at a time, and you’ll be amazed at the difference it makes.