Phone:
(701)814-6992
Physical address:
6296 Donnelly Plaza
Ratkeville, Bahamas.

Phone:
(701)814-6992
Physical address:
6296 Donnelly Plaza
Ratkeville, Bahamas.

Learn to repair water-damaged hardwood floors with quick fixes and pro secrets that will.
First, stop the water source and remove any standing water immediately—a quick response is your best defense. Grab your moisture meter; if readings are under 16%, you can often dry the area with fans and a dehumidifier, then lightly sand and refinish minor cupping. For a single wrecked board, you can cut it out and replace it yourself. Stick with me, and I’ll walk you through each step to restore your floor’s beauty.
Table of Contents
So, you’ve got a water-damaged floor—what now?
First, grab a moisture meter; it’s your best friend here.
The moisture meter is your essential first step—it quickly reveals the true extent of water damage.
For Hardwood, a reading under 10% is great, but anything over 16% means serious water trouble.
Next, look closely at the damage.
A little cupping might just need drying and sanding and refinishing.
But if you see severe buckling or feel a soft subfloor, that’s a bigger job.
Act fast! Remove any standing water within a day to stop mold and warping.
Peek under baseboards for hidden issues.
If the area is large or you spot mold, call a pro.
Figuring this out now saves you a major headache later.
If you suspect hidden mold, get a professional mold assessment to confirm and guide removal.
Now that you’ve assessed your floor’s condition, you can tackle some fixes yourself without breaking the bank.
First, act fast: remove standing water with a vacuum and sponge, then run fans and a dehumidifier.
For popped tongue-and-groove joints, inject waterproof wood glue and clamp them.
Minor cupping often flattens with drying, needing just light sanding and spot refinishing to match.
If a plank is too far gone, you can replace affected planks if you have matching stock.
Remember, always check moisture content before any sanding or refinishing, and inspect the subfloor for hidden issues during replacement.
With patience, these low-cost repairs can make your Water-Damaged Hardwood Floors look great again. Also check substrate flatness against ASTM F710 tolerances to avoid future problems.
Consider using a professional wood refinishing kit to ensure you have the right sanders, stains, and finishes for the job.
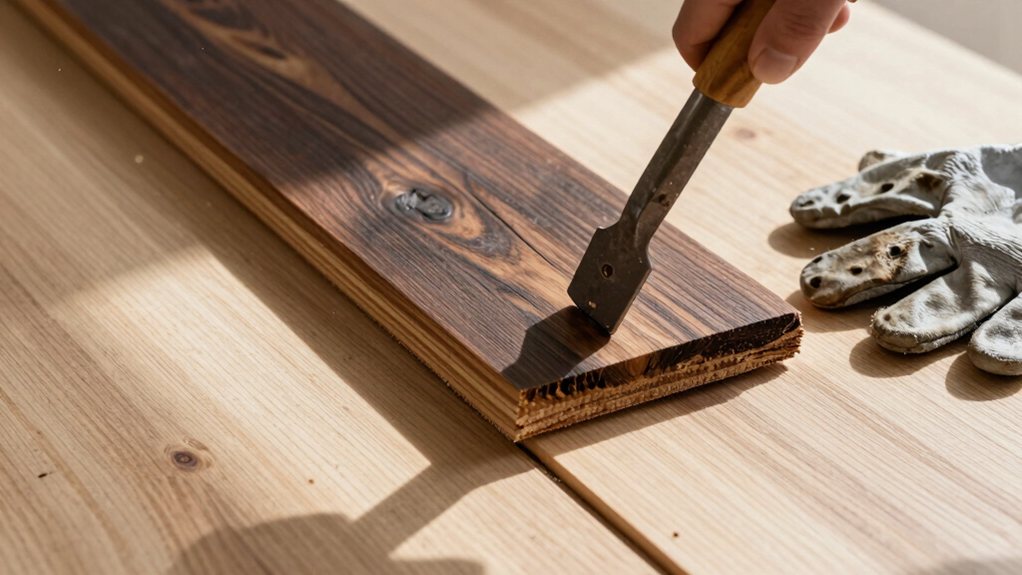
Picture yourself staring at a single, stubborn board on your otherwise beautiful floor—it’s cupped, stained, or maybe even cracked beyond hope. To replace that damaged plank, start by carefully cutting out its tongue with a circular saw set to the board’s thickness.
Next, pry it up to reveal the subfloor underneath. This is a pivotal moment—check for hidden moisture with a moisture meter and let the area dry completely.
Now, fit your replacement boards, trimming the groove so they lock in. Secure them with adhesive, tapping pieces together. Once the glue cures, you’re on the home stretch: sand the area even, stain to match, and apply a protective finish. Your repair will blend right in! Consider using a cordless circular saw kit for easier cutting and portability.
* Fix the Source First: Always repair the root cause, like a leaking pipe, before any floor work.
A quick patch is just an invitation for more trouble.
* Dry Everything Quickly: Remove standing water immediately and start drying within 24 hours.
Use dehumidifiers and fans to chase away moisture and stop mold in its tracks.
* Be Proactive: Stay ahead with regular plumbing maintenance and install water-leak detectors.
These little sentinels give you an early heads-up, saving your beautiful floors from future heartache.
Consider integrating a smart home hub to tie leak detectors and dehumidifiers into automated alerts and responses.
Don’t let a water-damaged floor get you down. You can handle a lot of it yourself, from a simple spot fix to a full board replacement. The most important step is always stopping the leak first, or you’ll just be doing this again. Tackle it step-by-step, and soon you’ll be looking at your beautiful floor, feeling pretty proud of your handiwork. You’ve got this!