Phone:
(701)814-6992
Physical address:
6296 Donnelly Plaza
Ratkeville, Bahamas.

Phone:
(701)814-6992
Physical address:
6296 Donnelly Plaza
Ratkeville, Bahamas.
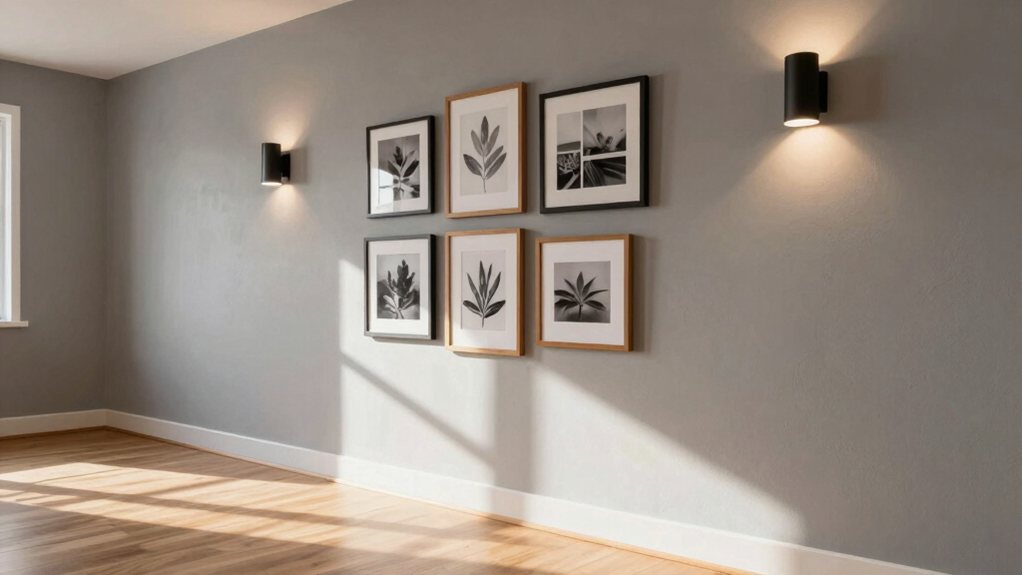
Personalize your hallway with DIY updates like lighting, paint, and gallery walls to create a more inviting space that you'll want to show off.
You can easily brighten your hallway with DIY updates. Start by switching to a modern flush-mount fixture and consider adding wall sconces for a warm glow. Paint the walls a light-reflecting color like soft gray or creamy white to make the space feel wider. Then, create a personal gallery wall using a mix of framed art and photos. There’s plenty more to explore for making your hallway truly welcoming.
Table of Contents
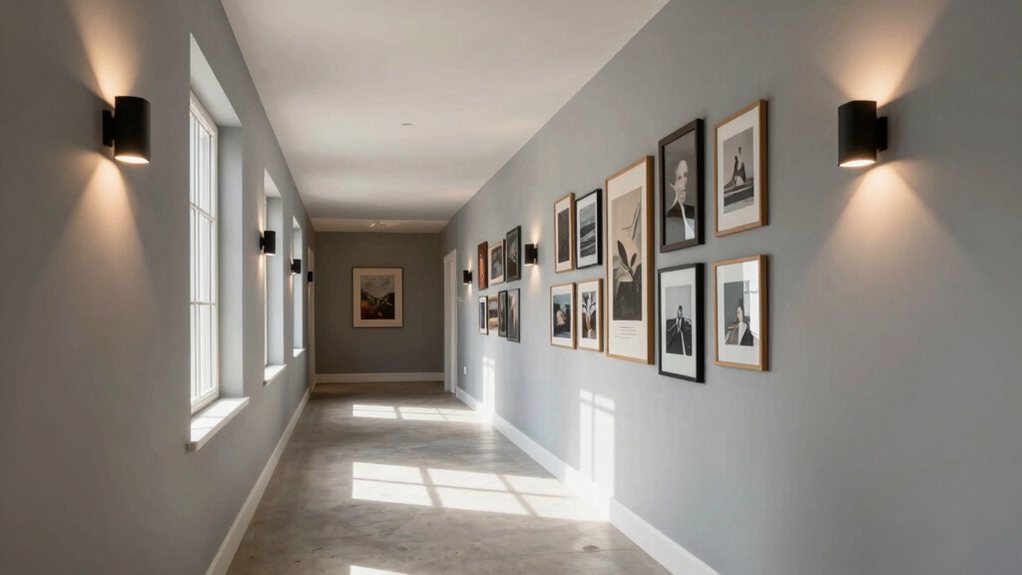
Ever walked down your hallway and felt like it could use a little more… *oomph*? Before you grab a paintbrush, take a minute to just stand there. Notice how the light falls throughout the day—is it dark and cave-like or bright and welcoming? This tells you what kind of lighting fixes you’ll need.
Next, watch your home’s traffic patterns. Is this a major thoroughfare for kids and pets, or a quieter passage? That decides how durable your updates should be.
Also, check out any cool architectural features, like moldings or an interesting nook, that you can highlight instead of hide. This simple assessment is your secret weapon, saving you from a DIY do-over later!
Consider lighting options with selectable CCT so you can match warm and cool tones throughout the hallway.
Now, it’s time to pick your perfect fixture and get it up on the ceiling.
You’ll need to decide between a sleek flush-mount or a stylish pendant.
Figure out exactly where to hang it so it’s not too bright or too dim, and then handle the installation safely.
Don’t worry, though, with a few basic tools and by carefully following the instructions, you’ll have your hallway glowing in no time. Consider pendants with adjustable cords so you can fine-tune the height for proper clearance and task lighting.
How do you even begin to pick the perfect light for your hallway? First, think about the fixture type. A flush-mount or semi-flush ceiling light is a classic, space-saving choice for lower ceilings.
For a more dramatic statement, consider a stylish pendant or a mini-chandelier.
Wall sconces are fantastic for adding ambient light and creating a welcoming glow.
No matter your pick, check for dimmer compatibility to easily set the mood from bright morning light to a soft evening ambiance.
Also, consider finish durability, especially in busy households—a robust finish will look great despite the occasional bump from a backpack or grocery bag.
Your choice sets the whole tone, so have fun with it!
Consider integrating a smart home lighting system for remote control and automation.
So you’ve found your dream fixture, but where exactly should it go?
Start by considering your hallway’s main function. Is it a high-traffic path or a welcoming gallery?
For ambient lighting, center the fixture in the ceiling for even illumination. If you’re installing a wall sconce, think about outlet placement and handrail height.
You don’t want to bump your head or struggle to plug it in! A good rule is to mount sconces about 66 inches from the floor, safely above a standard handrail.
Always measure twice before drilling. This planning prevents awkward shadows and guarantees your beautiful light works perfectly with your space, making those late-night snack runs much safer and more stylish. Also consider premium ceiling light fixtures for a cohesive, high-end look.
Grab your toolbox and get ready to bring that beautiful glow to life—installing your new hallway light is a surprisingly satisfying project.
Remember to always turn off the power at the circuit breaker first, for safety.
Here’s your simple four-step guide.
As for the old fixture, responsible fixture disposal might mean recycling metal parts.
You’ve got this—enjoy your well-lit hallway!
Before installing a dimmer, confirm whether your chosen model requires a neutral wire to avoid compatibility issues.
Now, let’s pick a paint color that can make your narrow hallway feel more open and inviting. Think about how colors make you feel, and lean towards light, airy shades that bounce light around the room.
Grab a few sample pots and paint large swatches on the wall, because that tiny chip can look totally different in your own space. If you want a low-commitment way to add texture or pattern alongside paint, consider peel-and-stick tiles to create an accent near entryways.
Choosing your color becomes a fun, intentional step in your DIY project. Consider how elements like light grout can influence perceived space by allowing surfaces to blend and recede.
Building on how color psychology can shape the feel of your hallway, the specific shades you pick play a starring role in how light behaves.
To make a narrow space feel wider and brighter, you’ll want to choose light-reflecting hues. Think creamy whites, soft pale grays, or barely-there blues. These colors bounce light around, banishing that dark, tunnel-like feeling.
Don’t be afraid to let regional influences or seasonal palettes inspire you. A coastal vibe might call for a sandy beige, while a winter palette could lean into a crisp, bright white. It’s like giving your walls a superpower!
You’re not merely picking a paint color; you’re strategically inviting more light into your home, which instantly lifts the entire atmosphere. Also consider your bulb’s color temperature to match the mood and function of the hallway.
Also, when taping for clean edges, be sure to apply firmly and allow a 30–60 minute set time before painting.
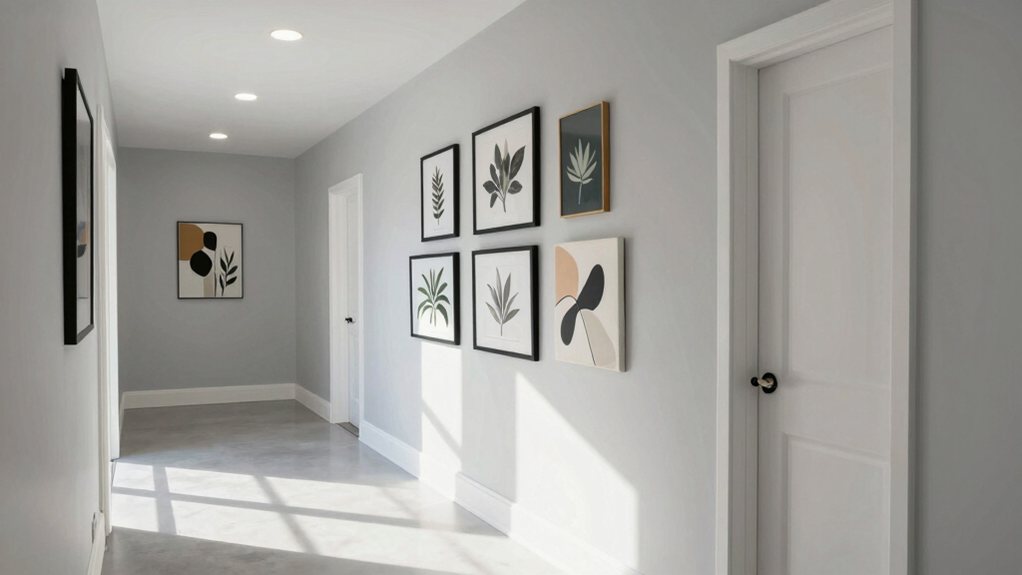
While you might think painting a hallway is a recipe for chaos, it’s actually a project you can master with a little prep and the right mindset.
First, choose a low-VOC, odorless paint for a pleasant application you can do without needing to air out the whole house.
Protect your floors with drop cloths and use painter’s tape for sharp edges—this setup guarantees a quick cleanup later.
Cut in carefully along the trim and ceiling with a brush, then use a small roller for the walls.
Work in small sections to maintain a wet edge and avoid streaks.
You’ll be amazed at how a fresh coat transforms a narrow space, making it feel bright and brand new without any major mess left behind.
For crisp, tape-free lines consider tools like pad-based edgers to simplify edging.
Even though you might be itching to grab your hammer, planning your gallery wall layout first is a game-changer that’ll save you from a Swiss cheese situation on your walls.
Start by arranging your frames on the floor to perfect your design. It’s a simple step that prevents a ton of frustration later.
Arrange your frames on the floor first—a simple trick that prevents frustration and perfects your design before any holes are made.
Here’s your easy, four-step plan:
This prep work turns a potentially stressful project into a fun, successful DIY moment.
With your layout planned and ready to go, the really enjoyable part begins—gathering the art and photos that will make your wall uniquely yours. Think about theme cohesion; maybe you love coastal scenes or black-and-white family portraits.
Mix original paintings, prints, and personal snapshots for depth. Your artist selection can include both beloved masters and local talents—or even your own creations!
Don’t stress about perfect matches; sometimes a quirky sketch beside a serene scenery creates wonderful energy. Hunt through thrift stores, online markets, and your own albums.
This collection tells your story, so choose pieces that spark joy. It’s like assembling a visual playlist of what you love, and that personal touch is what makes a house a home.
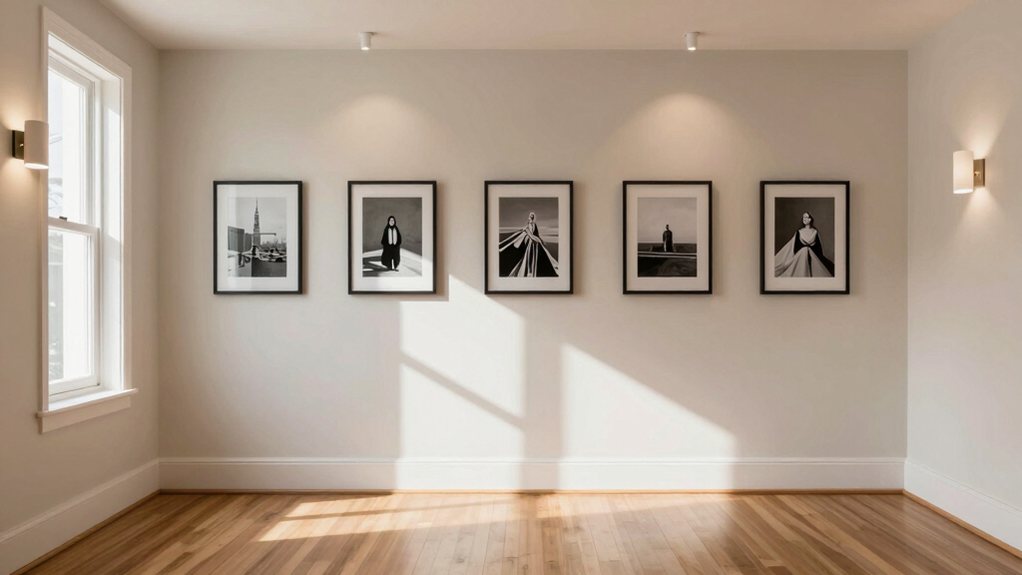
Now that your art is ready, let’s get it on the wall looking crisp and level.
You’ll need a few basic items like a pencil, a level, and the right hanging hardware to start.
We’ll look at some simple tricks for marking a straight guide line, which saves you from the frustration of a slightly crooked frame.
Having your tools at the ready means you’re all set to tackle one of the most satisfying parts of the job—getting those pictures to hang in a flawlessly straight line.
First, ditch the guesswork. Use a laser level or create simple paper level templates to mark your exact nail spots on the wall. This trick saves you from a Swiss-cheese wall full of misplaced holes, trust me.
For ultimate flexibility and a perfectly straight row every time, consider installing rail systems. These discreet tracks let you hang and rearrange frames without driving new nails. It’s a game-changer for perfectionists.
Just measure twice, hang once, and step back to admire your perfectly aligned gallery. That straight line is a real victory.
While it might seem like a clever trick, adding a mirror to your hallway can genuinely make it feel more open and airy.
It reflects both natural and artificial light, bouncing it around to eliminate dark corners.
This simple swap creates an instant illusion of depth, making even the narrowest passage feel wider.
For the biggest impact, consider these four tips:
It’s a quick update with a huge payoff, giving your hall a brighter, more spacious vibe instantly.
Now that you’ve brightened up the hall with a mirror, let’s give it some solid footing underfoot. A runner rug instantly defines the path and adds a cozy layer.
Don’t forget the runner padding underneath; it protects your floors, adds cushion, and keeps the rug from slipping—a true safety and comfort win.
When choosing your runner, think about pattern coordination. It doesn’t have to perfectly match your walls, but it should complement your overall palette. A geometric print can add modern energy, while a classic stripe elegantly elongates the space. This simple addition grounds the whole area, making your hallway feel intentionally designed and wonderfully inviting every time you walk through.
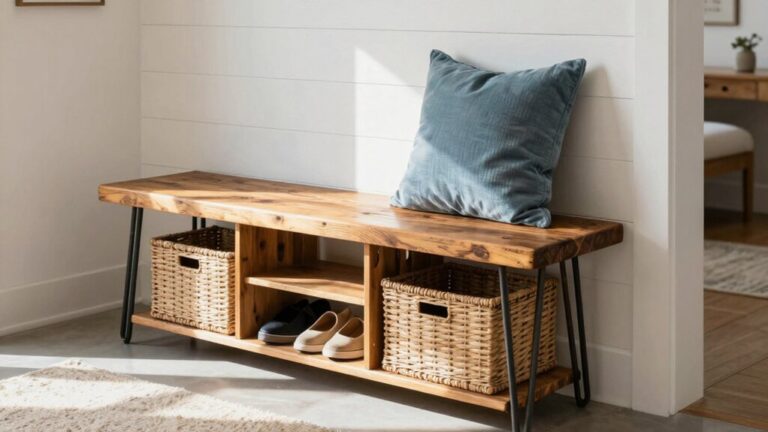
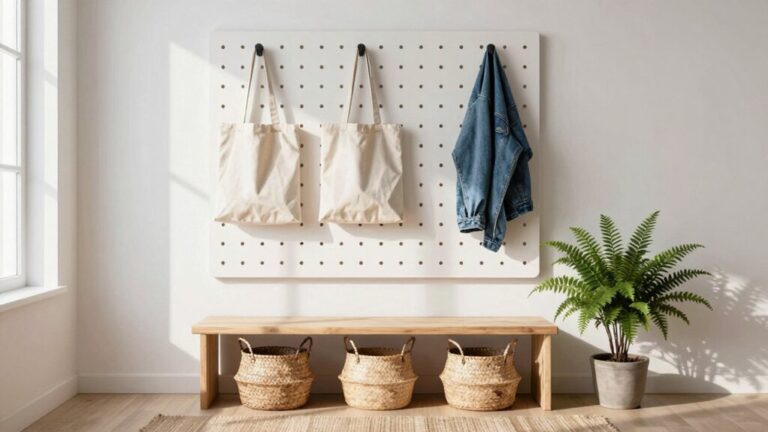
Because a hallway often serves as your home’s main thoroughfare, it’s the perfect spot for clever storage that tames the daily clutter.
Transform your hallway into a clever storage hub to effortlessly tame daily clutter in this busy thoroughfare.
You can create an organized entryway without a major renovation.
Focus on smart, multi-functional pieces that fit your lifestyle and space.
Here are four ideas to get you started:
A little planning makes this high-traffic area work beautifully for you every day.
And there you have it! You’ve transformed your hallway from a boring pass-through into a space that truly welcomes you home. Sure, it took a little planning and some careful painting, but the payoff is huge. Now, every time you walk through, you’ll get to enjoy your favorite art and that lovely new light. Give yourself a pat on the back—you’ve earned it. Enjoy your fresh, personal entryway!