Phone:
(701)814-6992
Physical address:
6296 Donnelly Plaza
Ratkeville, Bahamas.

Phone:
(701)814-6992
Physical address:
6296 Donnelly Plaza
Ratkeville, Bahamas.
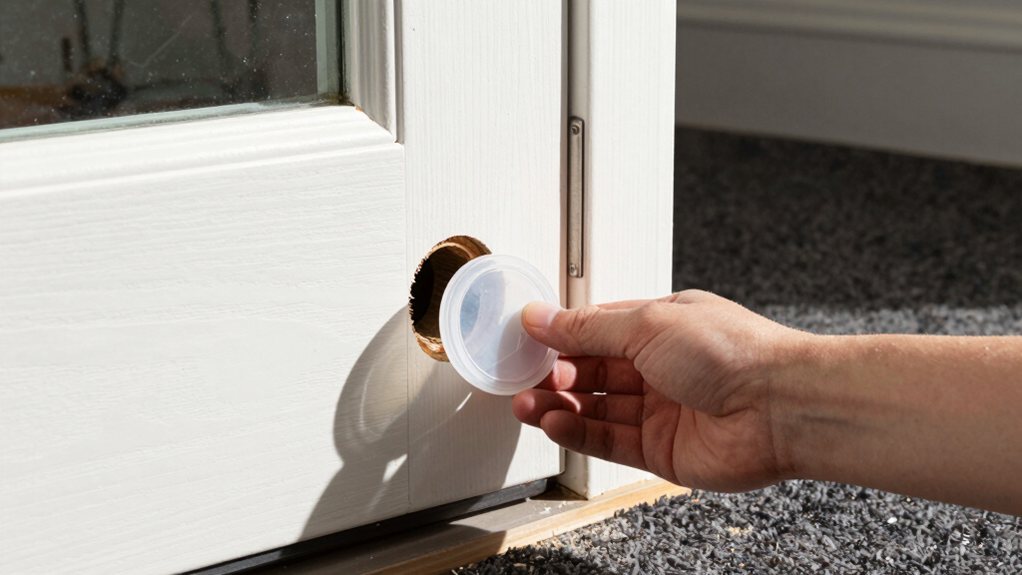
Prepare to install a pet door easily yourself, but ensure you don't miss this crucial weatherproofing tip.
To install a pet door, you’ll measure your pet, pick a suitable kit, and cut a hole in your exterior door. First, choose a safe location and mark the cutout using the kit’s template. Carefully drill starter holes and use a jigsaw to make the opening. Then, assemble the dual-frame panels, mount the flap, and seal the edges thoroughly to keep the weather out. Discover more tips to make the project seamless and fun!
Table of Contents
Before you get started, let’s make sure you have everything you need, because nothing slows a project down like having to run back to the hardware store mid-cut.
First, purchase a pet door kit rated for exterior doors. Pick the right size based on your pet’s measurements, allowing for at least two inches of clearance all around. Your kit should include the pet door frame, flaps, and a paper template.
Next, gather your measuring and marking tools: a tape measure, pencil, level, and that template to mark and cut the location accurately. You’ll also need a power drill, a heavy-duty jigsaw with the correct blade, and a screwdriver.
Don’t forget safety glasses, gloves, and some exterior sealant for a weatherproof finish. If you prefer, consider hiring professional door frame installation to ensure a perfect, weatherproof fit.
Start by measuring your pet from the floor to their shoulders and across their chest, then add two inches to both numbers for a comfy fit.
Next, pick a specific model by checking the actual flap dimensions against your pet’s measurements, since size labels like ‘medium’ can vary between brands.
Finally, think about where you’ll place it and any extra features you might want, like a locking flap or insulation, to make sure it’s just right for your home and your furry friend.
Consider using proper exterior door replacement weatherstripping to maintain insulation and seal around the new opening.
Getting the right fit for your pet door starts with a bit of measuring, which is a lot easier than trying to convince your cat to sit still for a photo. To find the right size, first measure your pet from the floor to the top of their shoulders for height, not their head. Then, measure their widest part, usually the chest, for width. You’ll want to choose a flap that’s at least two inches taller and wider than these measurements for a comfy fit.
If you have a growing puppy or kitten, add an extra 2–4 inches to both dimensions so they won’t outgrow it too fast. This careful sizing guarantees a perfect, stress-free passage for your furry friend every time.
Now that you’ve got your pet’s measurements, how do you pick the perfect model from all those options? First, match those numbers to the manufacturer’s sizing chart for pet doors, choosing a size category—not just your pet’s breed—to guarantee a comfy fit.
Next, confirm the unit’s frame and hardware will fit your specific exterior door thickness. Then, decide on features: a double or insulated flap is great for weatherproofing, while an electronic model keeps strays out and controls your own adventurer’s nighttime roaming.
Planning a wall installation? Make sure your chosen model supports it, as that’s a bigger project. Taking these steps assures you select a door that works perfectly for your home and your furry friend. Also consider matching the pet door’s trim and finish with a premium door hardware set for a cohesive exterior look.
Once you’ve chosen the perfect model, it’s time to decide exactly where it’s going to go.
First, grab your tape measure.
You’ll want to position the flap so the bottom of the door opening is a few inches off the floor, matching your pet’s comfortable stride—usually between 3 to 10 inches.
Consider which side of the door works best for your pet’s approach and your home’s layout.
Always check that the outside landing is safe and clear.
Remember to measure the door panel itself, making sure you have several extra inches around the entire frame for proper mounting.
A well-placed door means happy, independent pets and fewer scratched-up doorframes for you!
Also consider nearby furniture like an entryway storage bench to ensure the pet door placement doesn’t interfere with functional walkways or storage access.
Before you can pick out the perfect pet door, you’ll need to grab a measuring tape and size up your furry friend, because a comfortable fit is key for a happy, independent pet.
First, measure from the floor to the top of their shoulders for height, and add at least two inches. For width, measure their chest at its widest and again, add two inches. This guarantees the door fits comfortably.
If your pal has a fluffy coat or is still growing, toss in an extra inch or two to prevent snagging. These final numbers are your guide for selecting dog doors in manufacturer sizing. Just remember, the total unit, including its frame, must still fit your door opening! Also consider the pet door material—PVC/vinyl is waterproof and wear-resistant, making it a good choice for exterior doors.
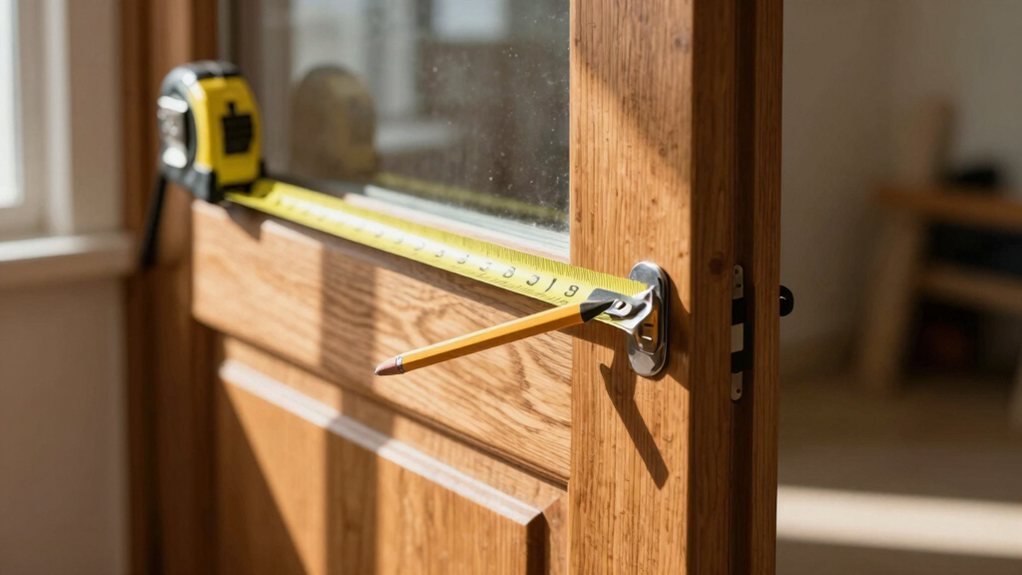
With your pet’s measurements in hand, you’re ready to pick the exact spot for their new personal entrance. First, decide vertical placement; the bottom of the opening should sit just a few inches from the floor to match your pet’s natural stride.
Center the flap horizontally on the door, steering clear of edges, decorative panels, or any hardware. This careful planning is vital when you install a pet door.
Before marking, check your door’s construction! Confirm your cutout won’t hit hinges, locks, or internal reinforcements.
Tape the manufacturer’s template firmly in place, aligning it with your centerlines. Trace the outline, screw holes, and inside corners neatly. Double-check everything—this is your last chance to avoid a very drafty surprise! If you’re unsure about concealed framing, consider using a professional stud finder to locate studs and avoid hidden obstacles.
Once your template is perfectly aligned and marked, you’ll grab your drill and make clean starter holes at each corner, which will give your jigsaw a place to begin.
Next, with the right blade for your door material, carefully cut along your outline, taking your time to keep things straight and avoid any rough edges.
Remember to check the fit as you go, because a seamless, accurate opening means a safe and happy entry for your pet.
For cleaner cuts, consider using a professional jigsaw with variable speed.
Grab your power drill—it’s time to create your pilot holes, the essential guides for your jigsaw and the screws that’ll hold everything together. First, secure the template firmly to the door. Using the bit size your pet‑door instructions specify, pre‑drill all the mounting holes marked on the template. This careful step guarantees your outer frame aligns perfectly later, preventing a wobbly dog door installation.
Next, drill 1/2‑inch starter holes at each corner; these are your jigsaw’s entry points. Drilling these first keeps the cut neat. Remember, you’re making way for your pet’s new freedom, so steady, precise work now means a seamless process when you start cutting the opening itself. Using a professional drill driver set ensures you have the right bits and torque settings for precise pilot holes.
Now that your pilot holes are ready to guide you, it’s time to make the big cut and create the opening your pet will use every day.
This is the most permanent step to install a dog door, so steady hands win the race.
Whether you’re cutting through wood or metal panel doors, the right technique prevents headaches.
For many cuts, choosing the right power tools for home improvement makes the job easier and safer.
With your panels ready, you’ll want to start by lining up the exterior and interior pieces so they fit together perfectly.
Position them so their little plastic bosses mate, confirming everything is aligned.
Next, peel the tape off the pre-beaded butyl sealant on both frame edges. Press the two halves together firmly—this is the key to a great weatherproof seal.
Now, fasten them with the supplied screws, driving them evenly but don’t over‑tighten, or you might warp the frame.
Finally, slide the magnets into their tracks and install the dual‑flap hinge assemblies to the interior side. Check that the flaps swing freely and catch snugly when closed, a satisfying little magnetic click!
For best sealing results, consider using a professional caulking tool kit to smooth and finish the sealant.
* Seal it tight: Install the magnet strips into their tracks so the flap closes firmly.
Apply a bead of caulk around the outer edge to lock out drafts and weather.
Apply a weatherproofing bead of caulk to seal the outer edge and block drafts for good.
* Adjust for fit: Fine-tune the hinge plates to set the flap’s rise.
Make sure it swings freely without rubbing on the frame or strike plate.
* Test and train: Rehang your main door and test the flap’s seamless operation.
Remember to tape it open initially so your pet can explore safely.
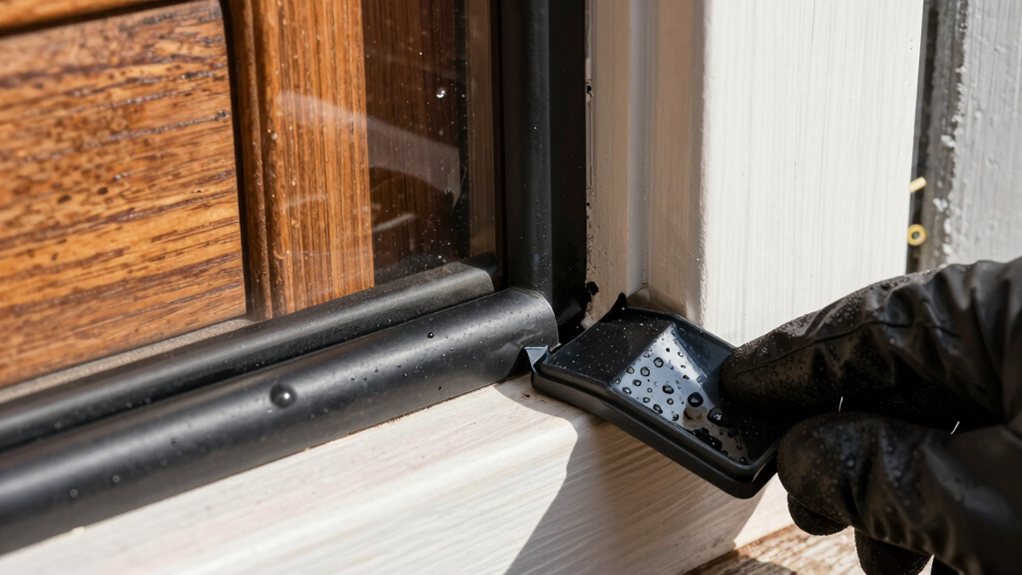
Having your pet door securely mounted and the flap swinging freely is great, but you’re not quite done yet—next, you’ll want to make sure it’s sealed up tight against the elements.
Run a continuous bead of exterior-grade silicone or polyurethane caulk around the outer frame and any screw heads—this seals gaps against water and air.
For a durable weather seal, use the factory butyl strips or apply closed-cell foam tape between the inner and outer frames. Opt for a double-flap model for a stronger closure that blocks drafts.
Finally, install a door sweep on your storm door and caulk the bottom threshold thoroughly. Consider this the final, essential step in your DIY project; a little extra sealing effort now prevents big drafts later.
– Stuck or Noisy Flap? Check for debris, tighten screws, and add weatherstripping.
Make sure the opening is at least 2 inches bigger than your pet so it doesn’t catch.
And that’s it! You’ve given your furry friend their own special entrance, which is pretty awesome for both of you. Sure, it takes a bit of effort, but the payoff is huge—no more midnight door duty. Just make sure everything is sealed up tight against the weather, and be patient while your pet gets the hang of it. Enjoy your newfound freedom and those happy, independent comings and goings.