Phone:
(701)814-6992
Physical address:
6296 Donnelly Plaza
Ratkeville, Bahamas.

Phone:
(701)814-6992
Physical address:
6296 Donnelly Plaza
Ratkeville, Bahamas.

Know how to refinish hardwood floors without sanding using these surprising, effective methods for...
Yes, you can refinish your hardwood floors without sanding. You have three great options: screening and recoating, using a chemical etchant, or applying a floor revitalizer. These methods are perfect for dull surfaces and light scratches, but they won’t fix deep damage. Your first step is to always test your floor for wax and check the existing finish. Keep going to discover which approach is the right fit for your home.
Table of Contents
Well, can you really give your hardwood floors a fresh new look without the mess and hassle of sanding? You absolutely can, if your floors are in decent shape.
For surfaces with just dullness or light scratches, you can achieve a beautiful Hardwood Floors Without Sanding makeover. Techniques like screening and recoating lightly buff the floor before adding new polyurethane, which restores shine.
You can also use chemical bonding agents or convenient restorer polishes for a quick cosmetic boost. Think of these as a revitalizing facial for your floors, not major surgery.
They’re fantastic, budget-friendly shortcuts that skip the dust storm. Just remember, these methods won’t fix deep damage, but for worn sheen, they’re a perfect, less-intensive solution.
However, remember that screening and recoating works best only when the finish is intact and there is no deep damage.
Now that you know a no-sand refinish is possible for your floors, let’s look at the three main ways to get it done: screening, chemical etching, and using a revitalizer.
Screening scuffs the finish with a buffer and applies fresh polyurethane, restoring shine for years. Chemical etching uses a special solvent to dull the gloss for bonding, offering a same-day solution. Finally, revitalizers are quick, polymer-based polishes that fill scratches and add luster, but they’re a temporary fix. Each method lets you refinish hardwood floors without the massive sanding mess. For the best results consider using a professional wood refinishing kit designed for this purpose.
Before you start, you need to test your floor for wax and check for any major damage.
Grab a white cloth and rub a small area to see if it leaves a greasy shine, which means you’ve got wax to deal with. Then, look closely for deep scratches or soft spots, because if the wood itself is damaged, a simple refresh won’t be enough. If you find signs like deep rot or water damage, stop and assess the subfloor because repairs may be required before refinishing.
These quick tests tell you if a simple recoat is possible or if you’ve got bigger issues.
If you find wax or suspect deep damage, consider starting with a pH-neutral formula cleaner to avoid stripping finishes before recoating.
So you’ve checked for wax—what’s next? Now, you’ll assess scratch depth to see if you can truly avoid sanding and refinishing the whole floor.
First, run your fingernail across a scratch. If it catches, the groove is likely deep, meaning damage has reached the wood.
For a closer look, inspect marks under a bright light; lighter color or dark stains reveal bare wood underneath.
You can also measure your finish thickness by counting coats—multiple, intact layers mean a simple screen-and-recoat might work.
Finally, do a 2×2 inch test patch after light abrasion. If new finish adheres nicely, you’re golden! If it beads or sinks, those scratches need deeper repair, possibly involving some sanding after all.
Also check the subfloor for evenness before final repairs using a straightedge to catch dips or humps that can telegraph through the new finish.
Now that you’ve checked for wax and gauged the scratch depth, how do you figure out what kind of finish you’re actually working with?
Correctly identifying it’s a key step in refinishing hardwood floors, as using the wrong product can create a real mess.
You’ll perform a few simple spot tests in a hidden area. Imagine this quick detective work:
These clues tell you exactly what’s on your floor, guaranteeing your recoating project bonds perfectly and saves you from a DIY disaster.
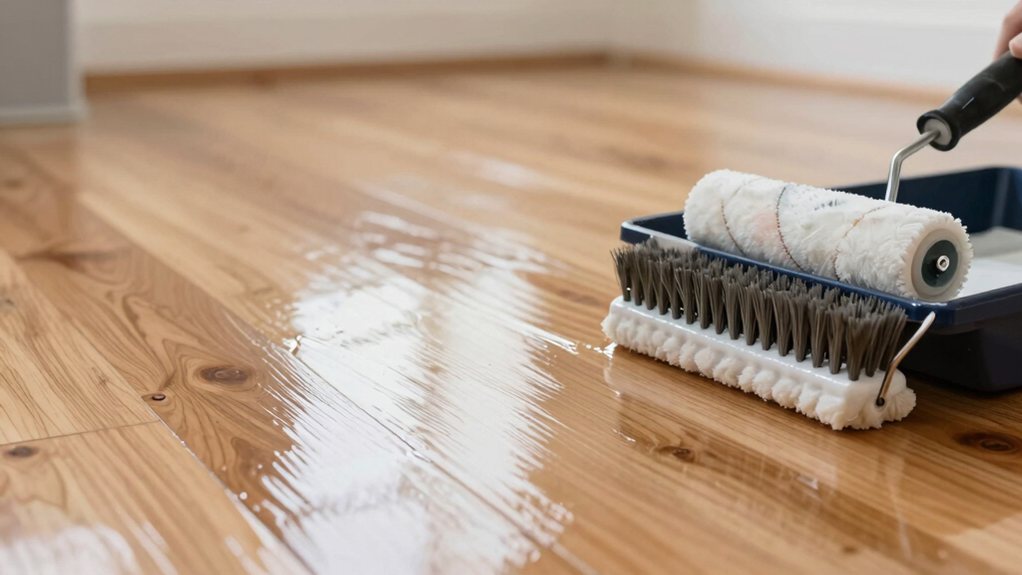
Want to give your hardwood floors a fresh, gleaming look without the major mess of a full sanding? The screen-and-recoat refinishing process is your best friend. Before you begin, perform moisture testing and ensure the floor meets the manufacturer’s moisture limits.
Give your hardwood floors a fresh, gleaming look without the major mess of a full sanding. The screen-and-recoat refinishing process is your best friend.
First, you’ll buff the floor with a rented machine fitted with a special maroon screen; this lightly abrades the surface to create a bond for the new finish.
Vacuum and tack-rag thoroughly—dust is the enemy of an even coat!
Next, apply a compatible polyurethane in thin, even layers with a roller, cutting in edges by hand.
Remember, this method only works if your existing finish is intact, with no deep scratches or bare wood.
Follow the recommended dry times, and you’ll have beautifully renewed floors in just a few days.
If you’re not too keen on sanding or even renting a buffing machine, you’ve got another great option: using a chemical etchant, which is like a magic potion that dulls the old finish so the new one can stick.
This refinishing process chemically softens that glossy top layer, letting your new polyurethane bond beautifully. Just remember, it only works on intact finishes, not deep scratches. Always test it first in a closet!
Your main steps are:
Work in a well-ventilated area with gloves, and you’ll be ready for that fresh topcoat in about a day. Also, take care around wet or high-moisture areas and consider applying a waterproofing membrane where appropriate to avoid future moisture problems.
If you’re looking for a fast, budget-friendly way to bring back your floor’s shine without a major project, a floor revitalizer is your go-to solution.
You’ll simply clean your floor well, then apply the product evenly with the right mop pad, letting it dry for about 45 minutes.
It’s a fantastic one-day refresh that fills in light scratches and seals the surface, giving you beautiful results without the dust and drama of sanding.
For best results, consider using a professional furniture refinishing kit designed for hardwood surfaces.
A floor revitalizer is like a magic potion for your tired-looking floors, offering a quick and surprisingly effective shine boost without the mess and expense of a full refinish.
You’ll see a dramatic improvement in just hours, and it works on so many surfaces! The benefits are truly fantastic, and they’re not only about making your floors shine.
It’s a cost-effective shortcut that gives you gorgeous results without the typical hassle. For quick, renter-friendly surface updates, consider peel-and-stick flooring as an alternative to a full refinish.
Now that you’re convinced a floor revitalizer is the quick-fix hero your floors need, you’re probably wondering how to actually use the stuff.
First, clean your dull hardwood thoroughly and let it dry. Always test a hidden spot! Apply the product in thin, even layers with a microfiber mop, working with the grain in small sections—don’t let it puddle.
Let it dry fully, which usually takes about an hour, then give it a light buff with a clean cloth for extra shine. Finally, be patient and let it cure completely before moving furniture back in. In a few hours, you’ll have refreshed floors without the sanding mess. For best results, clean with a degreasing agent or a TSP solution before application.
Before you get started on giving your floors a fresh face without the dust and hassle of sanding, you’ll need to gather the right gear—it’s a bit like prepping for a fun, low-mess project.
The tools you grab depend on your chosen refresh method, so let’s break it down. You’ll be amazed at what you can achieve without ever touching a big sander.
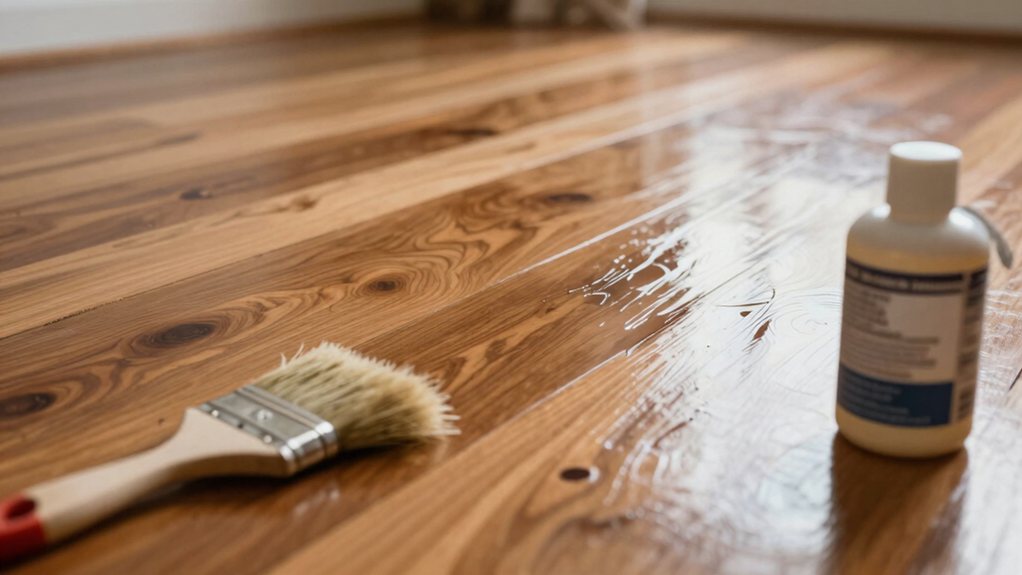
With your gear all lined up for your no-sand floor refresh, let’s make sure that fun project stays on track by steering clear of a few common slip-ups.
First, don’t skip testing for wax or old polish on your old floors.
Rub a white cloth over a spot; if it shines, you must clean that wax off, or your new finish won’t stick.
Second, never apply a restorer over deep scratches or peeling finish—this method only fixes minor wear.
Third, always properly prep the surface by dulling the existing finish and vacuuming thoroughly so your recoat bonds well.
Finally, respect the drying times! Rushing recoats leads to a sticky, bubbly mess, and nobody wants that.
So, you’re thinking about tackling those floors yourself? For a simple refresh on intact Hardwood, DIY can be perfect.
A simple refresh on intact hardwood floors is a perfect project for a DIY enthusiast.
But some problems scream “call a pro.” Knowing the difference saves your wallet and your beautiful floors.
Consider professional help when you see:
If your floor just lacks shine, go for it!
But for major fixes, color changes, or if you’ve never run a buffer, an expert’s training and equipment are worth the investment.
They handle the messy, tricky stuff so you get a flawless, lasting result.
So you’ve got your floor looking great without all that sanding dust—nice work! Remember, these no-sand methods are perfect for floors that just need a refresh, not a total overhaul. Just pick the right one for your floor’s condition, and you’ll save so much time and mess. Enjoy your beautiful, renewed floors, and maybe even show them off a little. You’ve earned it.