Phone:
(701)814-6992
Physical address:
6296 Donnelly Plaza
Ratkeville, Bahamas.

Phone:
(701)814-6992
Physical address:
6296 Donnelly Plaza
Ratkeville, Bahamas.
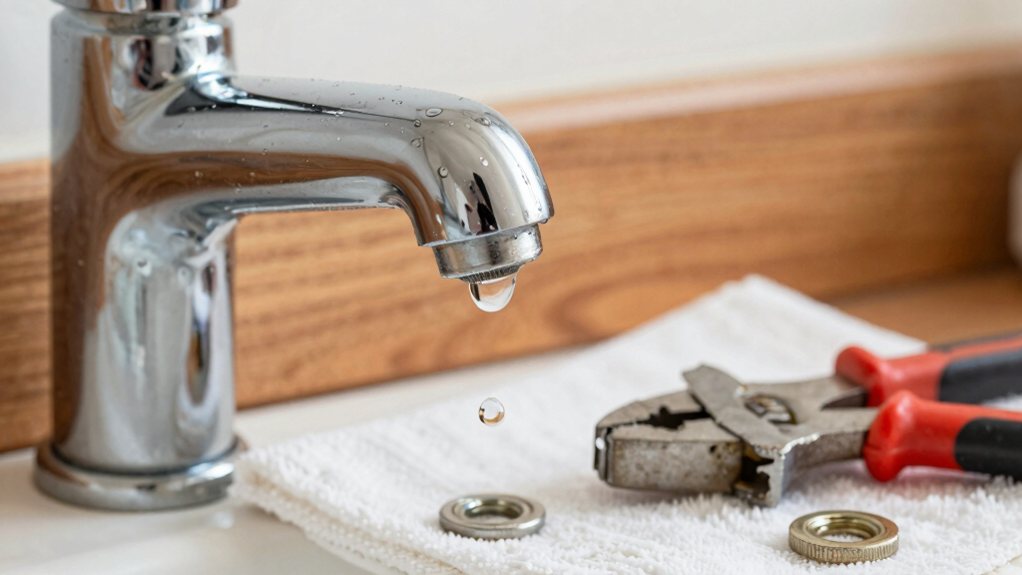
Keep your drips at bay by learning how to replace a leaky kitchen or bathroom tap today.
First, shut off the water supply under your sink using the valves. You’ll then need to figure out if you have an old compression tap with washers or a newer cartridge model. Take the handle apart to find the worn part—usually a small washer or the whole cartridge. Swap it out with a matching new part, carefully reassemble everything, and turn the water back on slowly to test. If you follow these steps, your drip should be history, and you’ll find even more handy tips ahead.
Table of Contents
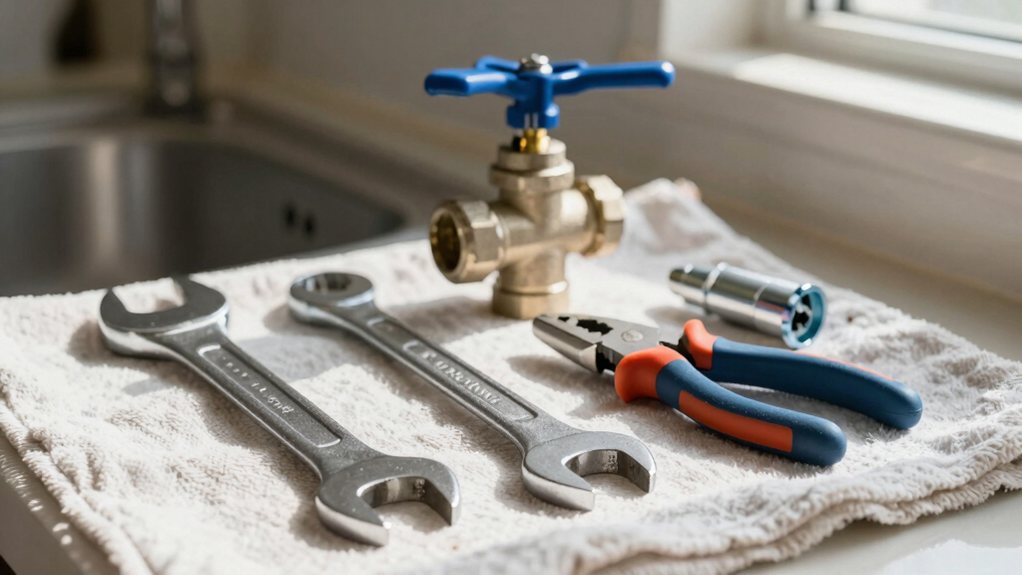
Before you get started fixing that drippy faucet, you’ll need to gather a few key tools and make sure the water is completely shut off, because the last thing you want is a surprise indoor fountain.
Your tool checklist should include an adjustable wrench, a set of screwdrivers, plumber’s tape, and a new washer or cartridge kit.
Trust me, running back to the garage mid-job is a real mood-killer.
Next, locate the shut-off valves under your sink.
Give them a firm turn clockwise until they stop.
A great tip is valve labeling; a little piece of tape with “kitchen sink” written on it saves future you a major headache.
Now, with the water off and tools ready, you’re set to tackle the leak without a splashy disaster.
Consider buying a Professional Plumbing Tool Kit to ensure you have all the specialized tools.
First, you’ll need to figure out if you’re dealing with a compression or cartridge tap, as they’re fixed quite differently.
A classic compression tap has separate hot and cold handles and uses a rubber washer that eventually wears out, which is often the source of that annoying drip.
On the other hand, a cartridge tap typically has a single lever or knob, and its inner mechanism is a sealed unit you’ll replace entirely.
Many modern cartridge taps use a ceramic cartridge rated for 500,000+ cycles, which helps ensure longevity and drip-free operation.
You’ll often find a compression tap in older homes, and it’s easily recognized by its two separate handles—one for hot and one for cold.
When you turn the handle, it screws a threaded spindle up and down.
This spindle presses a rubber washer against a valve seat to stop the water flow; that’s the valve geometry in action.
Over time, that washer wears out, which is usually why your tap drips.
It’s a simple, mechanical design, so repairs are pretty straightforward, even if the constant need for washer replacements feels like a quirky, high-maintenance relationship.
Knowing this setup helps you understand what parts you’ll need before you start your fix.
Consider upgrading to a premium bathroom faucet to enhance both function and aesthetics.
Moving from the familiar compression taps, let’s look at their modern counterpart: the cartridge tap. You’ll identify these by the single handle that controls both temperature and flow.
Inside, you’ll typically find durable ceramic cartridges; these discs slide effortlessly, rarely wearing out, which is why these taps are so reliable. Many models also feature swivel spouts, letting you easily direct water wherever you need it—a real bonus when filling a large pot or cleaning the sink.
The best part? They usually don’t drip, saving you from that annoying *plink…plink…plink* sound at night. Replacing them is often straightforward, as you’re mostly dealing with one central cartridge unit instead of multiple washers and seats. You can find stylish models and buying options on the luxury kitchen faucet page.
Now you’re ready to play detective and get to the bottom of that annoying drip by taking your tap apart.
First, make sure the water supply is completely turned off—trust me, a surprise shower isn’t fun.
Carefully remove the handle and any decorative cap to expose the inner parts.
As you disassemble, it’s a smart idea to label parts on a towel so you remember how everything goes back together.
Now, look closely at each piece. You’re hunting for the culprit!
Check the washer, O-rings, and the valve seat.
Inspect corrosion or any worn, cracked, or damaged surfaces.
Often, a small worn washer is the sneaky villain causing all the trouble.
Finding it feels like a victory!
With the mystery of the drip solved, it’s time for a straightforward swap—out with the old, in with the new! Grab your replacement part. If it’s a washer, verify material compatibility; a rubber washer works for cold water, but use a fiber or neoprene one for hot lines to avoid quick deterioration.
For cartridge-style taps, simply insert the new one, aligning it exactly as the old came out. Before you finalize anything, double-check your work. Remember, if your tap is fairly new, confirm any warranty considerations—doing this yourself might void it, but for an older fixture, you’re golden. Tighten everything snugly, but don’t overdo it. You’re almost ready to test your handiwork and banish that drip for good! Also consider the faucet type, since a pull-down sprayer can make rinsing easier and may affect which replacement cartridge you need.
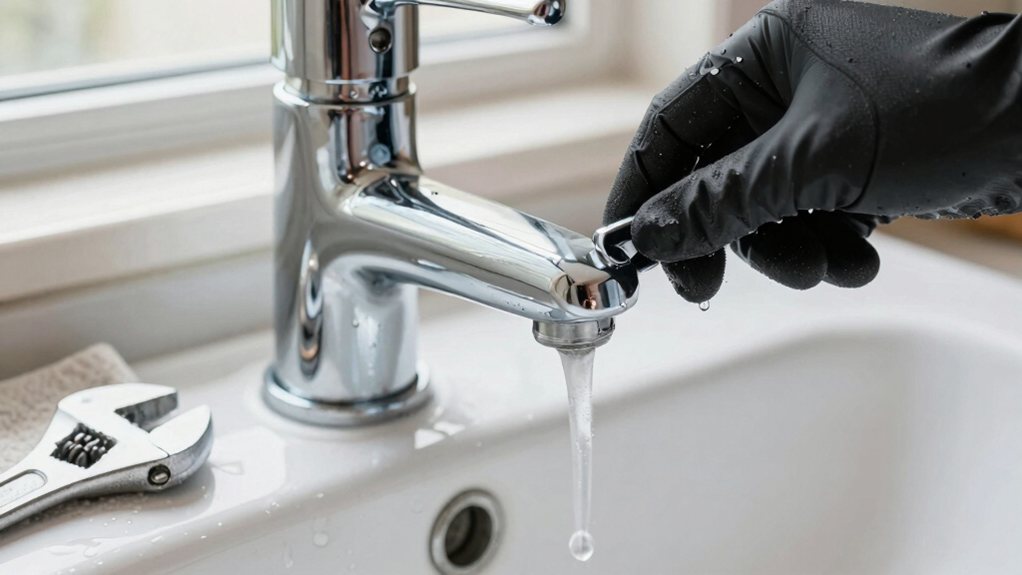
Now it’s time to put everything back together, starting with reinstalling the washers and seats into their proper spots.
Make sure you tighten all the connections firmly by hand first, and then give them one last snug turn with your wrench to prevent any drips.
Finally, turn the water supply back on slowly and check for leaks around all the joints, because the real victory is a perfectly dry faucet. For finishing and sealing edges, a professional caulking tool kit can help achieve a clean, durable result.
Reinstalling the washers and seats is like putting the final puzzle pieces back in place, bringing you one step closer to a drip-free victory.
First, verify material compatibility; that new rubber or nylon washer must match your tap’s model. A mismatched washer is a fast track back to leaks.
Next, inspect the valve seat inside the faucet body. If it’s nicked or rough, you’ll need seat resurfacing with a little tool that polishes it out, or you can replace a plastic seat entirely. An even seat lets the washer seal perfectly.
Press the new washer firmly into its holder, then screw the stem back in snugly, but don’t go Hercules on it—over-tightening is a common rookie mistake.
This careful setup is your secret to success.
Snug everything up as you reassemble your tap, because this final tightening is your frontline defense against any sneaky drips.
Turn each nut and connection by hand first, feeling for free-running threading, then use your wrench for the final firm twist.
Remember, good torque guidance is simple: think “tight, not Herculean.” Over-tightening can crack fittings, which is a whole new problem.
For extra insurance on tricky threads, consider a threadlocker selection. A basic, low-strength blue formula is perfect for taps, preventing vibration from loosening things over time.
Now, turn the water back on slowly at the shutoff valves. Watch every connection like a hawk for a few minutes.
A dry base means you’ve conquered the drip—go celebrate your victory!
For these tasks, having a professional tool set on hand makes the job faster and safer.
Giving your tap a final once-over with the water on is like the victory lap after all your hard work—you’ve earned it! Turn the water supply back on slowly, then open your new tap all the way.
Watch closely for any drips or sprays from the connections you just tightened. Let the water run for a minute to clear any debris.
You’re not only looking for leaks; you’re checking that the flow is strong and steady, confirming it can handle normal municipal pressure. Remember, pipes can expand with heat, a process called thermal expansion, so a perfectly sealed joint now should stay that way. If all’s dry, give yourself a pat on the back—your DIY fix is complete and leak-free! If you detect ongoing issues, check for hidden water damage under sinks and around appliances, since it can degrade surrounding materials and cause recurring leaks.
Even after you’ve gotten everything back together, you might find your tap is still whispering a drip or, worse, throwing a tantrum with a persistent leak. Don’t panic; this is just the faucet’s final exam.
Often, the culprit is a loose connection or a missing thread sealant on the supply lines. Tighten everything firmly by hand, then give it a gentle quarter-turn with a wrench—over-tightening can crack corroded fittings.
If water seeps from under the handle, the cartridge or ceramic disks mightn’t be seated perfectly. Pop it out and reseat it, making sure no grit is on the seals.
A little patience here saves a big puddle later. You’re almost done, and a leak-free victory is moments away. For sealing around fixtures, a professional caulk gun kit can make precise application easier.
And there you have it! You’ve tackled that leaky tap like a pro. It’s a satisfying little win that saves you money and spares your sanity from that constant drip. Just remember, if you run into trouble, don’t hesitate to call a plumber. For now, enjoy your handiwork and a quiet, dry sink. Great job—you’ve earned a pat on the back and a leak-free kitchen or bathroom.