Phone:
(701)814-6992
Physical address:
6296 Donnelly Plaza
Ratkeville, Bahamas.

Phone:
(701)814-6992
Physical address:
6296 Donnelly Plaza
Ratkeville, Bahamas.
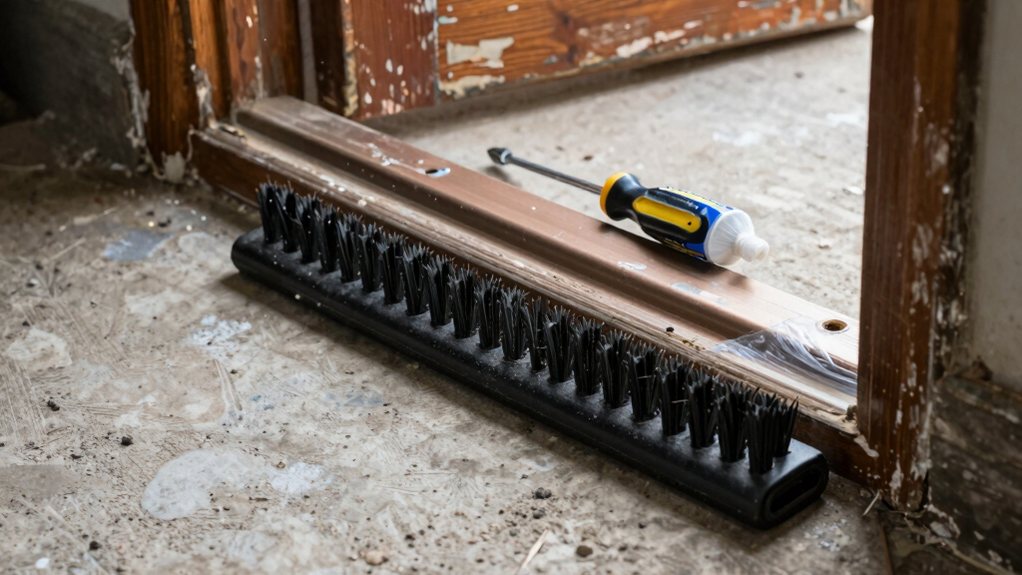
Handle this DIY fix to block drafts and pests, but first you'll need to know
You can replace your worn door threshold and sweep yourself to save money and stay comfortable. Start by removing the old pieces and cleaning the area. Then, dry-fit your new, correctly measured threshold, seal it with caulk, and screw it in place. Next, attach the sweep, adjusting screws until the door opens easily with a tight seal. This simple upgrade keeps drafts, pests, and high energy bills firmly outside your door, and there’s plenty more to guide you if you’re ready to grab your tools.
Table of Contents
While it might be tempting to ignore that little sliver of light or the draft sneaking under your door, a worn-out threshold or sweep is your home quietly asking for help. That sweep at the bottom is your first defense.
When door sweeps fail, your exterior door leaks air, making your heater and AC work overtime and raising your bills. It also lets in wind-driven rain and moisture, which can warp floors and invite mold.
Don’t forget tiny pests; gaps are a welcome mat for insects and even mice. Fixing it now is simple and affordable. Ignoring it leads to costlier repairs and a less comfortable, less efficient home. It’s a small fix with big rewards. You can find a range of kits and profiles for exterior door replacement weatherstripping to fit most doors.
Choosing the right sweep and threshold starts by checking your door type, as some sweeps snap into a channel while others need screws.
You’ll also want to pick materials wisely, like a vinyl-insert sweep for everyday use or a brush type for uneven floors.
Finally, grab a tape measure to get the door’s width and the gap underneath, because even a small mistake here can let in drafts or uninvited bugs.
For many indoor installs, consider a strip with self-adhesive backing for fast, tool-free DIY installation.
Ever wondered why your door just doesn’t seal right, letting in drafts, water, or even the occasional bug? The fix starts with knowing your door. Most exterior doors are wood or fiberglass, and the **bottom of an exterior** door needs a sweep matched to its build.
Check your bottom gap height—is it even or uneven? A vinyl fin sweep seals a uniform gap beautifully, while a bristle brush handles wobbly floors.
Also, peek for a tiny slot (a kerf) where a sweep might insert. Your door type decides your mounting method, so get this right first. It’s like matching shoes to an outfit; the correct pair makes everything work better and keeps the outside world, well, outside. For complex fits, consider hiring professional door frame installation services.
So, how do you pick the perfect sweep? Start by considering your door and needs.
For most exterior doors, you’ll want an aluminum-frame sweep with a flexible vinyl fin. It’s inexpensive, durable, and you can easily cut it to fit your door width, helping you close the door with a clean seal.
If your flooring is uneven, choose a brush-style sweep for gentler action, though it’s less airtight.
Is pest-proofing critical? Invest in a specialty sweep; it costs more but creates a tight barrier.
Avoid self-stick vinyl as a permanent fix—its adhesive fails.
For doors with special thresholds, a wraparound style provides the best fit.
Your choice directly affects how well you seal the world out when you replace the door’s bottom edge.
Consider investing in a premium door hardware set for long-term durability and a coordinated look.
Getting the fit just right starts with taking careful measurements—it’s the secret to a draft-free, critter-proof door.
First, measure your door’s bottom width and thickness to find a compatible sweep. Then, check the gap under the closed door at several points; this tells you the fin height you need.
Don’t forget to account for floor irregularities and any slope on your threshold. Leave small tolerance allowances for thermal expansion, so your sweep doesn’t bind in summer.
Finally, note your threshold’s profile and screw locations for secure mounting. A few precise numbers now prevent a wobbly, leaky door later—think of it as a quick health check for your home’s comfort.
Inspect the subfloor for water damage and rot, and replace subfloor if more than 30% shows decay.
Before you get started, let’s make sure you’ve got all the right gear on hand, because having everything ready will make the job go easily.
You’ll need basic measuring and marking tools, like a tape measure and pencil, along with a saw for cutting and a drill for securing everything in place.
Don’t forget the main event—your new threshold or sweep—and its matching hardware, which are the real stars of this show.
If you’re purchasing tools or replacements, consider opting for power tools intended for home improvement to speed the job and improve results.
To tackle your door threshold and bottom sweep replacement, you’ll need a solid lineup of tools and materials—trust me, having everything ready before you start makes the whole project easier and way less frustrating.
Grab a tape measure and pencil to get your door’s width right. You’ll cut the new aluminum sweep with a hacksaw and trim its vinyl seal with heavy-duty scissors. A cordless drill with driver and pilot bits is perfect for screws, while standard screwdrivers and a utility knife handle removal and cleanup.
For safety gear, wear safety glasses. If buying a miter saw isn’t in the cards, check rental options at your local hardware store; it’s a great budget alternative for a one-time job. Consider investing in a professional cordless drill set for reliable power and battery convenience.
Now that you’ve got your tools ready, it’s time to pick the right materials for the job—and honestly, this is where you can really make a difference in how well your door seals and looks.
First, match your door sweep type to your need, like a brush for uneven floors or a pest-proof seal.
For the threshold, aluminum is a common, budget-friendly choice, while bronze is tougher but pricier.
Don’t forget to check regional regulations for any specific building codes.
If you’re eco-minded, explore sustainability options like composite thresholds.
Grab the correct stainless steel screws and a tube of exterior silicone caulk for a watertight seal.
Getting these picks right means a door that works beautifully for years.
Consider stocking a professional caulk gun kit to ensure you have the right applicator and smooth finish.
Getting that old threshold and door sweep out of the way is your first move, and it’s really about working smart, not merely hard.
Start by closing the door and removing any visible screws with a Phillips-head screwdriver. If the sweep is in a channel, gently pry it free with a flathead.
For the threshold itself, remove all fasteners and lift it straight up. If things are stubborn, don’t fight it—consider hinge removal for better access.
Once everything’s off, your cleanup job begins. Inspect the area carefully, tackling any adhesive removal and staple extraction from the old materials. A clean surface is key, so clear all debris to guarantee your new pieces will seat perfectly flush. Also check for moisture in substrate, since damp substrates can prevent proper adhesive curing.
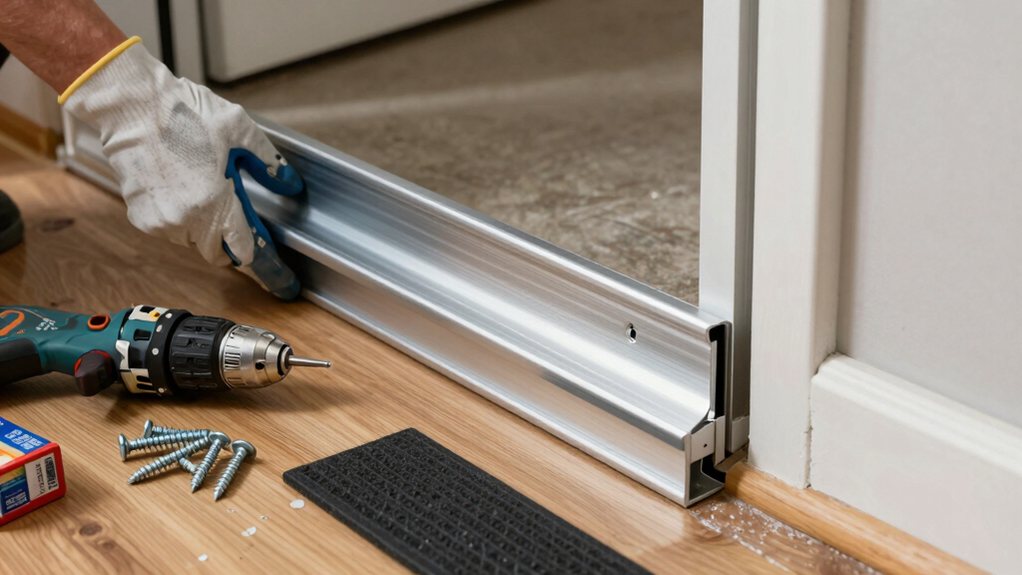
Fitting your new threshold across the door opening is like solving the first piece of the puzzle.
Dry-fit it and trim so the ends sit flush against the jambs.
Good alignment techniques are key; position it so the tongue seats into the sill recess, with the top level and the drip edge slightly overhanging.
Next comes the sealant application.
Run a continuous bead of exterior-grade sealant under the flange for a watertight seal.
Then, follow proper fastener spacing, marking screw spots every 6–8 inches.
Drill pilot holes and fasten with corrosion-resistant screws, but don’t crank them down too tight—you don’t want to warp your handiwork!
This solid base sets you up for sweep success. For larger uneven areas consider self-leveling compounds to ensure a flat substrate before installing the threshold.
* Master the “Snug, Not Stuck” Rule: Overtightening screws bows the aluminum, creating gaps.
Tighten incrementally for a flat, even seal.
* Test, Don’t Guess: Open and close the door repeatedly.
If it sticks, loosen screws and nudge the sweep up a hair.
* Conquer Uneven Floors: Set the sweep to seal at the highest point, then gently lower adjacent sections by loosening individual screws for a continuous, drag-free fit.
Now that your new sweep is in place, how do you know it’s actually sealing?
First, close the door and check for daylight along the bottom—even a thin line means a gap. Slide a strip of paper underneath; it should drag slightly when you pull it out. Open and close the door a dozen times, listening for scraping. If it sticks, just loosen the screws and raise the sweep a tiny bit.
A perfect seal prevents moisture intrusion and stops drafts that cause acoustic leakage and energy loss—you won’t need thermal imaging to feel the difference!
For the final test, use a lit incense stick near the threshold; if the smoke doesn’t waver, you’ve nailed it. Recheck tomorrow to be sure.
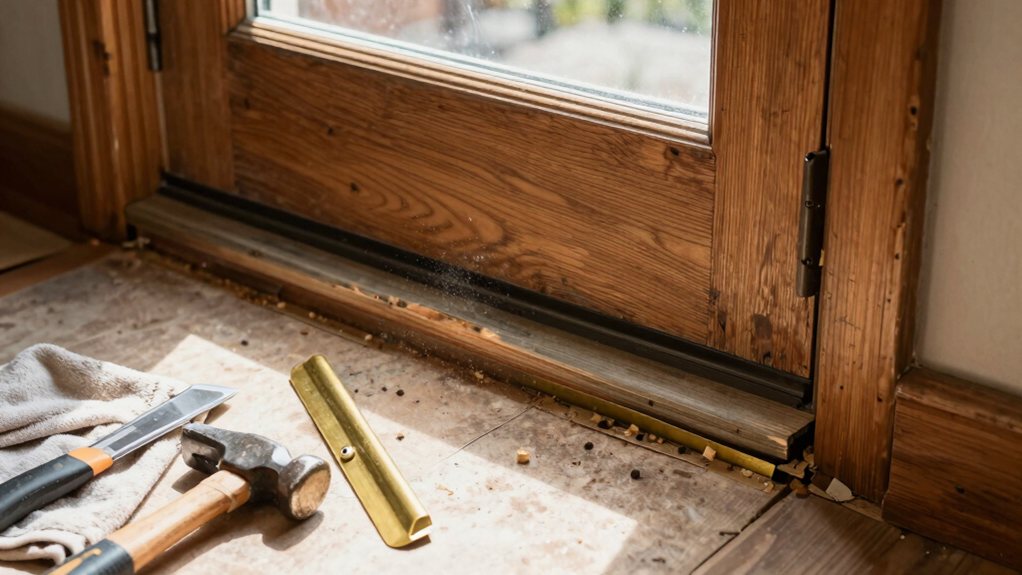
– Persistent drafts: Double-check your measurements—a gap over 1/8 inch means your sweep isn’t fully compressing,
so readjust it or consider a taller insert.
– Squeaking or binding: This often means the sweep is too tight.
Back off the screws and use the oval holes to lower it until it just brushes the threshold evenly.
– Warranty considerations: If problems continue despite your tweaks, your door or its components might be faulty.
Check manufacturer warranties before deciding to call a pro for a replacement.
You’ve just tackled a pesky problem that boosts your home’s comfort and curb appeal. Sure, it took a bit of elbow grease, but now your door seals tight against drafts, water, and even critters. Give yourself a pat on the back for a job well done. Enjoy that satisfying feeling every time you close the door and notice the quiet, cozy seal you created.