Phone:
(701)814-6992
Physical address:
6296 Donnelly Plaza
Ratkeville, Bahamas.

Phone:
(701)814-6992
Physical address:
6296 Donnelly Plaza
Ratkeville, Bahamas.
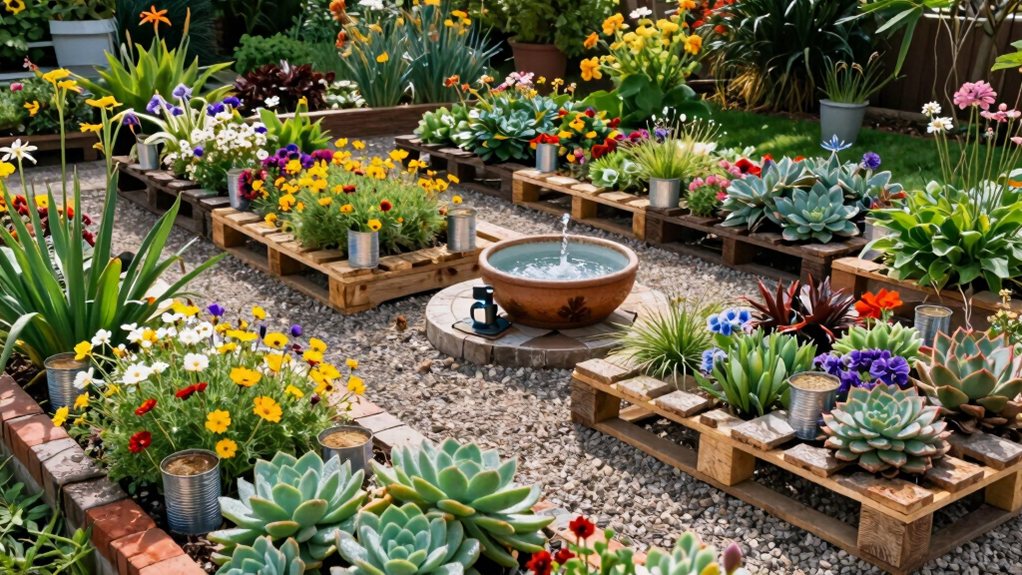
High-impact DIY landscaping on a budget, starting with free mulch and ending with
You can transform your yard on a budget by starting with free wood chip mulch for your soil and building raised beds from repurposed pallets. Choose tough, long-blooming perennials and plant a young tree for future shade. Add charm with a simple mailbox garden, create a low-maintenance path with pebbles, and upcycle containers into planters. These smart, high-impact projects build serious value, and there are plenty more clever ideas where those came from.
Table of Contents
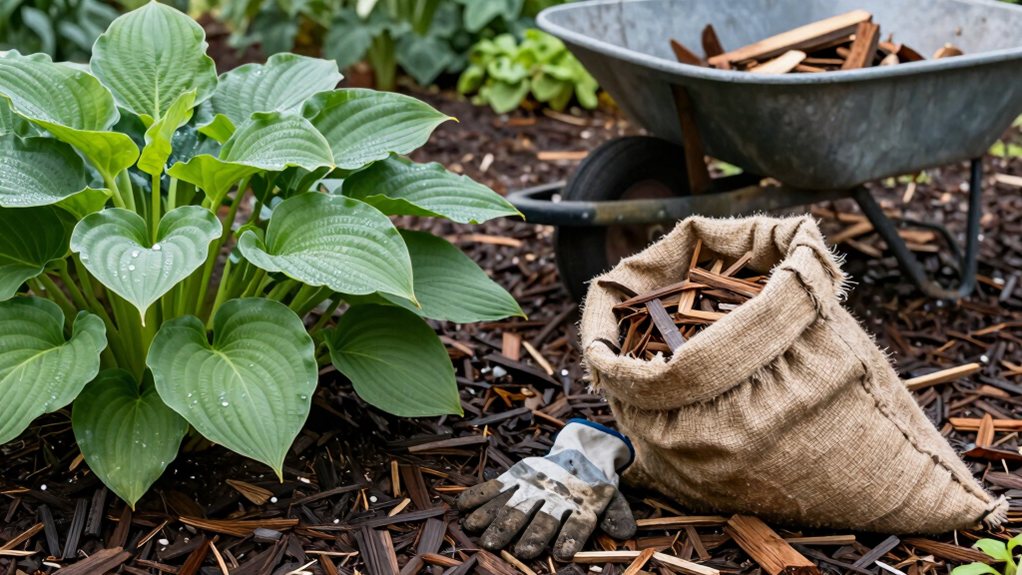
Starting with a simple layer of mulch is like giving your garden a cozy, nutrient-packed blanket.
You can often get free local wood chips or use your own yard waste. Apply a 2–4 inch layer to your beds; this will retain moisture, suppress weeds, and improve your soil over time.
Get free local wood chips or yard waste for a 2–4 inch layer that retains moisture, suppresses weeds, and enriches your soil.
For a new bed, lay down cardboard first to smother stubborn weeds without chemicals.
If you’re buying mulch for a 500‑sq‑ft area, expect to spend $150‑$200, but the free route keeps costs near zero.
Just remember to refresh the layer annually, and mix in some compost with fresh chips to keep your plants happy and thriving without extra fuss. Consider a raised garden bed kit for easy setup and defined planting areas.
Building DIY planting beds with free borders is like giving your garden instant structure without draining your wallet.
Hunt for free pallets or leftover garden timbers at construction sites or reuse outlets.
You can build a simple box bed for under $50!
Lay cardboard underneath to block weeds, then fill your frame with a soil-compost mix.
For a clean edge, stack bricks or rocks on sand, or bury that first timber course a few inches deep.
This stops soil washout and keeps grass from invading.
Keep your beds no wider than four feet so you can easily reach the center.
Cover everything with mulch, and you’ve got a low-maintenance, high-impact garden that looks professionally planned.
You can also use premium cedar planter boxes to give a polished, long-lasting frame to your beds.
You’ll get lasting color without breaking the bank by picking repeat-blooming perennials like coneflowers and salvia.
These hardy plants flower for weeks, and if you snip off the old blooms, they’ll often reward you with a fresh show later in the season. For tight spaces, consider using vertical hydroponic tower systems to maximize planting area and keep blooms accessible.
– Pick tough, deer-resistant bloomers**** like lavender, catmint, and salvia.
They save you money on replacements and pesticides.
– Match plants to your conditions by checking sun needs and your USDA zone.
A Russian sage in full sun will outperform one in shade.
– Divide and conquer your clumps every few years.
Splitting hostas or daylilies multiplies your plants for free and keeps them flowering vigorously.
Ever wonder how some gardens seem to have a constant parade of color from spring until fall? You can achieve this by choosing perennials with staggered bloom windows. Start with early bulbs like tulips, then mid-season peonies, and finish with late asters.
Favor long-blooming stars like Russian sage or coreopsis, which flower for months with simple deadheading. Place sun-lovers in full sun and shade plants like hostas in protected spots to maximize their performance. This planning works for both sprawling garden beds and charming window boxes.
Investing in these perennials pays off, as you can divide them every few years to fill more space for free, guaranteeing your color succession continues beautifully on budget. Adding multifunctional elements like a durable outdoor planter bench cedar can provide seating and planting space without breaking the budget.
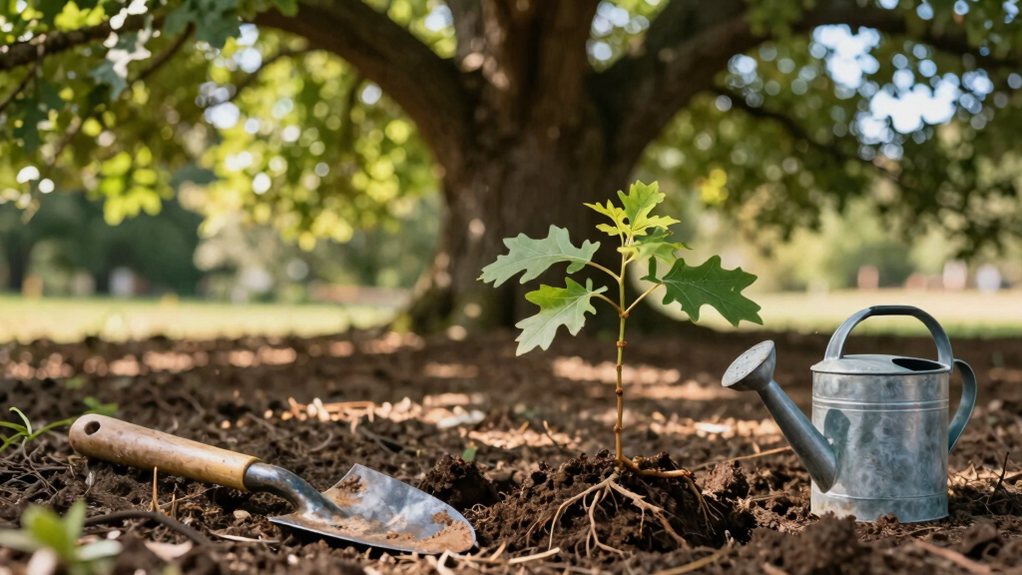
Planting a young tree is one of the smartest, most affordable investments you can make in your yard, giving you future shade and boosting your home’s value for just a few dollars today.
Planting a young tree is a brilliant, low-cost investment that grows into shade and added home value.
That tiny seedling, often under two bucks, grows into an asset that seriously improves your curb appeal and home’s value.
For the best payoff, place deciduous trees on your south or west side for summer shade, saving on cooling.
Dig a hole twice as wide as the root ball, set it level, and backfill with your native soil.
Water it deeply each week for the first few seasons and add mulch to hold moisture.
Be patient; you’ll get nice shade in 5-10 years and a magnificent, valuable canopy in 15+.
For compacting soil and gravel in hardscaping projects, consider using a plate compactor to ensure a stable base and reduce future settling.
placing them a hand’s width from the post to prevent rot.
* Enjoy year-after-year color from these reliable plants, which save you money and time since they’ll return season after season. Consider choosing durable lighting fixtures rated IP65 waterproof to ensure they withstand rain and snow.
Now that your mailbox garden is bringing a cheerful welcome, you might consider adding a path that guides visitors right to your door without breaking the bank. Start with a solid gravel base: lay down a compacted, 4–6 inch layer of crushed stone.
Create a charming, budget-friendly path by starting with a compacted base of crushed stone.
Cover that with garden fabric for weed control, then add your decorative gravel. Next, arrange your stepping stones about a stride apart.
Use simple edging to keep everything neatly contained—it’s a game-changer for maintenance. Finally, compact the gravel and sweep some into the gaps to lock the stones in place.
You’ll have a stable, charming path that handles rain beautifully and says, “Come on in!” without a huge investment of time or money. Consider adding patio privacy screens to enhance privacy and define outdoor rooms.
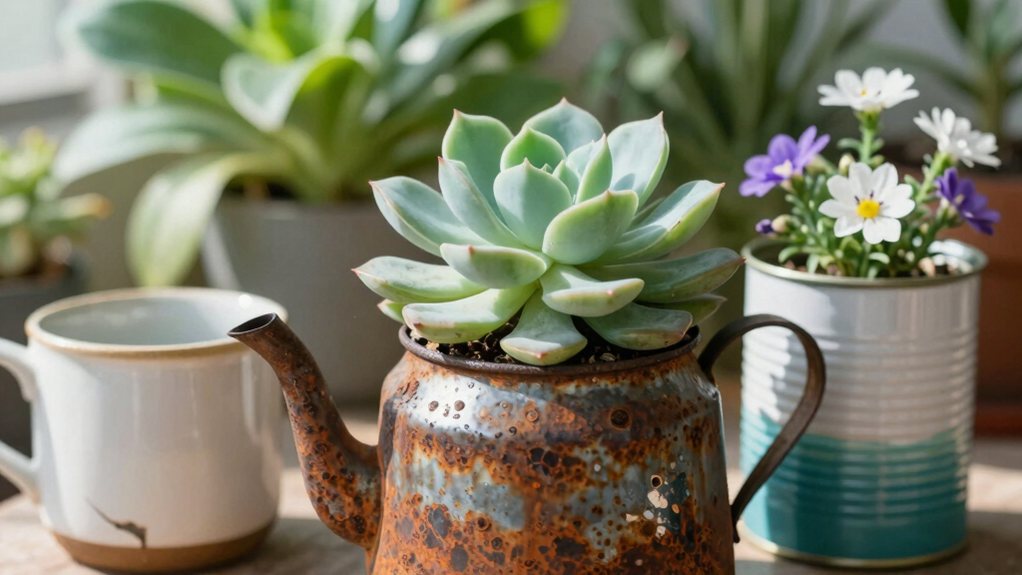
Breathing new life into everyday objects is a fantastic way to add personality to your garden while saving cash.
You don’t need fancy pots to create a beautiful display—just a little creativity and some basic prep work.
The key is making sure proper drainage to keep your plants happy and healthy. Consider adding a small cedar outdoor storage bench to provide seating and hidden storage while blending naturally with garden elements.
You can build a simple, charming window box yourself using just a single cedar board and a few basic tools, then mount it securely with heavy-duty brackets.
For a professional look that won’t break the bank, choose a mix of low-maintenance plants like geraniums or lavender and arrange them with taller ones in the back and trailers in the front. A coat of exterior paint or stain will protect your creation and let you match your home’s style, making this upgrade both beautiful and surprisingly affordable. For secure mounting and a clean look, consider using professional-grade floating shelf hardware designed for heavy loads.
Since installing charming window boxes doesn’t have to drain your wallet, you can easily create this classic feature using affordable materials and a bit of DIY spirit. A simple cedar box or a ready-made plastic one works perfectly.
The real secret to happy plants and a dry wall is in the setup. You’ll want to get the mounting and drainage right from the start.
For the most reliable results when fastening to studs, locate them first with a professional stud finder before you drill.
Once your window box is securely mounted and ready for plants, the fun part begins—choosing what’ll fill it.
Opt for a simple mix that gardens require little ongoing fuss. Reliable perennials like hostas, lavender, or sedum form your base, coming back year after year.
Then, toss in one or two colorful annuals for a seasonal pop. This strategy is the heart of Cheap Landscaping, keeping plant costs between $10 and $30.
Use a quality potting mix and consider water-retaining crystals to make your life easier. You’ll get maximum visual impact with minimal weekend work, proving a lush look doesn’t demand a big budget or a green thumb.
You can give your garden a neat, polished look by framing your beds with simple stone or brick edging, which keeps mulch in and grass out.
Choosing materials wisely, like using reclaimed bricks or bulk pebbles, saves you a bundle and adds unique charm.
Once you’ve got your supplies, a few installation tips—like tamping a solid base and sloping the edge for drainage—will make your project a lasting success.
Once you’ve got your garden borders planned out, picking the right materials for your edging can make a world of difference, both in looks and your wallet. You can create a stunning stone walkway or neat border without breaking the bank by getting creative.
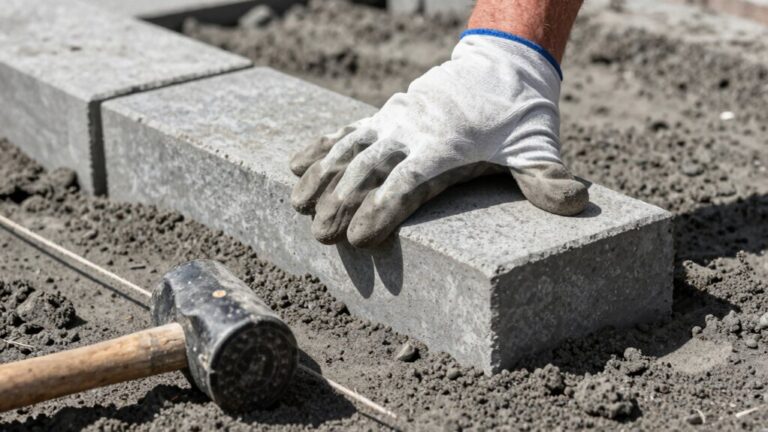
Hunt for reclaimed bricks, broken concrete, or free rocks from local classifieds—they add instant character for pennies. For installation, dig a shallow trench, add a compacted sand base, and dry-lay your materials tight together; it’s simpler than mortaring and easy to fix later.
Just remember to slope the soil away from the bed and set the edging an inch or two above the mulch. This smart setup saves money and reduces messy spillover for good.
Since you want to enjoy your yard well after the sun goes down, adding string lights and lanterns is a wonderfully affordable way to create a magical nighttime atmosphere.
Transform your evenings with affordable string lights and lanterns, crafting a magical atmosphere long after sunset.
You can find outdoor string lights for $10–$50 per strand and easily anchor them to posts or trees to define a cozy space.
For pathways, solar stake lights are a brilliant, wiring-free choice under $10 each. Lining walkways with lanterns boosts safety and curb appeal, guiding guests after sunset.
Always choose weather-rated LED fixtures; they use far less energy and last for years. For the best deals, shop mid-season sales for bundled sets and use existing structures to hang them, avoiding extra costs while transforming your evenings.
You can find beach pebbles for about a dollar a pound, making them a super affordable base for paths or rock gardens.
To keep things simple, start by laying down a weed-control fabric, then spread a 2-3 inch layer of pebbles to block weeds and improve drainage.
Finish with a sturdy edging to keep everything neat, and mix in some larger decorative stones for extra visual interest where it counts.
* Match size to function: Use small pebbles (1/4″-3/8″) for delicate paths and between flagstones.
Match size to function: saving larger, pricier river rocks (1″+) for bold focal points.
While getting those beautiful beach pebbles into your garden might feel like a big project, it’s really just a series of simple steps that’ll save you a ton of future weeding and upkeep.
First, clear and level the ground, then lay down a weed-blocking fabric to prevent erosion and stop weeds.
Use edging to keep your pebbles neatly contained.
For paths or high-traffic spots, add a compacted base of crushed stone for stability.
Rake your pebbles evenly to a 2-3 inch depth—this depth will make sure they stay put and drain well.
Finally, give them a light tamping.
You’ll love the low-maintenance result; just occasional raking and a quick refresh every few years keeps it looking perfect.
* Plant Smart Companions: Tuck resilient succulents or perennials directly into the pebbles or create small mulch islands for them.
This adds lush color, cuts down on watering, and keeps weeds at bay with style.
This simple step keeps everything looking crisp and prevents your beautiful stones from migrating into lawn or planting beds.
Because you’re aiming for a beautiful, low-water garden, incorporating larger rocks is a smart and surprisingly affordable way to build structure and character.
Use one-to-three-foot boulders as anchors, placing them in odd-numbered groups with your largest rock slightly off-center.
This creates a natural focal point and breaks up sightlines, which are clever landscaping ideas to improve your yard’s flow.
Build gentle slopes with these rocks for drainage, then add sandy soil.
Source your stones locally from quarries or free listings to save major cash—just plan their spots first to avoid heavy lifting!
Tuck drought-resistant plants like sedum between stones.
Finally, contain everything with edging and gravel to prevent weeds and washout, securing your low-maintenance oasis.
Creating a lively wildflower patch is a fantastic way to welcome pollinators to your yard without spending a fortune.
First, pick a native seed mix for your zone; coneflowers and bee balm support local wildlife far better than generic flowers.
Choose native seeds like coneflowers and bee balm to best support your local pollinators and wildlife.
Prep a sunny patch by clearing weeds and loosening the topsoil. Scatter seeds in early fall or spring, barely covering them, and keep the soil moist until sprouts appear.
Your budget stays happy—seed packets are inexpensive and cover good area. Once established, these plants need little care. Just cut back the dead stems in late winter, leaving some for shelter. You’ll enjoy a low-maintenance, buzzing habitat that blooms beautifully year after year.
So, you see, you don’t need a big budget to make a big difference. With a little creativity and some weekend effort, you can transform your yard into a beautiful, welcoming space. Start with one or two projects you really love, and you’ll be amazed at the results. Enjoy the process, get your hands dirty, and take pride in what you’ve built with your own two hands.