Phone:
(701)814-6992
Physical address:
6296 Donnelly Plaza
Ratkeville, Bahamas.

Phone:
(701)814-6992
Physical address:
6296 Donnelly Plaza
Ratkeville, Bahamas.
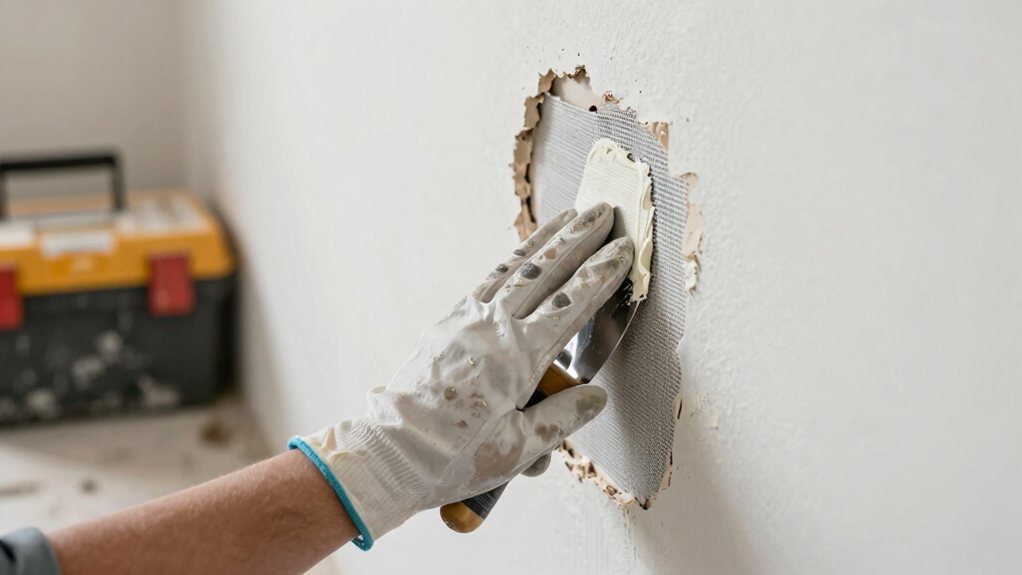
Use the California patch method to quickly fix large drywall holes, and discover the key step for a perfect, invisible repair.
First, identify the hole’s full size and cut it into a neat square, removing all loose material. Next, create a paper-flanged patch from scrap drywall. Apply joint compound around the hole, press in your patch, and scrape it level. Let it dry, then sand it flat before adding a thin finishing coat of mud. Once you sand that feather-flat, you’re ready for primer and paint. Getting these basics right sets you up for the finer details ahead.
Table of Contents
Before you grab a patch and start slathering on joint compound, you’ve got to know exactly what you’re fixing, because that jagged hole is probably hiding its true size.
Don’t just patch over the visible mess; damage often extends underneath the surface. Your first job is to turn that irregular hole into a neat square or rectangle using a drywall saw.
This lets you find the solid, undamaged drywall edges you’ll need for a clean repair. As you cut, probe around the hole’s perimeter with your saw or a utility knife to knock away all the loose, crumbly gypsum until you’re left with firm, intact material.
It’s like archaeology, but for your wall—you’re uncovering the true shape of the problem.
A quality professional drywall repair kit will include the tools and materials needed to complete the job.
Start by tracing a neat square or rectangle around the damaged spot and cutting along those lines, which gives you clean edges for your patch.
You’ll want to make this opening a little bigger than the obvious hole so you can find any hidden tears or crushed drywall behind the surface.
Then, clear out all the loose, flaky bits back to solid material, because your patch needs a sturdy base to stick to properly.
Consider using a drywall finishing tools kit to ensure you have the right tools for clean cuts and smooth finishing.
How exactly do you turn a jagged, crumbly mess into a clean slate ready for a patch? First, you’ve got to assess the real damage.
Look closely at your wounded wall—the visible hole is often just the tip of the iceberg. Gently probe the area; if the surrounding paper is torn or the gypsum behind is crushed, you’ll need to cut back to solid, stable material.
This step is essential because patching over weakness guarantees a future bulge or crack. You’re basically playing surgeon, removing the damaged tissue so the new piece of drywall can graft on perfectly.
Don’t rush this diagnosis. Taking time now to find all the compromised spots saves you from a frustrating do-over later. Keep in mind that professionals spend about 80% of their time on hidden prep to ensure a durable repair.
Now, let’s turn that ragged hole into a tidy, patch-ready shape—think of it as giving your wall a nice, clean haircut. You’ll want to cut straight lines to create a square or rectangle, which gives your patch solid edges to rest on.
Don’t just trace the damage; make your new opening a bit bigger to reach firm drywall behind any hidden crumbling. Use a drywall saw, or score deeply with a utility knife and snap the piece out.
Clear away every bit of loose gypsum and torn paper—your patch needs a clean, strong surface to stick to. It’s a simple but essential step, like prepping a canvas before you paint, so take your time here. Also inspect for moisture in substrate, which can undermine the patch if present.
Now, you’ll create your California patch from a scrap of drywall. Score the face paper just inside the patch size you need, then snap the gypsum core away to leave a neat paper flange.
It’s a satisfying step, like peeling a backing off a sticker, and it gives you a perfect edge to work with.
Creating your California drywall patch is a bit like making a custom puzzle piece that’ll lock right into place.
First, grab a scrap of drywall slightly bigger than your hole. A leftover piece from a 1/2-inch drywall sheet works perfectly.
Place it upside-down, so you’re looking at the paper backing.
Now, trace the hole’s outline onto this paper.
Here’s the clever part: score just the paper along your line, staying slightly inside it.
Gently bend the board to snap the gypsum core away from the scored paper.
Then, peel that chalky core off with your fingers, leaving you with a thin, paper-flanged insert.
This paper lip is what’ll seamlessly glue your patch into the wall.
With your drywall scrap ready, you’ll turn it into a custom patch by scoring and peeling the backing.
This clever technique creates a feathered edge that hides perfectly under drywall mud.
Follow these steps for a seamless fix.
Once you’ve got your drywall insert cut to fit, it’s time to stick it in place and spread on your first layer of mud, which is really where you start to see that ugly hole disappear.
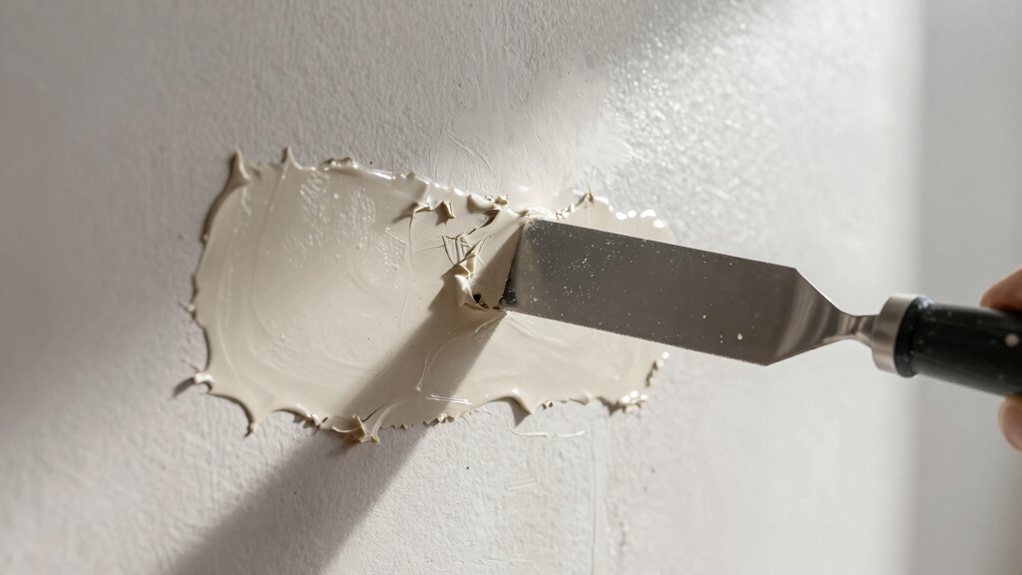
First, apply a thin, toothpaste-thick skim of joint compound into the hole and around its edges.
Press your patch in firmly.
Now, grab your drywall knife—make sure you hold it at an angle—and press the patch flush with the wall, squeezing out the excess mud as you go.
Scrape off all that extra gunk so your patch sits level.
Then, feather a super thin coat over the edges with a wider knife to blend it in.
Let this first coat dry completely before you even think about sanding.
Getting your mud to the perfect, spreadable texture is a bit like mixing pancake batter—you’re aiming for a consistency that holds its shape without being a stubborn lump.
For setting-type compound, like Sheetrock 20, remember you only have about 20 minutes to use it, so mix small, manageable batches. Also, work in small sections so you can finish each batch before it sets.
Here’s how to get it right every time:
Even though your first coat feels dry, it’s tempting to jump right in, but a little patience now makes all the difference.
Wait for it to fully cure—20 minutes for a setting compound or several hours for pre-mixed—so you don’t tear the paper.
Grab a sanding sponge with 120-150 grit and gently knock down any high spots, feathering the edges a whole lot, at least 6–8 inches out.
This blending is your secret weapon.
Next, apply a thin finishing coat with a 10–12 inch knife, pulling evenly and feathering even wider.
Once dry, give it a final light sand with 220 grit for a silky feel.
Wipe away all dust, prime, and you’re ready for paint.
Also make sure to thoroughly degrease the surrounding area before priming to ensure proper adhesion.
Now that you’ve sanded your patch to an even, silky finish, it’s time for the magic step that makes your repair truly disappear:
This seals the joint compound and guarantees your final paint blends perfectly. Here’s your seamless finish checklist:
For roller choice, select a 1/2-inch nap microfiber roller for typical walls to hold more paint without adding too much texture.
So, you’ve tackled that hole! It might have felt a bit messy, but you did it. Let that final coat dry completely, sand it flat with your finest grit paper, and give it a good prime. Once you paint, you’ll be amazed at how your repair just disappears. Stand back, admire your work, and give yourself a pat on the back—you’re officially a drywall pro now.