Phone:
(701)814-6992
Physical address:
6296 Donnelly Plaza
Ratkeville, Bahamas.

Phone:
(701)814-6992
Physical address:
6296 Donnelly Plaza
Ratkeville, Bahamas.
Take on popcorn ceiling removal yourself by first testing for asbestos, then scraping carefully—but there's a catch.
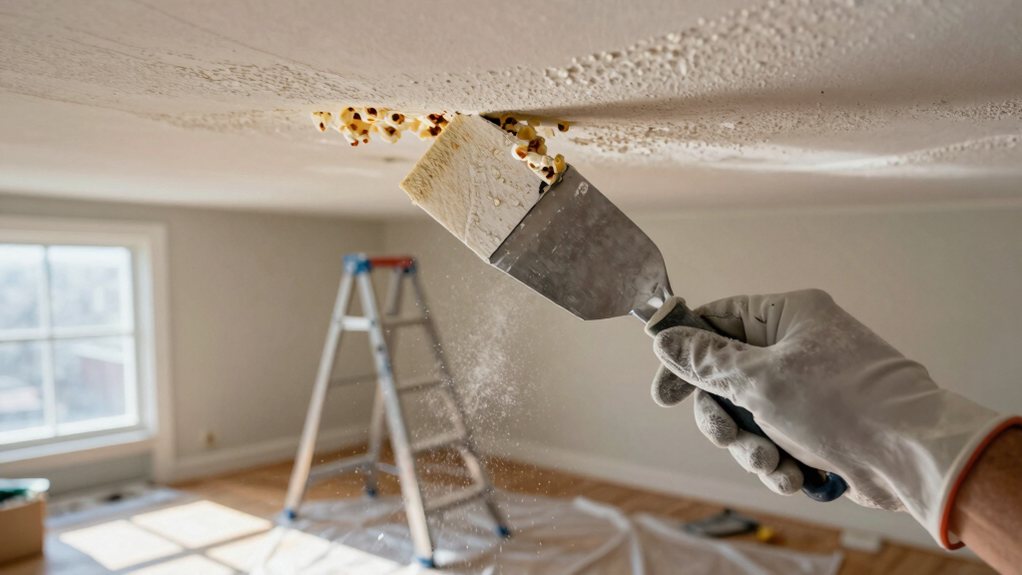
Before starting, you’ve got to test for asbestos if your home was built before the 1980s. Then, suit up with protective gear, seal off the room completely, and shut off the power to any fixtures. The trick is to thoroughly soak the texture and scrape carefully with a wide knife. You’ll then repair, sand, and prime the surface before applying fresh ceiling paint. There’s a bit more to each of those steps, of course.
Table of Contents
Before you even think about grabbing a scraper or a ladder, there’s one absolutely essential step you can’t skip: testing for asbestos. Popcorn ceilings from the 1970s and 80s frequently contained it for fire resistance. You’re going to show how smart you’re by getting a sample professionally tested before any work begins.
Before touching a scraper, test for asbestos. This non-negotiable step is your essential health safeguard.
Don’t start scraping! Disturbing the ceiling can release toxic fibers. This test protects your health and is totally non-negotiable.
If it’s positive, you must hire licensed pros for removal—no DIY here. If it’s negative, you can happily proceed with your project.
Think of the test result as your official permission slip, guiding your safety and disposal plans from the very start. Consider using a professional safety equipment kit to protect yourself and comply with safety practices.
Gathering your toolkit is like rounding up the best team for the job—each tool has a specific role, and when you use them together, you’ll make quick, clean work of that bumpy ceiling.
Your indispensable buying guide starts with safety: an N95 respirator, goggles, and disposable coveralls.
You’ll need a pump sprayer to wet the texture, a wide scraper, and heavy plastic sheeting for containment.
For budget estimates, know that most items are affordable at hardware stores.
Consider tool rentals for bigger items like a HEPA shop vac if you don’t own one.
Finally, grab joint compound and ceiling paint for repairs.
With your kit ready, you’re set to tackle the project safely and efficiently. Consider keeping a professional drywall repair kit on hand for efficient patching and finishing.
Now that you’ve got your tools lined up, it’s time to transform your room into a sealed work zone—think of it as building a dust-proof bubble.
Transform your room into a sealed, dust-proof bubble before starting your project.
Start by clearing out all furniture and covering what remains with thick plastic.
Lay drop cloths over the entire floor, sealing seams with tape to lock dust in. For heavy spills, consider layering canvas drop cloths over a waterproof plastic underlayer to combine absorbency and protection.
Cover doors and windows with plastic sheeting, too, taping it securely but leaving a taped flap for you to slip through.
Don’t forget to turn off your HVAC and seal those vents; this is essential for humidity control and keeping dust out of your ducts.
Hang plastic on the walls, and set up some temporary lighting so you can see your progress.
If you have curious cats or dogs, remember pet protection means keeping them safely out of this messy, dusty adventure.
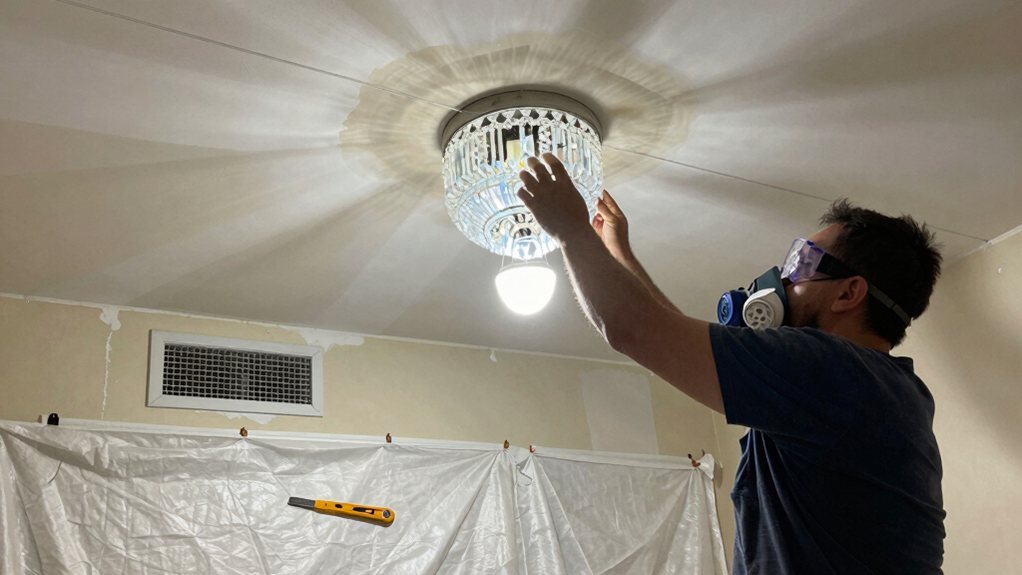
Before you touch any fixtures, make sure your ceiling’s asbestos-free and shut off the circuit breaker, double-checking the power is off with a voltage tester.
Then, with one hand supporting the fixture, loosen the mounting screws and carefully disconnect the wiring, noting the colors and capping each wire for safety.
Once the fixture is down, you’ll find extra popcorn texture around the opening, so lightly wet the area to keep dust down before you start scraping it clean.
Many homeowners are upgrading to Smart home electrical panels for whole-home load monitoring and remote control.
You’ll need to safely disconnect any light fixtures and vents before scraping that popcorn away, and this starts by making absolutely sure the power is off—it’s a step you don’t want to rush or skip.
First, head to your electrical panel and shut off the correct circuit breaker. Good breaker labeling is your best friend here; if it’s not labeled, have a helper turn switches off while you test lights.
Next, grab your non-contact voltage tester. Remember to test it on a known live source first to confirm it works—this essential voltage testing is your final safety check.
Treat this like a mini lockout procedure; you’re creating a safe, de-energized workspace. Trust us, a little caution now prevents a very shocking surprise later!
Also, confirm the fixture’s neutral requirement before disconnecting if you plan to replace or upgrade switches or dimmers, since some devices require a neutral wire.
Although the power’s safely off, you’re not quite ready to start scraping just yet—first, you’ll want to clear the stage by taking down light fixtures and vents.
Remove bulbs and covers, then unmount each fixture. Carefully disconnect and cap the wires. Bag and label all hardware—this creates handy mounting templates for later.
Next, gently pry or unscrew HVAC vents. You’ll find popcorn texture lurking behind them, too.
Now, for some essential finish protection: tape plastic sheeting over ceiling boxes, walls, and floors. This creates a dust barrier for tarnish prevention on your fixtures and keeps your whole room cleaner.
Storing fixtures on a workbench gets them safely out of the messy line of fire. If you plan to reinstall upgraded premium ceiling light fixtures, label their mounting positions as well.
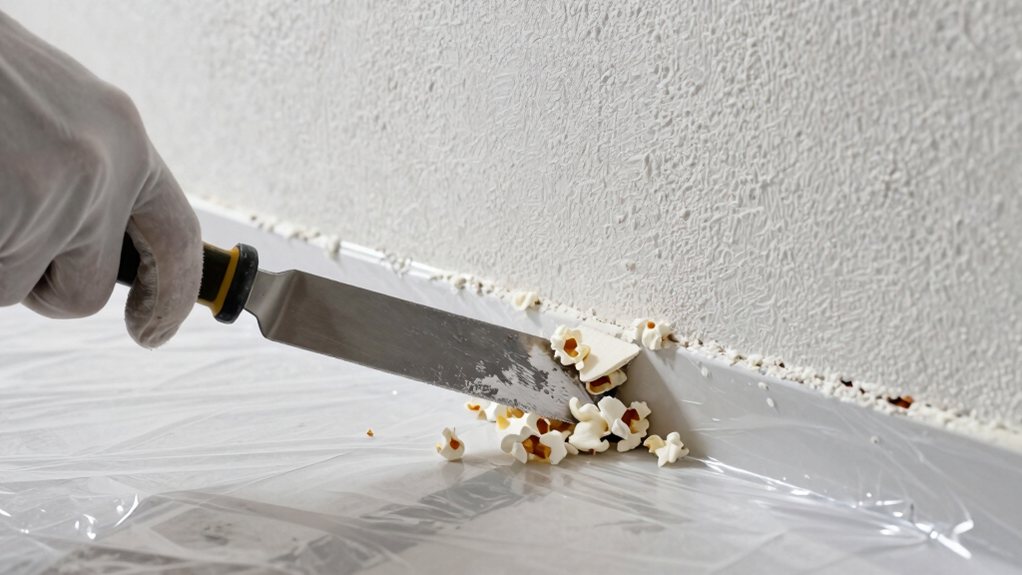
Scraping off that stubborn popcorn texture is your ticket to an even ceiling, and doing it the right way will save you a ton of hassle.
First, keep that material soaked! Re-wet it every 10–15 minutes; these wetting intervals are key to preventing a dusty mess.
When you start scraping, hold your wide knife at a very shallow scraping angle—almost flat against the ceiling. Your stroke technique matters: use steady, overlapping pushes, working in small sections.
If you hit a dry spot, stop and spray it again. Don’t force the blade, or you’ll gouge the drywall. Just let the softened texture peel right off into your drop cloth. It’s oddly satisfying when it works!
For best results, have a quality drywall finishing tools kit on hand to smooth edges and clean up after scraping.
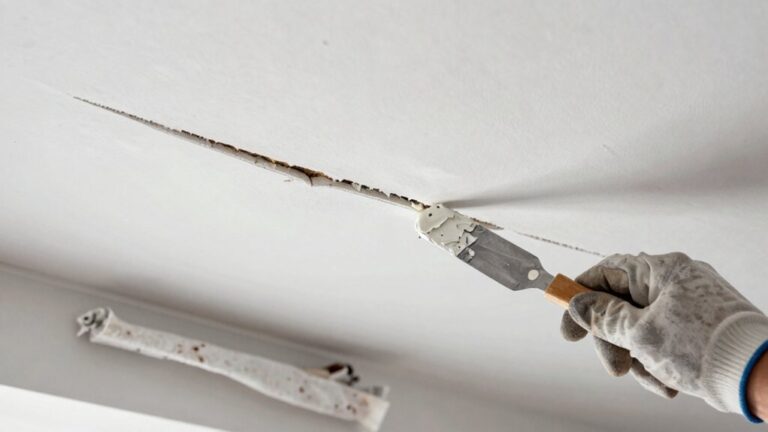
Once you’ve scraped off the popcorn, you’ll probably find a few gouges or holes that need fixing.
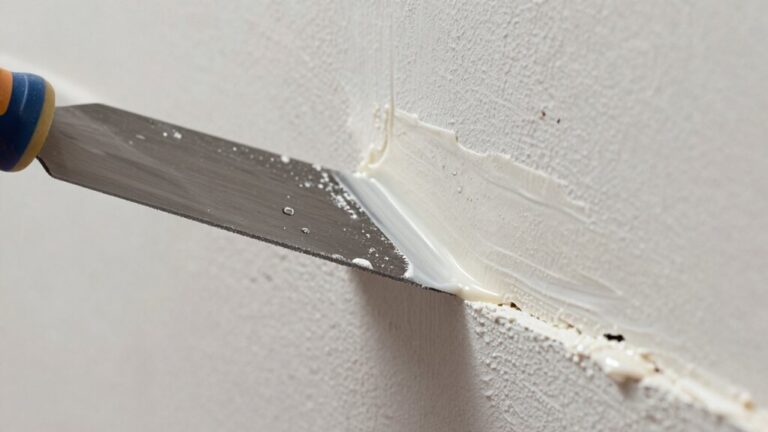
Don’t worry—cover any deep spots with fiberglass drywall tape, then fill them in with joint compound, using thin layers and a wide knife to feather each coat seamlessly.
After it’s dry, sand the patch until it’s perfectly flush, and remember to prime it before you paint for a flawless finish. Also, prime high-moisture areas and apply a waterproofing membrane to seams and corners before painting to prevent future moisture problems.
* Assess the Damage: For small nicks, just a skim coat of joint compound will do.
For anything deeper than 1/2 inch, you’ll need to back it with a mesh patch or a bit of drywall for support—patch sizing is key.
* Apply & Dry: Feather the edges thin for seamless edge blending.
Let each coat dry fully for at least 12-24 hours to prevent cracks.
Also inspect nearby substrate flatness — visible height differences such as daylight under straightedge can signal bigger issues that should be addressed before final finishing.
Achieving a perfectly even ceiling starts with the all-important sanding step, which transforms your patched gouges from lumpy repairs into an invisible, seamless surface.
Your grit selection is key; start with 120-grit paper on a sanding block to level high spots, then switch to 220-grit for a silky finish. Master angle control by feathering the patch edges—angle your sander outward to gently blend the compound into the surrounding ceiling.
Always wear a respirator and use a vacuum sander to contain the incredible dust cloud. After sanding, do a surface test: wipe the area with a damp cloth and inspect under a raking light. Any shadows mean a quick re-sand, guaranteeing your ceiling is flawlessly sleek and ready for primer. Keep a professional wood refinishing kit on hand for related woodworking touch-ups.
– Smooth it out: Once joint compound is fully cured, sand patches flush.
Start with 120–180 grit on a pole sander to flatten, then use 220 grit for a final, silky-smooth finish.
– Dust control is key: Always wear an N95 respirator and goggles.
Use a HEPA vacuum while sanding to capture dust—your future self will thank you for the clean air!
– Prime to perfection: After removing all dust, apply a stain-blocking primer.
Two coats over heavy repairs seal everything and even out the surface for paint.
– Final prep: Let the primer dry completely, then give it a light sand with 220 grit.
This guarantees a uniform surface for your ceiling paint, aiding in VOC reduction if you choose a low-odor formula.
Now that you’ve got a beautifully even and primed surface, how do you pick the right paint to make it all shine? Your sheen selection is essential—choose a flat or matte ceiling paint, as it hides any tiny imperfections. Avoid eggshell or satin, which highlight texture.
Look for paint with built-in primer benefits; it improves adhesion and means you might only need two coats. For color reflectivity, go for pure white or a high-LRV shade to bounce light and make the room feel brighter and taller.
Use a 2–3 inch brush to cut in the edges, then roll on thin, even coats with a 3/8-inch nap roller. Apply two coats, letting each dry fully, and back-roll as you go for a flawless finish.
Once you’ve finished painting and your ceiling looks crisp and new, you’ll want to tackle the cleanup, because managing the fine dust is just as important as the removal itself.
This final phase is all about protecting your home and yourself from lingering particles. Think of it as a deep reset for your space.
And there you have it! You’ve tackled that dated popcorn texture and given your ceiling a beautiful, sleek update. It’s a messy job, but the results are worth the effort. Just remember to take your time with the prep work, especially that asbestos test. Now, stand back, admire your handiwork, and enjoy your bright, fresh new space. You’ve definitely earned a break.