Phone:
(701)814-6992
Physical address:
6296 Donnelly Plaza
Ratkeville, Bahamas.

Phone:
(701)814-6992
Physical address:
6296 Donnelly Plaza
Ratkeville, Bahamas.
Uncover DIY ceiling crack repair secrets that save you money and...
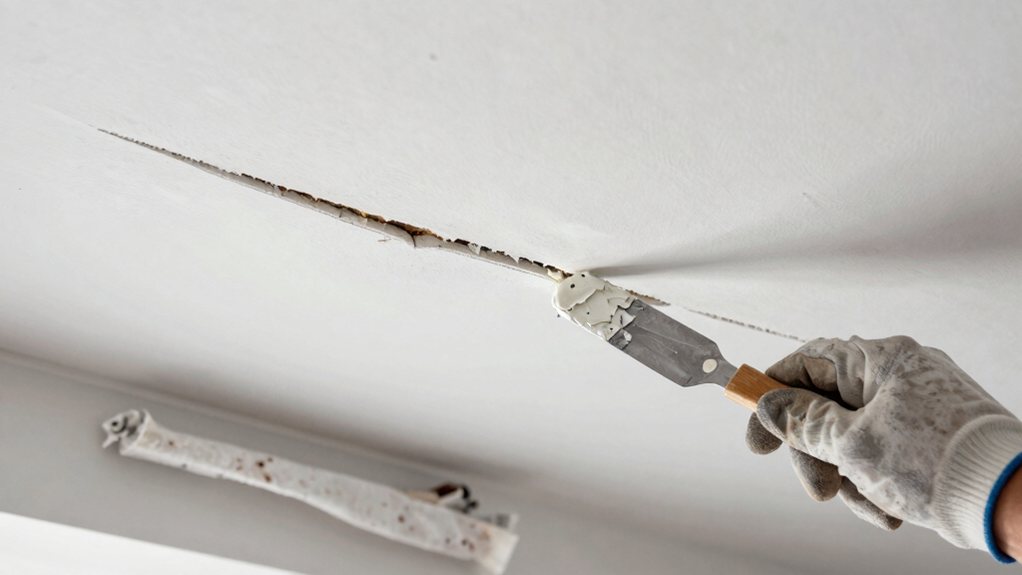
You can definitely fix a ceiling crack yourself. First, cut a shallow groove along the crack and clean out any loose material. Press self-adhesive mesh or paper tape firmly over the crack, then cover it with a thin layer of joint compound using a putty knife. Let it dry completely, sand it level, and apply a second, wider coat to blend it in. With a little patience, you’ll have your ceiling looking perfect again.
Table of Contents
Before you can become a ceiling-crack surgeon, you’ll need to gather your operating tools and supplies. Start by rolling out a 6–8 foot dust sheet to catch any mess, and set up a sturdy, weight-rated stepladder for safe access.
Your key cutting tools are a utility knife and a multi-tool for scoring the crack. For the repair itself, pick up a quart or gallon of pre-mixed all-purpose joint compound, which is your magic plaster, along with either paper or mesh tape.
You’ll also want a mud pan, a 6-inch and a 10-inch taping knife for feathering, and a sanding block. Don’t forget safety glasses and a dust mask—this isn’t a glamorous job, but you’ll feel like a pro doing it yourself. Consider using a professional drywall repair kit to ensure you have all the right tools and materials.
So, what’s really behind that ceiling crack? First, don’t panic—it’s often just normal settling or humidity changes.
Check if it follows a seam or corner; that usually means movement at a joint. Gently press around the crack. If you feel soft spots or hear loose nails, you’ve got an attachment issue.
See if the crack thins out or runs continuously. A thinning crack often means stress has stopped, but a continuous one suggests ongoing movement.
If it ends abruptly, you might need to probe a bit to see if it’s hiding along an edge. Finding these high spots tells you what you’re going to remove and fix, saving you from future headaches. If you plan to repair it yourself, consider using drywall finishing tools to get professional-looking results.
Now that you’ve figured out what caused that crack, you’re ready to get your hands a little dirty and set the stage for a lasting fix, because prepping the area properly is just as important as the filling itself.
Before you grab any compound, you’re going to show that crack who’s boss by making sure it’s stabilized.
Using a caulking tool kit can make shaping and smoothing the repair much easier.
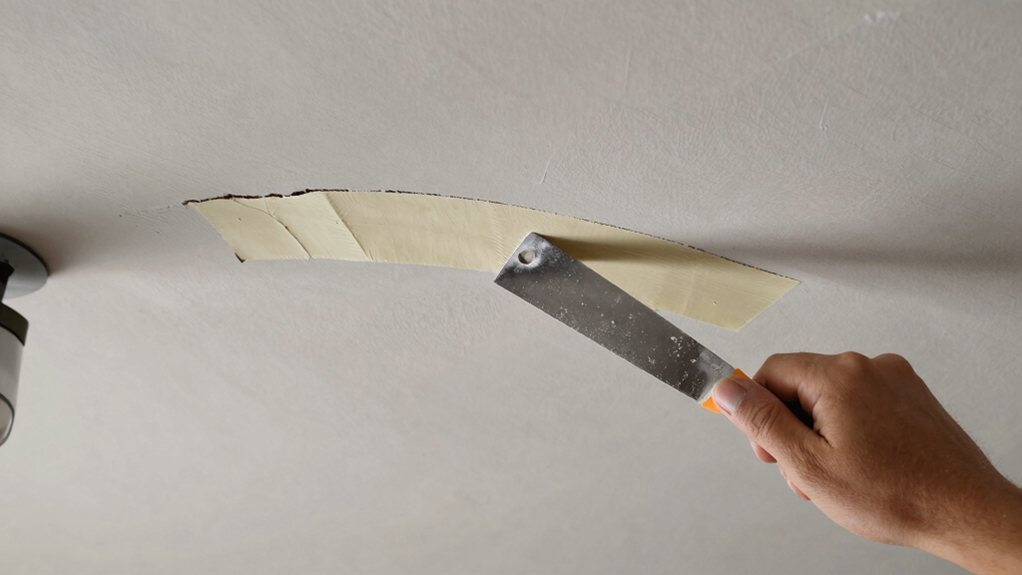
Getting your tape perfectly embedded and applying that first coat of mud is where you really start to see your repair take shape.
First, press your pre-cut tape firmly into the wet bedding compound. Make it flat with your knife, making sure it’s centered without any overlaps.
Now, for the first coat, scoop your joint compound and build it up over the tape’s middle until it’s completely hidden. Here’s a pro tip: put a little extra mud on your knife and feather the edges outward with long, even strokes. This blends the repair into the ceiling.
Don’t aim for perfection now; just make sure the tape is securely covered. Let this coat dry completely—your patience here is what makes the final finish look seamless. Also, avoid working when humidity above 70% as high humidity can prevent proper drying and weaken the bond.
For your second coat, use a larger knife to feather the mud out even wider, which helps blend the repair into the ceiling.
Once that coat is dry, check for any high spots and gently scrape them off before you begin sanding with fine paper.
If you still see any ridges after sanding, a final thin skim coat followed by another light sanding will get you that perfectly seamless surface you’re after.
Also make sure to perform thorough degreasing before priming to ensure proper adhesion.
After your first coat has thoroughly dried, you’ll grab a larger joint knife—at least 6 to 8 inches wide—to apply the second coat of compound.
This layer is where you really start to blend everything seamlessly into the ceiling.
Spread it evenly, feathering the edges out much wider than before, about double the width of your first pass.
Don’t worry about perfection; a little bit of ridge or a minor edge line is totally fine now, as you’ll fix it later.
Also, remember to prime cement board in high-moisture areas to improve membrane adhesion and long-term stability.
Now that your second coat has dried, it’s time to play detective and hunt down any ridges or lines left behind. Run your hand lightly over the patch and look for high spots that catch your fingers. If you find any, scrape them off with a clean drywall knife before you even think about sanding; this keeps you from smearing compound everywhere.
Your repair might need this extra step to look pretty and seamless. After scraping, lightly sand the area with fine-grit paper to feather those edges into the surrounding ceiling.
This gentle leveling blends everything together. Remember, patience here makes all the difference, so take your time and don’t rush this detective work. Consider using a professional wood refinishing kit to ensure you have the proper tools and supplies for a flawless finish.
If you suspect hidden mold, obtain a professional mold assessment to confirm contamination before proceeding.
Once your final skim coat is even and sanded, you’re ready for the finishing touches that will make that repair disappear—priming and painting are your secret weapons here.
So, what I’m going to do first is apply a stain-blocking primer over the patched area; I’m just going to feather it out 6 to 12 inches with a roller to blend it. Let that dry fully.
Then, use a high-quality flat ceiling paint for two even coats, waiting a few hours between them. Going beyond your patch with each layer avoids a visible “flash.”
Lightly sand any edges that show through after priming, then spot-prime again. Paint in good conditions, keeping a wet edge for that seamless, pro look you want.
For best results choose a roller with the appropriate nap—nap-size matching helps blend the repair into the surrounding ceiling.
You’ve tackled that ceiling crack all on your own, and you should be proud. With a little patience and these steps, you’ve saved a good chunk of change and learned a handy new skill. Just remember, the perfect finish is all in the sanding and painting. Now stand back, admire your seamless ceiling, and maybe don’t point out your repair to guests—let them just wonder.