Phone:
(701)814-6992
Physical address:
6296 Donnelly Plaza
Ratkeville, Bahamas.

Phone:
(701)814-6992
Physical address:
6296 Donnelly Plaza
Ratkeville, Bahamas.
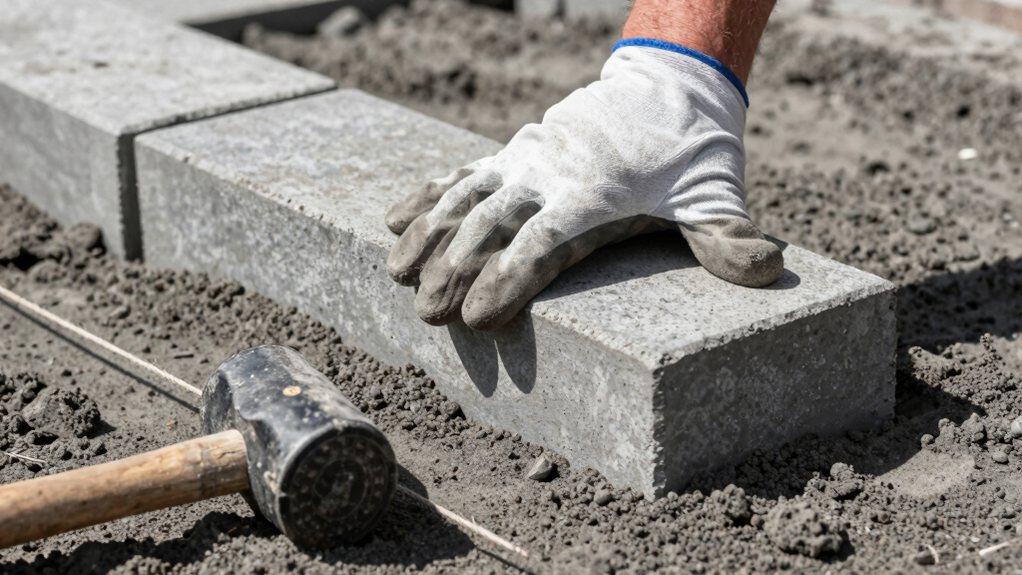
Find out how to install a paver patio with our guide, from excavating the base to laying the final stone.
You’ll first decide if DIY is right for your project, considering the size and soil. Once committed, outline your patio and excavate for a solid crushed stone base, which is your foundation’s hero. Next, you’ll level a perfect sand bed, lay your pavers carefully, and install edging to keep everything locked in place. Finally, compact everything, fill the joints with sand, and seal it. This process is easier to master than you might think, and there are more specifics ahead to guide you through each step seamlessly.
Table of Contents
First, you’ve got to ask yourself: are you going to tackle this paver patio yourself, or call in the pros?
A DIY paver patio can deliver serious cost savings, with materials around $5 per square foot and tool rentals maybe $350.
But you must honestly assess your site conditions, like needing a proper base depth and good drainage.
Honestly assess your site conditions, including proper base depth and good drainage, before starting your project.
If your project is small and simple, DIY could be perfect.
However, deep excavation for driveways or unstable soil often needs a pro.
Consider your equipment rental access for a compactor and wet saw.
Professional installation, while a bigger investment, brings expertise, long-term warranties, and handles complex issues.
Your choice boils down to your skill, time, and the project’s demands.
You may need to rent a plate compactor for landscaping to properly compact the base and achieve a stable surface.
Alright, you’ve made your choice to move forward. Now, planning your layout and digging a solid base is your most important job.
A good base prevents shifting and sinking later. Start by outlining your patio with stakes and string, checking that it’s square by measuring diagonally. Remember, you’re not merely digging a hole—you’re building a foundation!
This work guarantees your beautiful patio rests on a rock-solid, well-drained foundation. Ensure you also check substrate flatness with a straightedge or laser level to avoid telegraphing and premature failures substrate flatness.
With your rock-solid base compacted and ready, it’s time to lay down the sand bedding that gives your pavers a perfect, level seat. Spread about an inch of coarse washed sand, like ASTM C33 bedding sand, evenly over your compacted gravel base.
Next, lay two parallel screed pipes on the base and drag a 2×4 straightedge across them to level the sand perfectly. Maintain your drainage slope so water runs off.
Try not to walk on your fresh canvas—use timber runways if needed. After pulling the pipes, carefully fill voids with more sand.
Give the whole area a final check with a straightedge, and spot-fix any low or high spots. This careful leveling sand step is your secret to a patio that looks pro and stays flat for years. Also, check local permit requirements before making structural changes to avoid compliance issues.
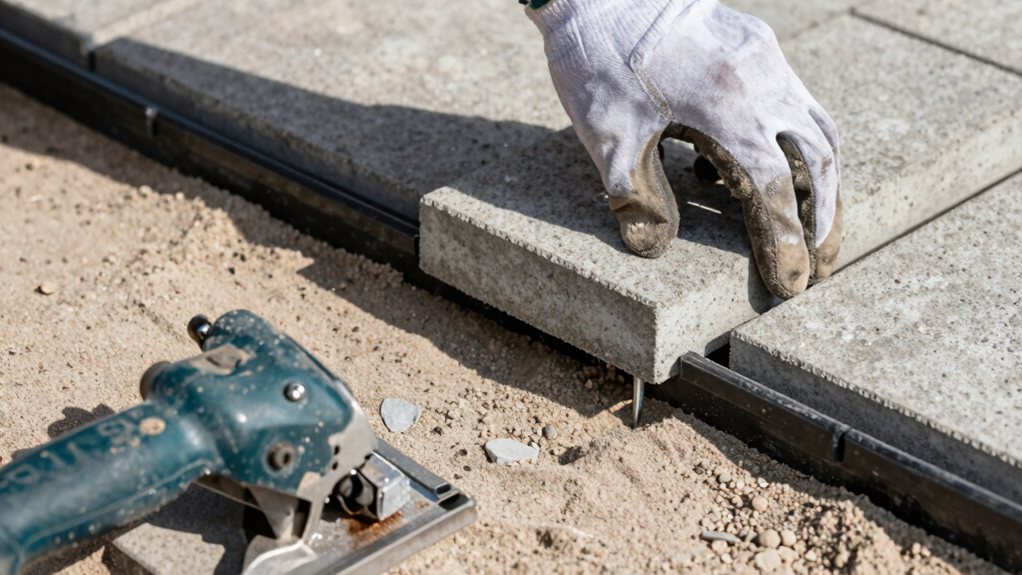
Before committing to adhesive, perform a dry lay of your pavers to preview the layout and catch fit issues early.
Finishing your paver patio by compacting, filling the joints, and sealing it’s where everything really comes together and starts looking professional. First, use a plate compactor with a protective pad over delicate pavers. Make passes in perpendicular directions for solid compaction.
Next, sweep sand into the joints—either coarse joint sand or polymeric sand—until they’re full. Compact again to settle it, repeating until joints stay full. If using polymeric sand, brush off excess and lightly mist to activate the binder. Respect the curing time (usually 1-3 days) before moving on.
Finally, apply paver sealer for protection and improved color. This final step locks everything in place, giving you a beautiful, durable patio ready for years of enjoyment. Choose a penetrating sealer that dries clear to preserve the original appearance while providing long-lasting water and stain resistance.
And that’s it! You’ve built your own paver patio, which is a huge accomplishment. Remember, take your time with each step, as a solid base is the secret to a patio that lasts for years. Now, just sweep the sand into the joints, give it a final compaction, and you’re ready to relax. Grab a drink, kick back in your new outdoor room, and enjoy the fruits of your hard work. Well done!