Phone:
(701)814-6992
Physical address:
6296 Donnelly Plaza
Ratkeville, Bahamas.

Phone:
(701)814-6992
Physical address:
6296 Donnelly Plaza
Ratkeville, Bahamas.
Here's how to fix concrete driveway cracks for a durable, long-lasting seal that won't quickly fail again.
To repair a concrete driveway crack, you’ll first need to clean it out with a wire brush or washer. For a flexible, lasting fix, use flexible polyurethane caulk—avoid rigid mortar that’ll just crack again. Fill the joint, then tool the bead evenly. While it’s wet, sprinkle dry sand to blend the texture. With proper prep, this repair will last for years, and there’s plenty more to know about tackling your project right.
Table of Contents
Before you can seal that pesky crack, you’ve got to give your concrete a proper spa day. This step-by-step guide will help you make sure the caulk bonds perfectly and will extend the life of your repair.
To seal that crack right, first treat your concrete to a proper spa day.
First, evict all dirt, weeds, and loose concrete using a wire brush or a pressure washer. For any oily stains, use a degreaser.
If the crack is super skinny, undercut it with a grinder to open it to about a ½-inch wide—this gives the caulk a better grip. For wider or deeper gaps, tuck in a foam backer rod, setting it about a ½-inch down.
Finally, let everything dry completely, especially if you used water; rushing this traps moisture and ruins your hard work. Also, check for mold or damp spots because moisture in substrate can prevent proper adhesion and cause the caulk to fail.
Now that your crack is clean and ready, you can apply the flexible caulk. Using a professional caulking tool kit can help ensure a smooth, consistent finish.
Cut the nozzle at an angle, and apply a steady bead, making sure it’s slightly recessed below the surface.
Once it’s on, you’ll tool it out and finish it with sand for a texture that blends right in.
To give your concrete caulk a fighting chance at a lasting repair, you’ve got to roll up your sleeves and tackle the cleaning and surface prep first—it’s like prepping a canvas before you paint.
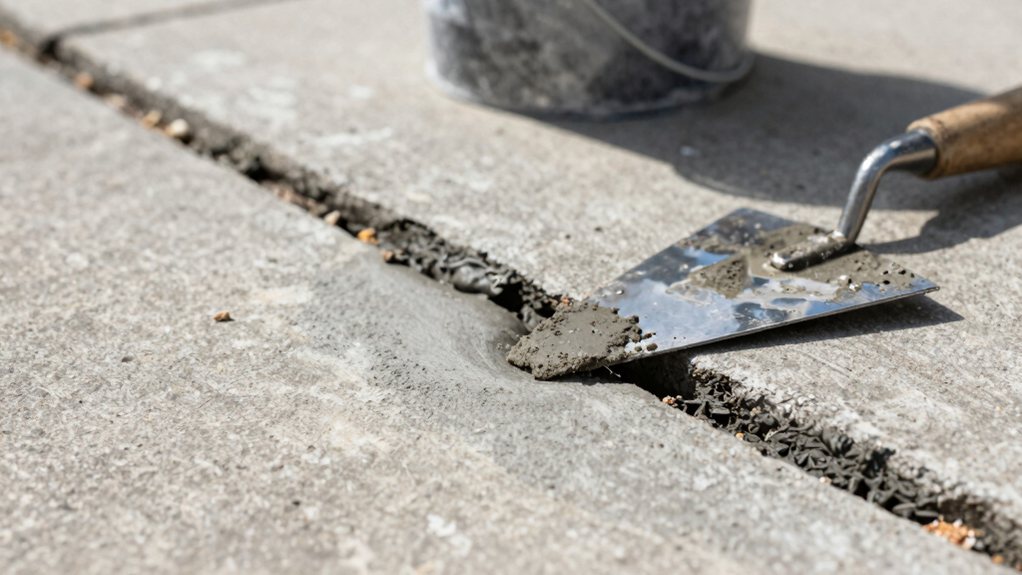
When you start working, use a wire brush or grinder to remove all loose material, dirt, and old sealant. Take care to clean right to the bottom of the crack.
Next, wash it out with water and a stiff brush to eliminate dust, then let the concrete dry completely for about a day.
For the best results on wide cracks, press in a foam backer rod so it sits about a half-inch below the surface. This essential step guarantees your caulk adheres properly and lasts for years.
Also, perform moisture testing before applying caulk to ensure the substrate meets the product’s moisture and priming requirements.
Once you’ve got that crack cleaned and prepped, it’s time to lay down a seamless, flexible bead of caulk that’ll lock out moisture and handle the driveway’s natural shifts.
Cut your tube’s nozzle at a 45° angle, load your gun, and apply a steady bead, forcing sealant deep into the joint.
For a wide, deep crack, there’s a lot to weigh; use a foam backer rod first to create a proper base.
Finish the bead immediately with a wet, gloved finger, keeping it slightly recessed. With years of experience, I can tell you this final touch matters every day—sprinkle on some fine sand for texture while wet. Then, just let it cure fully before driving on it. Using a professional caulk gun kit ensures consistent pressure and a cleaner, more controlled bead.
Achieving a seamless texture match, that final detail which hides your repair from prying eyes, is all about a quick sprinkle while the caulk’s still wet. Immediately dust your wet bead with fine, dry concrete sand or gray concrete fines; this embeds a realistic texture and is your key to blending it in. Think of this as texture sampling from your own driveway—use colored sand or a concrete pigment for a perfect color match.
This topping also shields the caulk, boosting pigment durability and UV resistance so the repair lasts. Just remember to keep the finished bead slightly recessed so traffic doesn’t scrape it. Let it cure fully, and your handiwork will practically disappear. For longer-term protection consider using a water-based penetrating sealer that offers UV resistance.
Getting your hands on the right tools and materials is the key to fixing those cracks for good, turning a chore into a lasting win.
The right tools and materials turn a tedious chore into a permanent, satisfying victory.
Start with a flexible polyurethane concrete caulk; choose self-leveling for flat joints or a non-sag type for vertical ones. Trust brands like Sika or Chemlink.
You’ll need a good caulk gun—battery-powered saves your hand on long runs—and don’t forget a utility knife and soapy water for finishing.
For any gap over ½” wide, use a foam backer rod to control the sealant depth.
Keep your material storage simple with dry sand nearby to blend texture, and remember protective gear like gloves. This equipment maintenance is minimal, but it makes all the difference for a durable fix.
For best results, consider using a professional foam applicator gun to apply foam precisely.
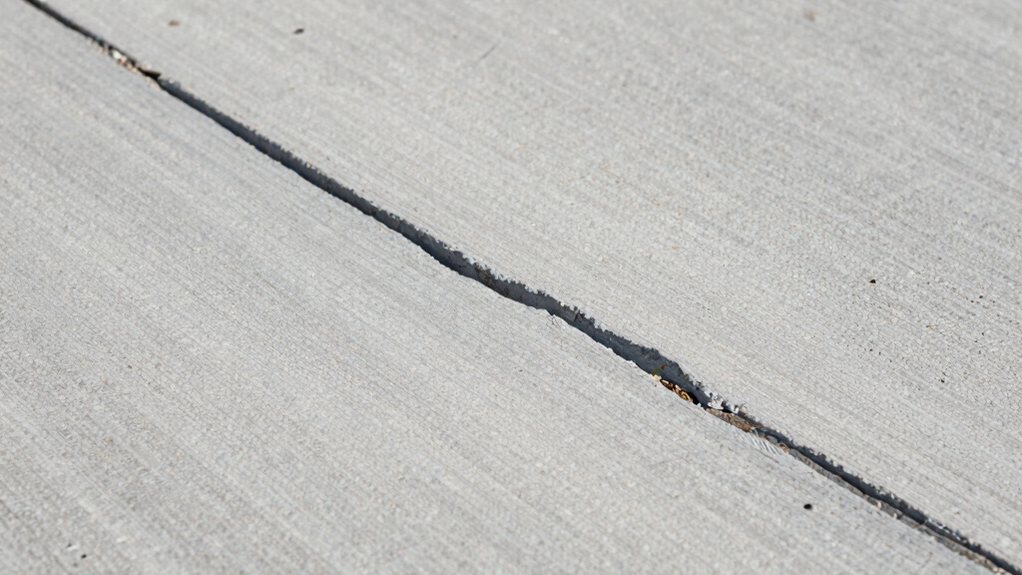
With your tools ready and the right caulk picked out, you’re set to tackle the finishing touches that make your repair blend right in. First, consider weather timing; a dry, mild day is perfect for curing. As you apply non-sag caulk, mist it with soapy water and tool it flush, creating a slight recess.
For visual blending, sprinkle fine concrete sand onto the wet surface—this is where pigment matching matters. Lightly broom the patch to mimic the driveway’s texture before it sets.
Remember safety precautions like gloves and knee pads; concrete work is tough on the joints! Allow a full 48-hour cure before driving on it, and you’ll have a repair that disappears. Proper substrate prep prevents long-term failures like cracking, cupping, or early replacement.
Check for water damage around the property, since it can signal underlying issues that may affect concrete and require a professional assessment.
You’ve just fixed those cracks in your driveway, and now you’re probably wondering just how long your handiwork will hold up.
With proper prep and a flexible polyurethane caulk, your repair can last several years before needing a touch-up.
Your regional climate matters a lot—harsh winters with freeze-thaw cycles will test it more, so inspect annually.
Don’t expect a lifetime warranty expectations; even professional fixes aren’t permanent.
A neat, lasting repair boosts curb appeal and your home’s resale impact, while a failed, rigid patch can do the opposite.
Also, leaving small expansion gaps where appropriate helps accommodate thermal movement and can extend the life of flexible repairs.
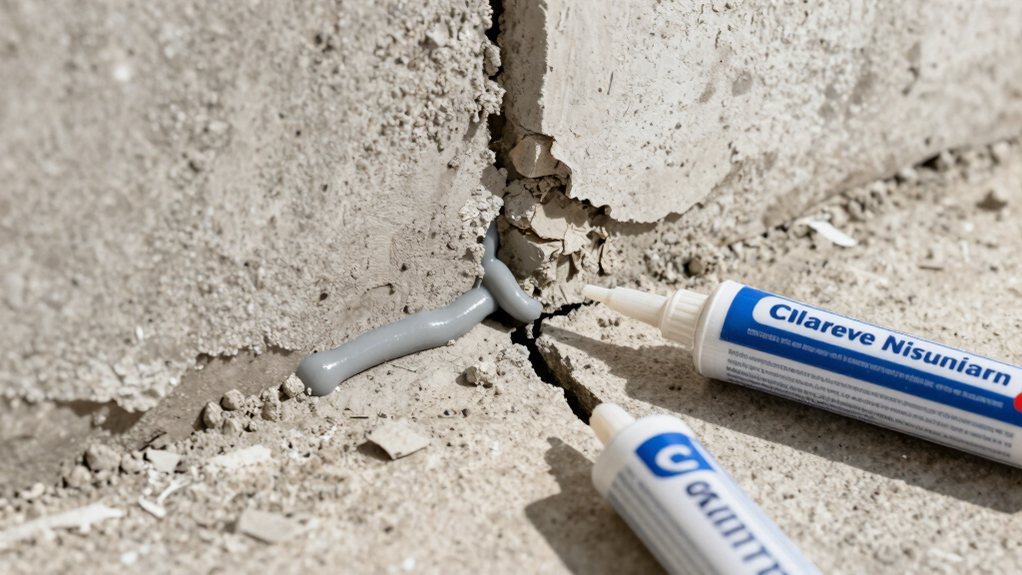
You’ll want to avoid rigid fillers like mortar or epoxy because they lock the concrete slabs together, and they’ll just crack again when the driveway naturally shifts with the seasons.
Flexible polyurethane or silicone caulk, on the other hand, stretches right along with that movement, keeping your repair sealed and intact for years. It’s a simple fix that works with your driveway, not against it, saving you from doing the same job over and over. They act like grout joints, serving as shock absorbers that accommodate movement and thermal shifts to reduce re-cracking.
When you’re staring at a crack in your driveway, your first instinct might be to grab a stiff filler like mortar or concrete patch, but that’s actually a common pitfall.
These rigid materials bond hard to both sides and can’t flex when the slab naturally shifts.
This leads to predictable problems:
Stick with flexible caulk for a lasting fix.
So, since rigid fillers just can’t keep up with a driveway’s natural shifts, the winning solution is a product that moves right along with it.
Flexible polyurethane caulk accommodates movement naturally.
Your concrete expands with summer heat and contracts in winter cold—that’s thermal expansion and the freeze-thaw cycle at work.
A rigid patch fights this movement and cracks again.
Think of flexible caulk like a reliable, stretchy bandage.
It has a bit of give, thanks to material hysteresis, meaning it absorbs energy from the slab’s movement and returns to shape without failing.
It won’t bond rigidly to both sides, so stress isn’t transferred.
You’re giving your driveway a fighting chance to flex without breaking.
So, you’ve tackled those cracks and your driveway’s looking good again. Remember, this fix isn’t forever, but with the right flexible caulk and proper sealing, you’ve bought yourself years of service. You’ve saved a bundle and learned a handy new skill. Now, just keep an eye on those expansion joints to prevent future headaches. Great work—your home’s curb appeal and your wallet will thank you!