Phone:
(701)814-6992
Physical address:
6296 Donnelly Plaza
Ratkeville, Bahamas.

Phone:
(701)814-6992
Physical address:
6296 Donnelly Plaza
Ratkeville, Bahamas.
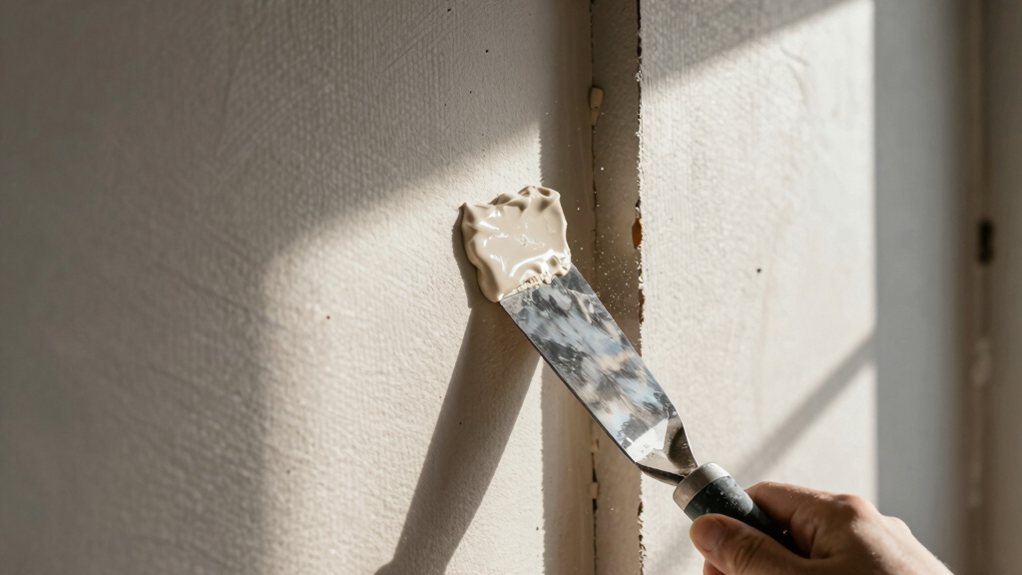
Follow our guide to mastering drywall joints, from taping to mudding, and discover the secrets to a flawless finish.
First, figure out if you have a tapered or butt joint—a thin groove means it’s tapered, a flat seam means it’s butt. Get your compound, knives, and either paper or mesh tape. Mix your mud to a peanut-butter-like consistency, apply a thin coat, and firmly embed your tape. After it dries, knock down ridges with a knife and apply a wider second coat to feather it out. Sand lightly, use a guide coat to check for flaws, and you’ll be on your way to a pro finish. There are more key tips ahead to perfect your technique.
Table of Contents
Before you grab your mud pan and tape, you need to know exactly what kind of seam you’re working with—it’s like telling apart twins before you start a conversation.
You’ll deal with two types: tapered joints and butt joints. Tapered joints are your friends; they’re the long, recessed factory edges.
Tapered joints are your friends—the long, recessed factory edges that make mudding much easier.
They create a nice V-groove that perfectly hides tape and lets you feather mud seamlessly. Butt joints, however, are where cut ends meet flush.
They’re trickier, as there’s no recess, just a thick, abrupt edge. Run your hand over the seam.
If you feel a thin groove, it’s tapered. If it feels flat and thick, it’s a butt joint. Knowing this difference saves you from mudding headaches later. For best results, consider using a professional drywall repair kit designed for seams.
Before you start, you’ll need to get your necessary tools and supplies ready, like a bucket of joint compound, a few taping knives, and a mud pan.
You’ll also have to choose the right tape, picking between fiberglass mesh for its easy stick or paper tape for its strength.
Having everything organized makes the whole process go much easier, even if it feels like you’re gathering tools for a small adventure.
Consider buying a drywall finishing tools kit to have all the essential tools in one set.
Now let’s gather your mudding tools and drywall tape, because having the right gear on hand makes all the difference between a seamless, professional finish and a frustrating mess.
You’ll need to pick your joint compound; a premixed bucket is easiest for small jobs, while setting-type dries faster.
For your drywall tape, grab both a roll of self-adhesive mesh for quick fixes and stronger paper tape for corners.
Next, collect your knives: a small 4–5” one for embedding tape, an 8” for second coats, and a 12” for feathering.
Don’t forget a mud pan, a bucket with a mixer for creamy mud, and a pole sander for that final, feather-light touch.
You’ve got this!
Also, in high-moisture areas, apply a waterproofing membrane to seams and corners before tiling.
Two main types of tape are key players in your drywall project: paper and fiberglass mesh. Your choice depends on the joint you’re tackling.
For most full seams, pros prefer paper tape. You bed it into a thin layer of wet joint compound; it’s the champion for preventing cracks, especially on tricky butt joints.
Mesh tape, often self-adhesive, is your go-to for quick repairs or curved surfaces—it sticks right on! It’s also handy in wet areas if the manufacturer says it’s okay.
Think of paper tape as your reliable long-distance runner and mesh tape as your speedy sprinter for simpler fixes. Picking the right one sets you up for a seamless, professional-looking finish without any headaches later on.
Once you’ve picked your compound type, you’ll need to mix it to just the right texture, which is a lot like getting the perfect thickness for pancake batter.
Use a clean bucket and a ribbon mixer on your drill to blend everything evenly, adding water gradually to the powder until it’s lump-free and creamy.
Let it rest for a few minutes, then give it a final stir to get that ideal, spreadable consistency that holds on your knife without being too stiff.
Because getting your drywall compound to the right consistency is a bit like finding the perfect batter for a cake, you’ll want to start by choosing between premixed and setting-type compounds.
The premixed mud in a bucket is super convenient for taping and finishing, saving you time on smaller jobs.
For fast repairs or deep fills, though, a setting-type powder is your friend, as it cures rock-hard much quicker.
Think of your premix like peanut butter for embedding tape—thick enough to hold.
Then, for your final skim coats, you’ll thin it to a heavy-cream consistency so it feathers out seamlessly.
Just remember, no matter which you choose, mix it well in a bucket to avoid lumps and a weak finish.
Also, always check moisture conditions and prepare the substrate properly to ensure good adhesion and prevent bond failure.
Now that you’ve picked your compound, it’s time to mix it up—getting your mud to the right consistency is like making the perfect pancake batter, where a little too thick or thin can really change the results.
Start by mixing in a 5-gallon bucket with a drill mixer, adding water slowly to avoid lumps.
For taping, aim for a peanut-butter thickness so your first layer of mud holds the tape without sagging.
Your second coat of mud should be thinner, like heavy cream, so it spreads easily and feathers out evenly.
Always test it on your knife; it should stay put and spread without breaking.
Consider using a professional drill driver set to power your drill mixer for faster, more consistent results.
Getting your mud just right starts with choosing the proper mixing tools and techniques—think of it as the secret sauce for a flawless finish.
Use a clean 5-gallon bucket and a ribbon mixer attached to a low-speed drill; this combo blends thoroughly without whipping in pesky air bubbles.
Mix powder with water, starting dry and adding water slowly. You’re aiming for a creamy, peanut-butter consistency—smooth enough to spread with your taping knife but stiff enough to stay on the knife to spread without sagging.
Let it slake for 5–10 minutes, then give it a final brief mix. This essential step in the mudding process prevents weak joints and makes your life much easier, trust me!
To begin the first coat, mix your joint compound until it resembles creamy peanut butter, scooping it from a five-gallon bucket where you’ve already chased out the air bubbles.
Start by mixing your joint compound to a creamy peanut butter consistency, straight from the prepped five-gallon bucket.
Now, apply a layer of mud along the seam.
For paper tape, lay a thin bed first, then press the tape into it.
For mesh, you can stick it directly to the drywall.
Using your 4-6 inch knife, firmly embed the tape, sliding along the seam to squeeze out excess mud and pesky air bubbles.
Next, skim a thin coat over the tape, feathering the edges so it’s flush.
This first coat shouldn’t be lumpy—if you get ridges, just scrape them off.
Let it dry completely before you even think about coat number two.
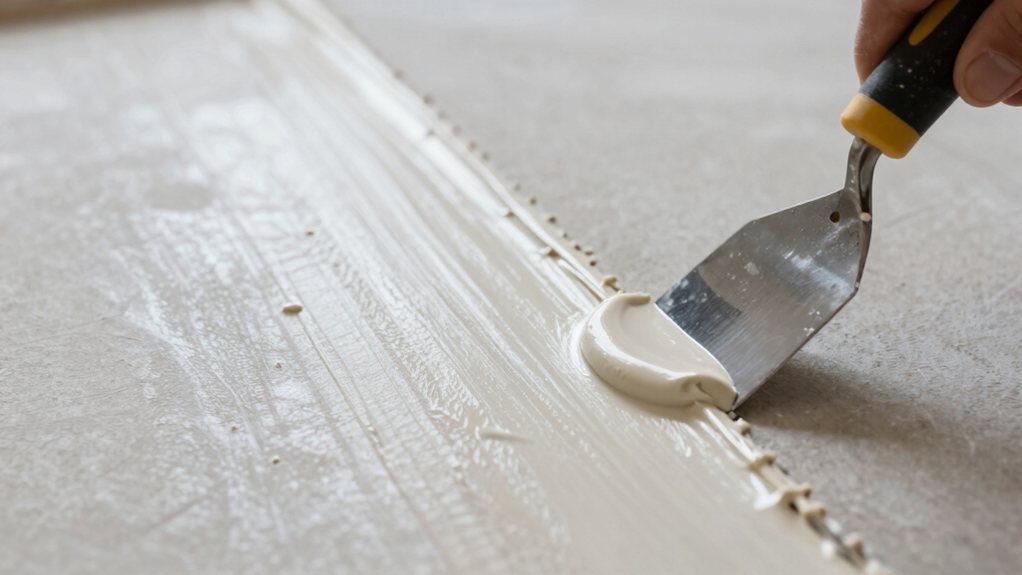
Once the first coat is dry, you’ll knock down any high ridges with your taping knife, which flattens them without kicking up a ton of dust.
For your second coat, switch to a wider knife, feathering the mud out seamlessly so it blends into the wall without leaving a thick ridge.
Keep your pressure even and your compound thin, saving the heavy sanding for later and making your life a whole lot easier.
Before you begin, use a straightedge to check for any high ridges or dips that could telegraph through the finish.
Knocking down those high ridges left by your first coat of mud is like taming a rowdy texture before it becomes a real problem.
After your first coat has set firm—not soupy—grab your 5-inch taping knife. You’ll use it to gently “knock down” any high spots, which is far better than sanding between coats.
Push the blade flat over the seam, removing only the raised peaks. Be careful not to gouge into the joint; you want to preserve the built-up mud while eliminating sharp ridges that would otherwise show through later.
This vital step in your tape and mud drywall project levels the surface, setting you up for a much more even second coat. Think of it as giving your wall a polite but firm shave.
Now that you’ve knocked down those pesky ridges, you’re ready for the second coat, which is all about making your seam wider and flatter. This time, grab a wider taping knife—an 8-inch or even a 12-inch blade is perfect.
You’ll apply a thinner, wider skim of mud, feathering it out several inches beyond your first coat. Use even pressure with a slight arc, pulling the knife toward the tapered side to blend it seamlessly into the drywall.
Remove excess compound from your blade often, as a thin coat prevents cracking. Once this coat dries fully, you’ll knock down any minor ridges again. Then you can decide if you’ve truly finished the drywall or need one more light skim.
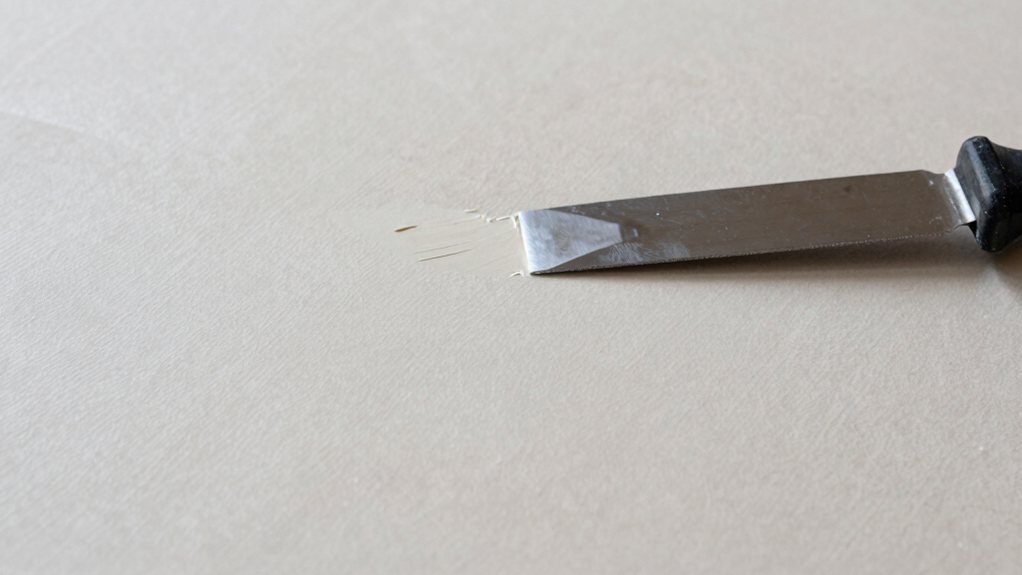
Achieving that perfectly seamless, invisible seam is all about mastering your final coat, where feathering the joint compound becomes your secret weapon.
This final step makes your drywall installation look professional, turning a basic home repair into a showpiece.
Grab a wide taping knife—12 inches or larger is ideal—and start at the top of the seam.
Pull downward in one steady stroke, applying even pressure.
The goal is a very thin, wide coat; you only want thickness directly over the seam, tapering it out at least 12 inches on each side.
This gentle feathering prevents a raised “mound” that shouts “amateur hour” after painting.
Wipe excess mud off your blade between passes to keep from digging grooves.
A professional caulking kit provides specialized tools that help produce smooth, consistent results.
Conquering the dust storm is the final, and perhaps the most dreaded, hurdle in getting your walls perfectly even before paint. To drastically reduce airborne drywall dust, use a smart strategy that also saves time.
First, avoid sanding between coats; instead, “knock down” ridges with a 5-inch taping knife after each application. Save the actual sanding for the final coat only.
Then, use a pole sander for light, even passes and attach a shop vac to capture dust right at the source. For feathered edges, try the wet-wipe method with a damp rag—it levels without creating any powder.
Always seal off your work area with plastic and wear a proper respirator, because breathing clean air is the best finish of all. Consider investing in a professional dust collection system to further reduce airborne particles and improve cleanup efficiency.
Have you ever thought your wall was perfectly even, only to see glaring ridges once the paint goes on? A guide coat is a secret weapon in home improvement that reveals those hidden flaws.
After your final mud coat dries, lightly mist dark aerosol paint from a few feet away. This part of drywall finishing acts like a map.
When you sand with a wide sander, the paint stays in low spots but vanishes from high ones, showing exactly where you need more work. Focus on long, even strokes to avoid gouges.
If a wide area still shows paint, apply another thin skim coat. Your goal is to sand until the guide coat disappears uniformly, proving your surface is perfectly flat and ready for paint. Also remember to thoroughly degrease surfaces and remove contaminants before priming to help finishes adhere and prevent failures.
1. Score and square the plaster edge so your new drywall meets it cleanly.
2. Fill any gap with joint compound first, so your tape isn’t bridging a hollow space.
3. Embed your tape over the joint.
Feather the mud out at least 12 inches on both sides to blend the surfaces.
4. Check thickness early.
If the plaster is much thicker, shim the drywall out to avoid a giant mud ridge.
With patience and these steps, that tricky seam will disappear.
Also inspect nearby surfaces for water damage, since leaks can undermine the substrate and affect the joint’s longevity.
Now that you’ve tackled those tricky plaster edges, you’re ready for the part that keeps your space livable and your project on track: cleaning up as you go and managing your timeline.
This discipline saves you both time and money.
Contain dust at the start with plastic sheeting so it doesn’t get everywhere, saving a huge cleanup later.
Knock down ridges with your knife and use a wet rag between coats to save money on sandpaper and reduce mess.
For the final sand, use a shop vac with your pole sander to minimize gouging and speed up the process.
You’ve tackled those tricky joints and made them practically disappear. Remember, a little patience and a lot of sanding go a long way toward that perfect finish. Don’t sweat the small stuff—a few tiny imperfections just add character. Now step back and admire your seamless walls; you’ve earned it. Grab a cold drink and pat yourself on the back, you’ve just mastered a pro skill.