Phone:
(701)814-6992
Physical address:
6296 Donnelly Plaza
Ratkeville, Bahamas.

Phone:
(701)814-6992
Physical address:
6296 Donnelly Plaza
Ratkeville, Bahamas.
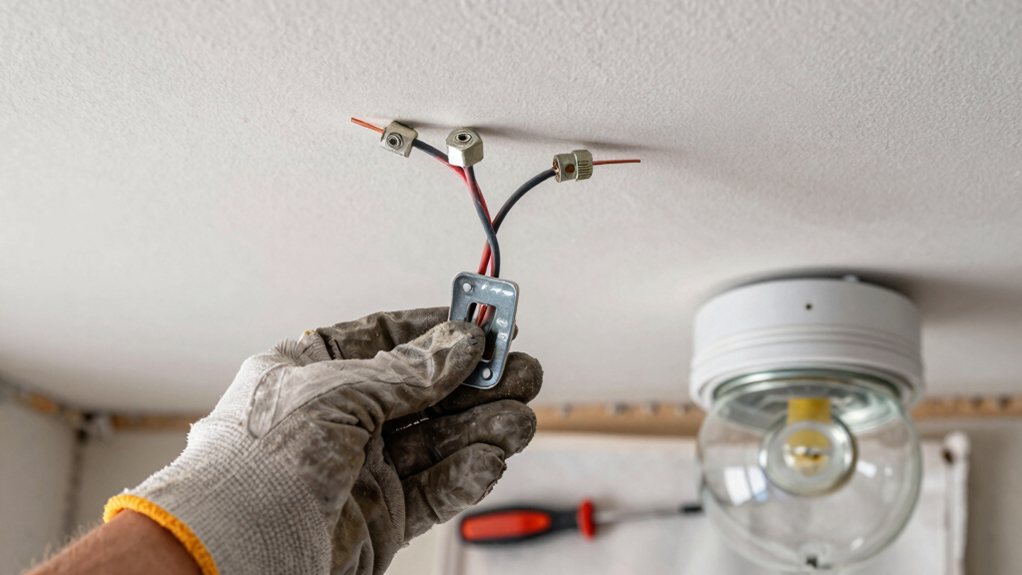
Step-by-step guidance to replace your ceiling light fixture, ensuring a rewarding glow when you flip that switch—see what comes next to make certain it shines perfectly.
First, turn off the breaker and verify it’s dead with a tester. After removing the old fixture, prep the new one by securing its mounting plate and strain relief cable. Connect matching wires tightly, cap them with nuts, and perform a pull test. Tuck the wires in, mount the fixture, then install bulbs. Restore power to test your work—flip that switch for a rewarding glow! Check out what comes next to make certain it shines perfectly.
Table of Contents
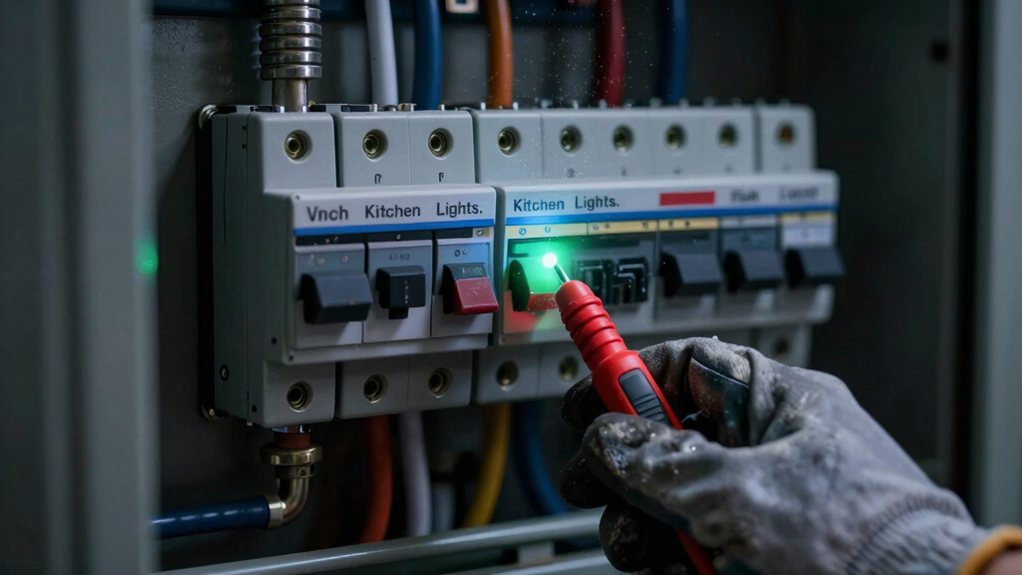
Before you even think about unscrewing that old light fixture, you’ve got to make absolutely sure the power is off—because working with live wires is a shocking experience you definitely want to avoid.
Before you touch any wires, make absolutely sure the power is off—avoiding a shocking experience is non-negotiable.
Head to your breaker box and flip the suspected circuit breaker off. A good trick is to have the light on first; when it goes out, you’ve found the right breaker. Lock or tag it so no one accidentally turns it back on.
Now, the essential step: verify. Use a voltage tester, but first check it on a known live outlet to confirm it works. Then, carefully test the wires in the ceiling box.
Check between all the conductors and even give the wires a gentle tug to confirm there’s absolutely no stray voltage before you touch anything. Only then is it truly safe to proceed.
Consider upgrading to smart home electrical panels for centralized circuit control and enhanced monitoring.
Now that you’ve confirmed the power is off and it’s safe to get your hands in there, you can start taking down that old fixture—just remember, it’s probably heavier than it looks!
First, remove any shades or caps.
Then, find that central post or support cable and hold onto the fixture firmly; you don’t want it hanging by the wires.
With your other hand, untwist the wire nuts from the hot, neutral, and ground conductors. Gently pull the fixture away to peek behind it.
Many light fixtures have a safety cable or strain relief screwed to the mounting plate—go ahead and loosen that connection.
Once everything is free, lower the fixture down carefully. Now your old buddy is off, and you’re ready for the new one! Many homeowners now choose LED ceiling light fixtures for their energy efficiency and long lifespan.
Before you hang anything, it’s smart to test-fit the new mounting plate and decorative caps to your ceiling posts to make sure everything lines up properly. Once that’s confirmed, you can install the plate and then screw in your light bulbs while the fixture is still on the floor, which saves you from a lot of awkward overhead work.
This little bit of prep makes the final installation much more straightforward and helps you avoid any surprises. We also recommend considering premium ceiling light fixtures to ensure quality and long-term performance.
Test-fitting the decorative caps is like doing a quick dress rehearsal for your new light fixture—it’s a simple step that saves you from surprises later on.
Place the new mounting plate over the ceiling box and gently thread a cap onto each mounting post. You want them to seat flush and turn easily without any cross-threading. If they don’t, stop and check the threads; forcing them can ruin both the cap and post.
This quick check guarantees your final installation will be flawless and look professionally finished.
Doing this now means no awkward fumbling overhead later. Think of it as a tiny victory for future you! Also, confirm compatibility with the fixture’s E26 base and maximum cord length to ensure it fits your ceiling height.
Since you’ve already test-fit the decorative caps, you’re ready to move on to installing the mounting plate—the sturdy base that’ll hold your new fixture securely against the ceiling.
First, make sure the plate’s screw holes align with your junction box. If they don’t, swap in the supplied plate or use an offset bracket.
Plate materials like steel or coated metal offer durability and corrosion prevention, which is great for long-term peace of mind.
Attach any strain-relief clamp to the plate now for a secure cable fail-safe. Before lifting anything, do quick load calculations in your head—your fixture plus bulbs and glass shouldn’t exceed the box’s rating.
Finally, confirm the plate sits flush so wires tuck in safely without a pinch. Consider compatibility with existing fixtures if you plan future updates, especially when switching to a LED track lighting system for different styling or efficiency.
With your mounting plate ready, let’s get your new fixture prepped and shining.
First, lay the fixture on a soft surface to protect it.
Now, it’s bulb time! Check the fixture’s label for base compatibility—you don’t want to force the wrong bulb type in.
Screw each bulb in firmly but gently; over-tightening is a common culprit for broken sockets.
Installing them now means you can easily reach every socket and test-fit any shades for proper clearance before you lift everything overhead.
Also consider bulb color temperature and lumen output to match the room’s needs and energy efficiency, such as choosing 800–1,100 lumens for general rooms.
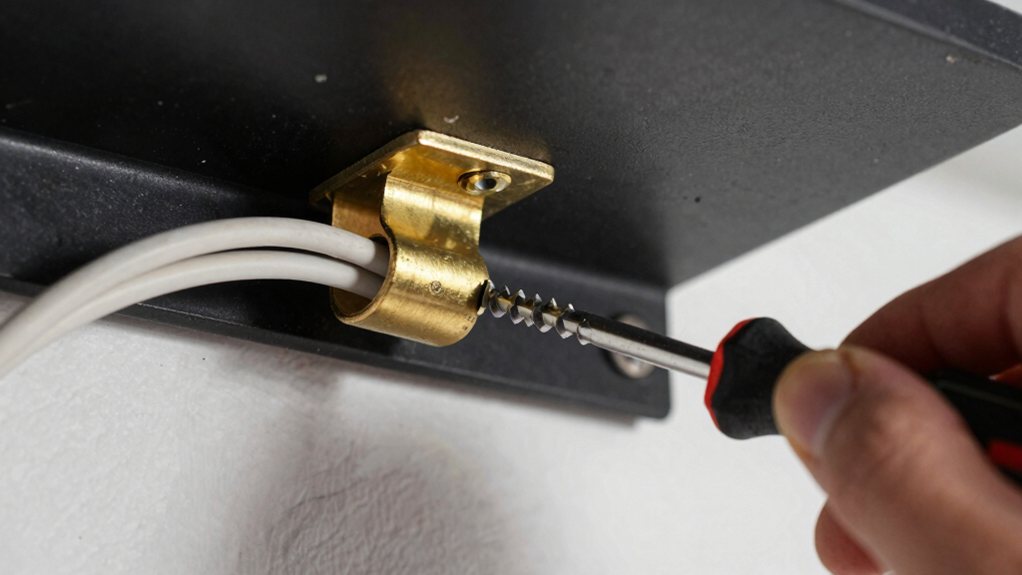
Now, let’s anchor that light fixture securely by fastening its strain relief cable to the mounting plate. First, thread the cable through the plate’s knockout hole so the jacket sits flush.
Tighten the provided clamp screw firmly, but don’t crank it so hard you crush the insulation; you want solid compression, not damage. This provides critical vibration damping.
Confirm the clamp grips the cable sheath, not the inner wires, leaving about an inch of conductor slack inside the box for your connections. Give the cable a good, firm tug to confirm the strain relief holds.
If your fixture didn’t include a clamp, you’ll need to add an approved metal connector—check for material compatibility and corrosion protection to guarantee a lasting, code-compliant install. When adding a connector, choose an approved metal type with corrosion-resistant materials to ensure durability and compliance with outdoor wet-location conditions.
Now you’ll match your fixture’s wires to the house wiring, which is easier than it sounds.
First, identify each wire’s function, then secure them together with wire nuts, making sure those connections are snug.
Finally, give each wire nut a gentle pull test to confirm it’s holding tight—your future well-lit self will thank you.
Consider choosing a premium ceiling fan for efficient airflow and lasting quality.
Getting your wires twisted together correctly is the most important step in the whole process, but don’t worry—it’s easier than it sounds.
First, strip about 3/8″ of insulation from each wire.
Good contact cleaning means making sure those bare ends are shiny and straight.
Match your wires—line to live, neutral to neutral—and twist them together clockwise.
Your nut selection is essential; use a wire nut rated for your wire gauge and number of conductors.
Twist it on firmly until the connection is secure and no bare wire is exposed below the cap.
For extra security, you can use heat shrink tubing over the nut, but a proper nut is usually sufficient.
Finally, gently tug each wire to test your work. Many related electrical accessories, like switch plates, are made from polycarbonate thermoplastic, a durable, impact-resistant material that also resists heat and fading.
Now that your wires are safely connected, you can carefully tuck everything back into the junction box and get your new fixture mounted securely to the ceiling.
First, gently push all the capped leads into the box, making sure the wire nuts won’t snag—this is key for good box clearance.
Gently tuck the capped leads into the box, ensuring wire nuts won’t snag—this is essential for proper box clearance.
Double-check your wire routing; the fixture’s cable should be secured under the mounting plate to bear the weight, not the wires themselves.
Next, align the fixture’s base with the box and snugly fasten the screws, but don’t overtighten them!
Finally, slide on any finish trim or glass shades. Take a step back, admire your work, and get ready to flip the switch—you’re almost done!
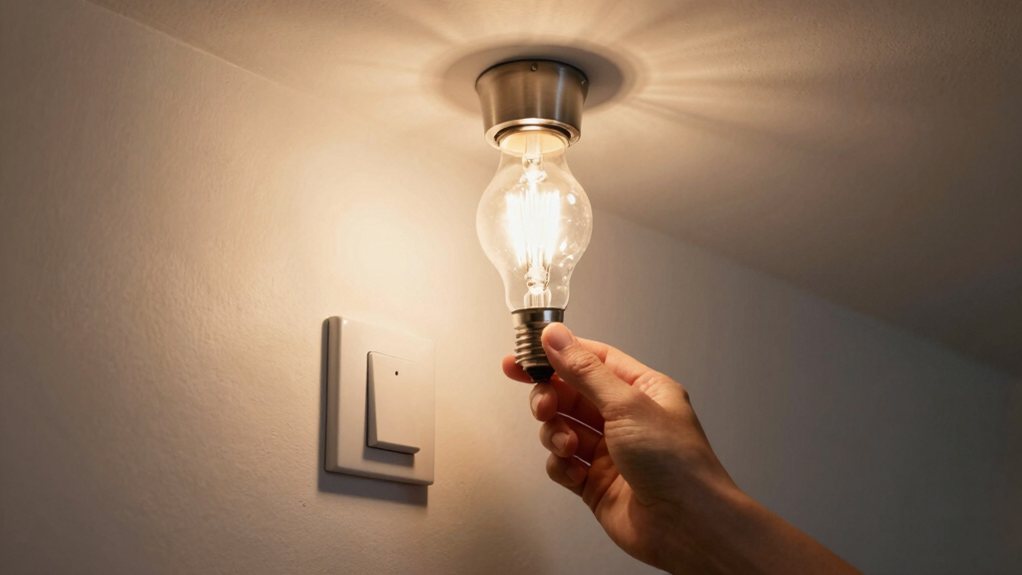
Even after you’ve carefully installed your new ceiling light, it mightn’t work perfectly right away, but don’t worry—most issues are simple fixes.
First, confirm the circuit breaker is on and use a voltage meter to check for power.
If the light flickers, make sure the bulb is seated tightly and retighten any loose wire nuts. A humming noise often means a bulb-dimmer mismatch or an over-wattage bulb.
For smart integration issues, check for signal interference from other devices and confirm your hub is close by. Sometimes, a firmware update for your smart fixture can solve connectivity glitches. If you feel a slight shock, immediately turn off the power and check that the ground wire is secure and not touching any live parts.
And there you have it! You’ve just replaced your own ceiling light fixture, which is pretty awesome. Remember, turning off the power is the golden rule, so always double-check that switch. If your new light doesn’t turn on, don’t panic—just revisit those wire connections. Now, step back and enjoy your handiwork. That fresh glow isn’t just lighting the room; it’s proof you tackled this project yourself. Great job!