Phone:
(701)814-6992
Physical address:
6296 Donnelly Plaza
Ratkeville, Bahamas.

Phone:
(701)814-6992
Physical address:
6296 Donnelly Plaza
Ratkeville, Bahamas.

A safe beginner's guide to replacing a light fixture and proving your DIY skills
First, head to your breaker panel and turn off the circuit for that light. With your voltage tester, double-check that the wires are safe. After removing the old fixture, you’ll connect the new one by matching the black, white, and bare ground wires. Secure everything tightly with wire nuts before mounting the fixture. Once you’ve restored power and it works, you’ll have proven your DIY prowess, and there are more handy tips waiting for you.
Table of Contents
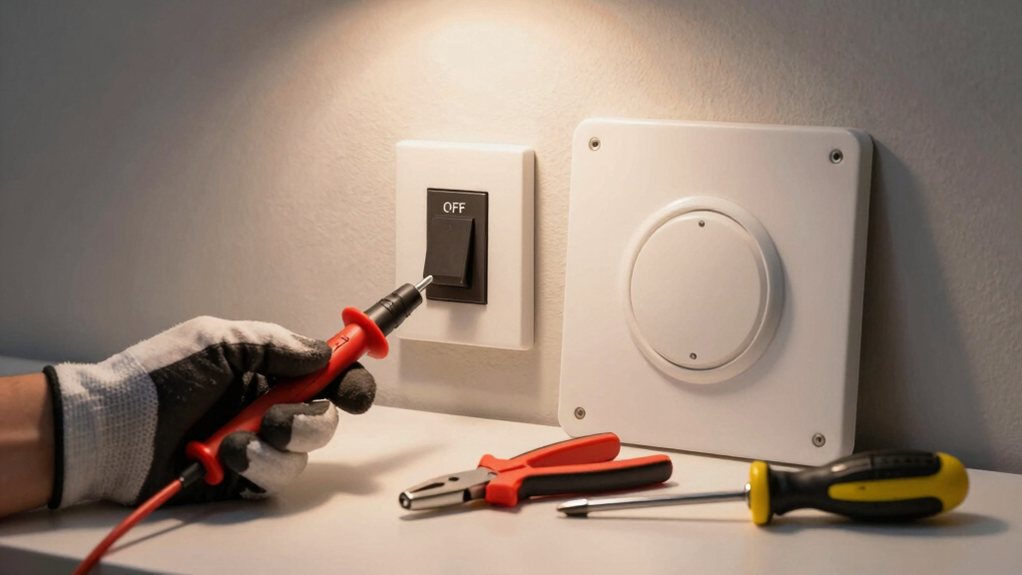
Before you even think about picking up a screwdriver, you’ve got to make your work zone completely safe—it’s the golden rule of any electrical project.
Before you touch any tools, your top priority is making the electrical work area completely safe—it’s the non-negotiable first step.
Head straight to your home’s main circuit breaker panel and switch off the power to the specific light fixture you’re replacing.
To be absolutely sure, use a non-contact voltage tester at the fixture itself; it’s a simple tool that gives you priceless peace of mind.
Now, gather your supplies. You’ll need a basic set of screwdrivers and wire strippers.
Importantly, make sure your tools have insulated, nonconductive handles for an extra layer of protection.
Don’t forget to pop on some protective eyewear—those little bits of dust and wire love to make a break for it, and your eyes will thank you later.
Consider keeping a professional safety equipment kit on hand for quick access to protective gear and replacement parts.
Once you’ve got your tools and have confirmed the power is off, it’s time to gently say goodbye to your old light fixture. Start by removing the glass shade or bulbs. Then, unscrew the decorative canopy—that’s the plate against the ceiling—to expose the wires and mounting hardware. You’ll likely find a couple of screws or a nut holding a mounting bracket. Loosen these, and carefully support the fixture as it comes free.
Now, here’s the essential part: before disconnecting the wires, take a picture with your phone. This is your cheat sheet for later! Unscrew the wire connectors and separate the fixture. If your old one was bulky, you might need some ceiling patching for old screw holes, but let’s not get ahead of ourselves. If you’re replacing a fixture, consider browsing premium ceiling light fixtures to find styles and sizes that fit your space.
Now that your old fixture is down and you’ve got that helpful photo, let’s make sense of the colorful wires poking out of your ceiling.
You’ll typically find three wires: black (hot), white (neutral), and green or bare copper (ground). This color coding is your best friend, but don’t panic if your house has older wires—sometimes they don’t follow modern standards.
That’s where your photo and any wire labeling you did earlier are lifesavers. Simply match each ceiling wire to its corresponding new fixture wire: black to black, white to white, and ground to ground. Tighten the wire nuts clockwise until they’re snug. See? It’s just a simple, color-coded puzzle, and you’ve totally got this. Also confirm whether your new fixture or switch requires a neutral wire before connecting.
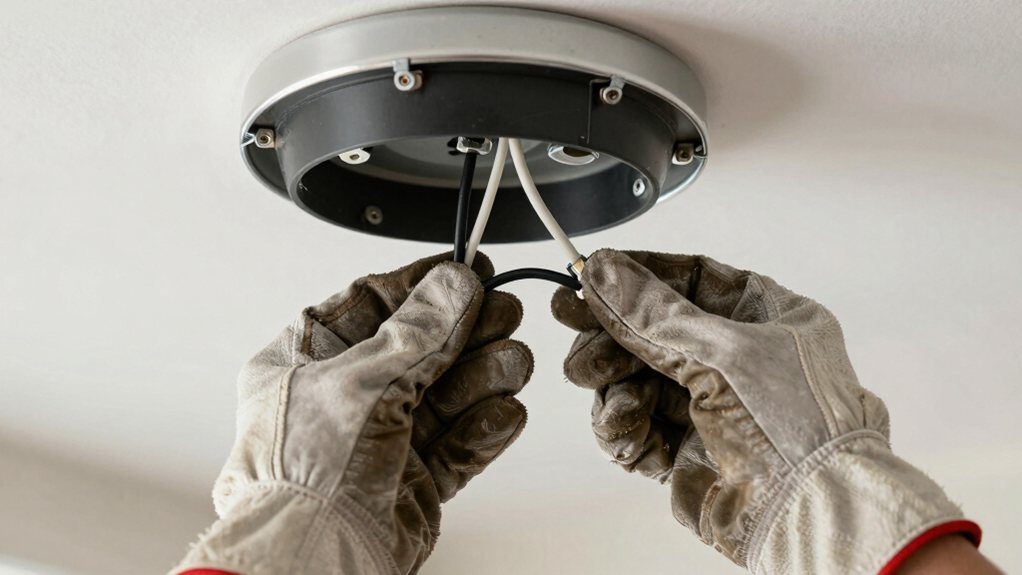
With the wires matched up and snugly connected, your new fixture is ready to be lifted into place.
Carefully lift it and align the fixture’s base with the mounting bracket you installed earlier.
This part is a bit like a puzzle—nudge it until you achieve perfect fixture alignment and the holes line up.
Now, secure it with the provided nuts or screws, tightening them just until they’re firm; don’t go superhero-tight and risk cracking anything!
Once it’s solid, you can install the light bulbs and any decorative covers.
Take a step back and admire your handiwork before flipping the switch.
You’ve just safely upgraded your space—a job well done!
Consider installing energy-efficient LED ceiling fixtures for long-lasting illumination.
Now, you can screw on the fixture’s cover, which is usually the easiest part of the whole project.
Once it’s secure, head back to your circuit breaker to flip the power back on for that room.
Finally, flip the switch to test your new light and enjoy your handiwork—just don’t be surprised if you feel like giving yourself a high five.
Also, check that any fixtures you install are IC rated and ETL-listed for safe use in your ceiling.
Gently lift your new fixture into place, aligning it with the mounting bracket you’ve already secured.
Now, it’s time to put on its hat—the fixture cover. This part is essential for both fixture aesthetics and proper light diffusion, softening the bulb’s glare for a cozy ambiance.
Hold the cover up and align its holes with the fixture’s studs or screws. Hand-tighten the provided nuts or knobs, but don’t go overboard; you just want them snug.
Cranking too hard could crack the glass or plastic, and nobody wants that.
Step back and admire your work. You’re almost done, and your room is about to get a whole lot brighter with your stylish, safely installed new light.
Choose bulbs compatible with the fixture’s E26 socket and respect the fixture’s maximum wattage.
You’ve got your fixture cover on, and it looks great.
Now, head back to your breaker panel and flip the circuit switch back on. This is the big moment! Go to the wall switch and turn on your new light. If it works, give yourself a pat on the back—you did it!
If it’s a smart bulb or connected to a dimmer, check for dimmer compatibility; some LEDs flicker with old dimmers.
For fixtures with motion detection, you might need a quick sensor calibration by waving your arms like you just don’t care.
Finally, just watch it for a few minutes to confirm everything stays cool and bright. You’ve successfully restored power and can now enjoy your handiwork. For task areas, choose bulbs rated at 800–1,100 lumens to ensure appropriate brightness.
If your new fixture doesn’t light up after all that work, don’t worry, it’s usually a simple fix.
First, go back and make sure the power is actually turned on at the breaker, because we all forget that step sometimes. Then, with the power safely off again, give those wire connections a good, firm inspection to confirm they’re nice and tight. Consider upgrading to a smart home electrical panel to simplify circuit management and monitoring.
So, you’ve flipped the switch and your new fixture is still dark? Don’t worry, this is a common hiccup.
Before you call an electrician, let’s check the simple stuff first. Sometimes the issue isn’t your handiwork, but the power coming in. It’s frustrating, but a quick check can save you time and money.
Also, many modern plates and covers are made from polycarbonate thermoplastic, a durable, heat- and impact-resistant material.
Grab your screwdriver again—let’s peek under the canopy of your light fixture.
You’re looking for a clean, tight connection where the wires twist together under their plastic caps. If your light didn’t turn on, a loose wire here is a common culprit.
First, confirm the power is off, then gently tug on each wire; none should feel wobbly.
While you’re there, check for any corrosion signs, like a greenish-white crust, or thermal discoloration, where the plastic looks melted or browned from heat. Both are red flags.
If you spot them, you’ll need to trim the damaged wire back and re-strip it for a fresh connection. A solid connection here means a bright, happy light.
For precise electrical hotspot detection consider using a thermal imaging camera to identify overheated connections before trimming.
And that’s it! You’ve swapped your old fixture for a new one, and you did it safely. Give yourself a pat on the back for tackling a project that might have seemed a bit intimidating at first. Now, just flip that breaker back on and enjoy your handiwork. See, you’re more of a DIY pro than you thought, and your room’s got a fresh new glow to prove it.