Phone:
(701)814-6992
Physical address:
6296 Donnelly Plaza
Ratkeville, Bahamas.

Phone:
(701)814-6992
Physical address:
6296 Donnelly Plaza
Ratkeville, Bahamas.
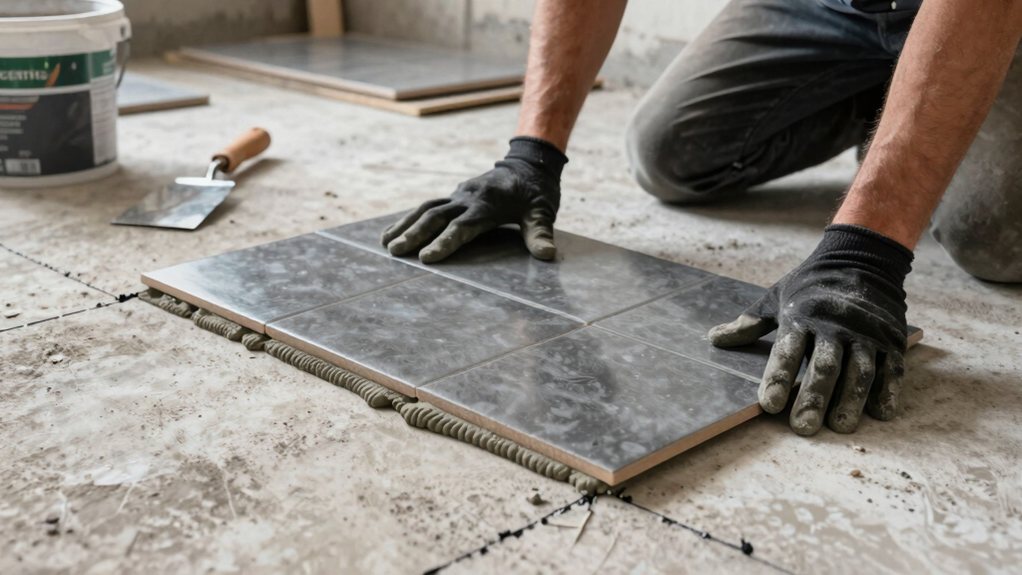
Perfect your floor tiling from layout to grout with our expert guide on installing ceramic or porcelain tile.
You’ll start by preparing an even, level subfloor. Next, find the room’s true center and snap chalk lines to guide your layout. Dry-fit your tiles first, nudging that grid to avoid thin slivers at the walls. Mix your mortar, comb it into ridges, and set tiles carefully, checking for lippage as you go. After the mortar sets, apply grout and seal it later. Stick around, and we’ll walk you through all the clever details.
Table of Contents
Before you even think about laying down your beautiful new tiles, you’ve got to tackle the foundation—because a great tile job starts with a rock-solid, flat subfloor underneath.
Before you lay a single tile, start with a rock-solid, flat foundation underneath.
First, strip everything old away; carpet, vinyl, and all those pesky staples must go.
Your subfloor needs to be even, dry, and squeak-free. Grab a level to check for dips and bumps.
Fill any low spots with a patching compound, and sand down high spots—it’s like giving your floor a little spa treatment. Remember to leave small gaps along the walls when you’re done; you’ll need to allow for expansion. Finally, snap a chalk line as your starting guide. This prep work isn’t glamorous, but it makes your tile installation last for years. For best results, check subfloor flatness against ASTM F710 standards before installing tile.
Let’s find the heart of your room—literally.
Measure and mark the midpoint of each pair of opposite walls, then snap a chalk line between them.
Repeat this on the other walls so the two lines cross at the true center, forming a perfect perpendicular grid.
Next, dry-lay a half-row of tiles from the center outward, using spacers, to see how your cuts will look at the edges.
This dry-run lets you nudge those chalk lines to balance your cut tiles on opposite walls—no skinny slivers, please!
Once satisfied, extend your grid by snapping more parallel chalk lines at tile-width intervals.
These guides will keep your whole installation straight and true, like a trusty roadmap for your floor.
Also perform a dry lay from the center outward without adhesive to preview cuts and catch layout problems early.
Now you’ll want to test your layout with a dry run, laying tiles without mortar to confirm your pattern fits perfectly.
This step lets you double-check your centering and catch any awkward cuts before you commit, saving you from a major headache later.
It’s a simple check that makes the actual tiling go seamlessly and keeps your design looking sharp. This simple check helps you plan cuts and avoid slivers by showing whether edge pieces will be too small before you mix mortar.
Although it might be tempting to just jump right in with the mortar, taking time to test your tile layout is a game-changer for avoiding costly and frustrating mistakes.
Start by snapping chalk lines at the room’s true center. Dry-lay a row outward in both directions, using spacers, to see how your perimeter cuts will look. You want to avoid skinny slivers, so shift your lines if needed.
This step is vital for operator ergonomics, saving your knees from future grief. Check alignment through doorways and use a marker tile to note cuts.
Good lighting considerations help you spot issues, while environmental monitoring for a level subfloor prevents problems. It’s a bit of extra work, but it guarantees your final floor looks professionally planned. Consider installing a protective layer like cement board or foam board between the subfloor and tile for long-term stability.
After you’ve got your layout lines set, it’s time to see how your tile pattern will actually look before you commit. Dry-lay full rows from your center using spacers, checking for grout-line alignment. This reveals any size variations that could cause lippage.
Pay special attention to how the pattern meets doorways for threshold symmetry, and consider the room’s traffic flow.
Do a lighting assessment by walking the layout at different angles; shadows can highlight uneven tiles.
This dry run lets you spot awkward cuts or focal points, so you can shift your starting line if needed. It’s a bit of extra work now, but it saves the headache of fixing a permanent, unbalanced floor later. Also, match your chosen spacers to the intended grout width by checking common spacer sizes to avoid lippage and ensure consistent joints.
Getting your mortar mix just right, and then combing it properly, is key to making sure your floor tiles stick around for the long haul—think of it as making the perfect, sticky bed for them. Start with essential safety precautions: always wear gloves and eye protection, because mortar is caustic. Follow the bag’s water-to-powder ratio exactly. Your tool selection matters—use a margin trowel to mix and a notched trowel to comb.
Spread a skim coat first, then hold your notched trowel at a 45° angle to create uniform ridges. The key is consistency testing: after combing, press a tile in, lift it, and check for 90–95% coverage on the back. If it’s not right, your mortar might be off, so mix a fresh, workable batch. For large-format or heavy tiles, consider using modified thinset for improved bonding and flexibility.
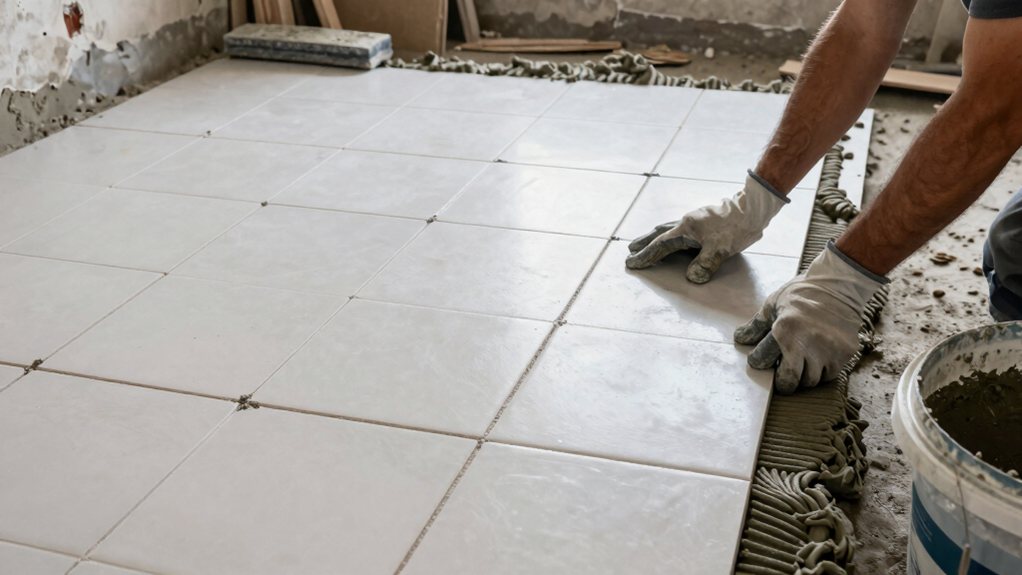
Now you’ll align your first tile perfectly with the chalk lines and press it firmly into the mortar, placing spacers at its ends to keep your grout lines consistent.
As you set more tiles, remember to hinge each one down and give it a slight twist to lock it in place, checking frequently with a level. It’s a satisfying process, like assembling a puzzle where a few light taps with a mallet help guarantee everything stays nice and flat. Be sure to apply adhesive with a notched trowel to achieve proper coverage and bond.
* Start by firmly bedding your first tile right on the intersection, its edges square to the lines.
Pop in spacers.
* Work outward along the chalk lines.
Dry-laying a half-row first to check your cuts won’t be tiny at the far wall.
* Hinge each tile down into the mortar with a slight twist to seat it.
Wiping excess every few tiles to keep things clean.
* For reference preservation, keep two full tiles against the wall to maintain your expansion gap.
Use a level with gentle taps to keep everything flat and true.
Also account for about 15% extra for cuts, breakage, and manufacturing variance when ordering tiles.
Pressing and placing spacers as you go is the secret to keeping your floor tile layout crisp and professional-looking. Start by aligning your first tile with the intersecting chalk lines. Press it down firmly with a slight twist to make sure of good mortar contact.
Immediately, place your spacer materials—usually plastic crosses—at each exposed corner. Joint aesthetics depend on this consistent width, typically 1/8″ to 3/16″.
Hinge the next tile into place, lower it, and give it a twist. Then, snug spacers between them.
While some folks debate spacer reuse, it’s best to use fresh ones for reliable gaps. Clean excess mortar off every few tiles so spacers sit flush. This careful process builds your perfect grid, row by confident row. For some tile types, like rectified tiles, manufacturers often recommend a minimum 1/8″ joint to maintain warranties.
Hinging and twisting each tile into place is where your floor truly starts to come together, transforming from a sketched grid into a beautiful, solid surface. This technique guarantees a strong bond and prevents air pockets.
Think of it like closing a book—you don’t just drop it flat.
Also be aware that humidity above 70% and low temperatures can prevent proper adhesive curing, so avoid installing under those conditions.
After setting each tile, you’ll want to make sure they’re perfectly level, a step that’s all about gentle adjustments and keeping a keen eye.
Use your mallet technique by laying a straight 2×4 across adjacent tiles and giving light taps with a rubber mallet to flush them up. This prevents lippage and keeps your grout lines even.
While you work, don’t forget the essential tile lifting test; periodically pull one up to check for full mortar coverage—it’s a simple move that saves big headaches later. Then, switch to your sponge technique, cleaning excess mortar off the faces and out of the joints every few tiles. Doing this promptly with a barely damp sponge keeps the grout lines clear and saves you from a brutal scraping session tomorrow.
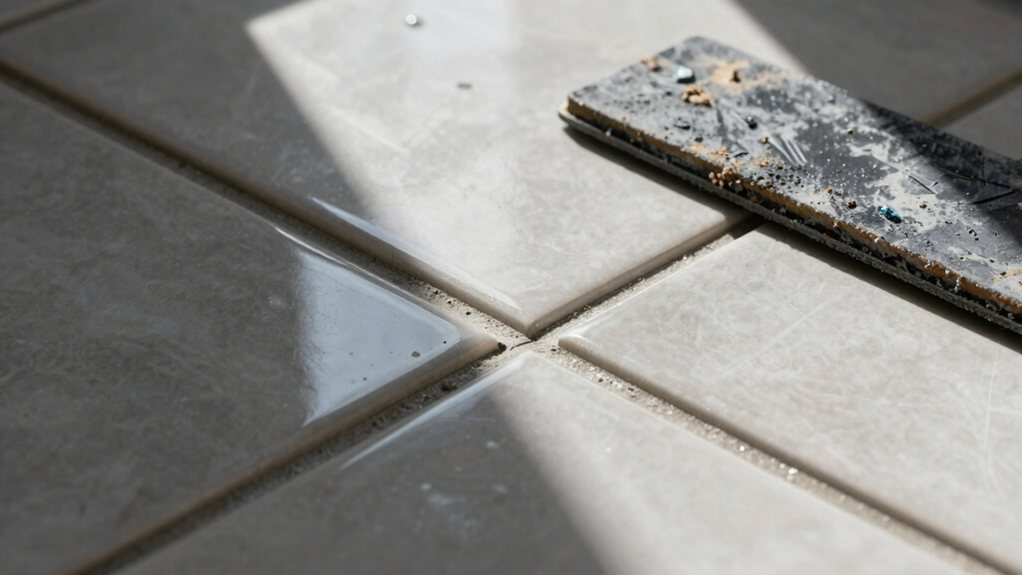
Once your mortar has set for at least 24 hours, you’re ready to tackle the grout, which will really make your tile job pop.
Mix your grout to a thick, peanut-butter-like consistency, and then use a rubber float to press it firmly into all the joints.
After letting it firm up a bit, clean the tiles with a damp sponge to reveal your beautiful new lines, but don’t forget to mist the grout for a few days to help it cure strong.
How long should you really wait before grouting your newly laid tile?
You must be patient, as rushing can shift tiles and ruin your hard work.
A good general rule is to wait at least 24 hours, but your specific situation dictates the true timeline.
Consider these key points for a successful wait:
Now that your tile has settled firmly in place, you can move on to mixing the grout that will fill the gaps and bring your whole floor together.
First, pay close attention to your batch sizing; only mix an amount you can use within its 30–60 minute pot life to avoid waste. Always start with a clean bucket—tool sanitation is non-negotiable for a strong mix.
Use a margin trowel or a paddle mixer on a low mixing speed for two to three minutes, aiming for a creamy, peanut-butter-like consistency. Let it slake for 5–10 minutes, then give it one final stir.
Getting that grout haze off your beautiful new tile is a satisfying final step that really makes everything pop.
After about 24 hours, when the grout is finger-hard, use a clean, dry microfiber cloth or towel.
Good buffing methods involve using firm, circular motions to restore the shine without scratching.
For the next three days, help your grout get strong by lightly misting the lines with water twice daily; think of it as giving it a couple of revitalizing drinks, not a shower.
To keep your grout strong, lightly mist the lines twice daily for three days—think of it as a revitalizing drink, not a shower.
This humidity monitoring is key for proper curing.
After 72 hours, you can apply a grout sealer for long-lasting protection.
You’re in the home stretch now!
After your grout has had a few days to firm up and you’ve given it those helpful mists, it’s ready for the protection that a sealer provides.
This final step locks in your hard work and makes future spills a breeze to clean up.
Getting it right is straightforward if you follow a simple sequence.
You’ve done the hard work, so now just stand back and admire your beautiful new floor. It’s solid, sealed, and ready for years of use. Sure, your knees might be a bit sore, but that’s a small price for such a great result. Remember, taking your time with the layout and grout really pays off. Congratulations on a job well done—you’ve earned that sense of pride. Enjoy it