Phone:
(701)814-6992
Physical address:
6296 Donnelly Plaza
Ratkeville, Bahamas.

Phone:
(701)814-6992
Physical address:
6296 Donnelly Plaza
Ratkeville, Bahamas.
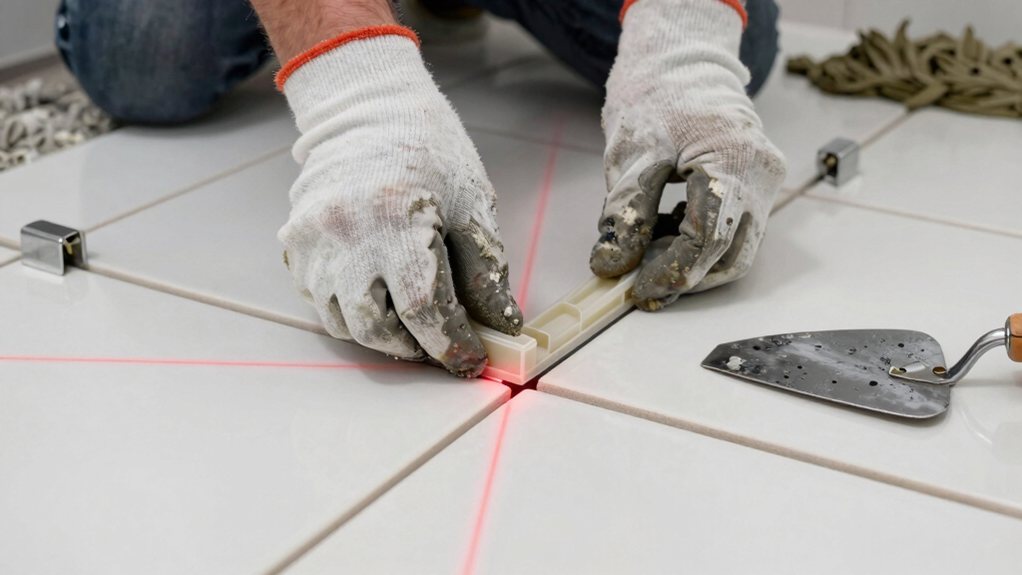
Transform your tile project from amateur to flawless by mastering the spacing secrets that prevent costly cutting mistakes and awkward edges.
Start by measuring your room’s length and width to calculate total square footage, then find the center point by marking perpendicular lines through the midpoints of opposite walls. Dry-lay your tiles from this center outward to check if edge pieces will be awkwardly small—anything less than half a tile width means you’ll need to shift your starting point. Don’t forget to add 10–15% extra tiles for cuts and breakage, factor in grout joint width when calculating spacing, and use the right spacer size for your tile type. This guide walks you through every adjustment you’ll need to nail the layout on your first try.
Table of Contents
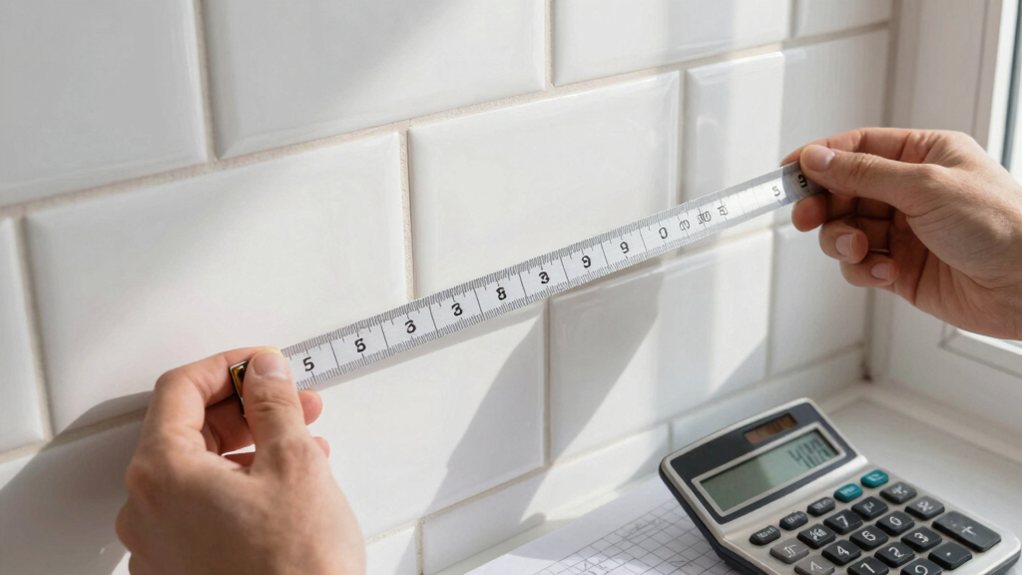
Before you can create an effective tile spacing plan, you’ll need to know exactly how much area you’re working with and how many tiles it’ll take to cover it. Start by measuring your room’s length and width, then multiply those numbers together.
Don’t forget about closets or awkward nooks—they count too! Next, tackle your subfloor assessment to verify it’s level and sturdy enough for tiling.
Calculate how many tiles you’ll need by dividing your total square footage by each tile’s size. Here’s the kicker: always add a waste allowance of 10-15% to cover cuts, breaks, and those inevitable “oops” moments. Trust me, running short mid-project is nobody’s idea of fun. Consider choosing a bathroom renovation tile kit to simplify material selection and ensure you have coordinated components.
Finding where to start laying your tiles can feel like a puzzle, but the center line method takes the guesswork out of the equation. You’ll begin by locating your room’s center point, then mark two perpendicular reference lines that’ll act as your guides throughout the entire project.
Once those lines are in place, you can adjust your layout to make sure the tiles look symmetrical and balanced, which means no awkward slivers along the walls that’ll make you cringe every time you walk through the room. If your project includes doorways, consider hiring professional door frame installation to ensure accurate alignment and prevent tile gaps around openings.
Mark the midpoint of each wall to establish your room’s center point, which serves as the foundation for a balanced tile layout.
You’ll want to measure each wall carefully and make small pencil marks where the halfway points meet.
This intersection creates your center point, and it’s surprisingly satisfying to find!
Now, here’s where it gets smart: consider your furniture layout before committing to this spot.
If you’ve got a large island or dining table that’ll dominate the space, you might shift your center point slightly to accommodate it.
Don’t forget about natural lighting either—windows can affect how your tile pattern looks throughout the day.
Think of this center point as your North Star for the entire project.
For a cohesive look, consider coordinating tile spacing with the dimensions of neighboring luxury vinyl plank flooring to ensure smooth transitions between surfaces.
Once you’ve nailed down your center point, it’s time to create two perpendicular lines that’ll act like a coordinate system for your entire floor.
These reference lines are essential—they’ll guide every tile you lay.
Start by using a carpenter’s square or, if you’re feeling fancy, a laser calibration tool to guarantee perfect 90-degree angles.
Run your first line through the center point from one wall to the opposite side. Then create the second line perpendicular to the first, also passing through center.
Here’s where chalk snapping becomes your best friend. Snap both lines firmly so they’re visible but not permanent.
Double-check that they’re truly perpendicular before moving forward—trust me, fixing wonky lines now beats ripping up crooked tiles later.
For the most reliable results consider using a professional laser level kit to ensure long-range accuracy and faster setup.
Your perpendicular reference lines are down, but here’s the thing—starting right at the center point often leads to awkward slivers of tile along your walls, and nobody wants that eyesore.
Instead, do a quick dry-lay from the center outward to see where cuts will fall.
If you’re looking at tiny edge pieces, shift your layout by half a tile width. This adjustment creates color balance across the room and guarantees your focal placement looks intentional, not accidental.
You’ll end up with symmetrical borders that feel planned, not like an oops moment. Think of it as giving your tiles breathing room—they’ll thank you by making your space look professionally designed instead of rushed.
Also consider using peel stick tile options for an easy, low-commitment installation that still provides a polished backsplash look.
Now that you’ve found your center line, it’s time to do a little math to make sure you won’t end up with awkward, skinny tile pieces along your walls—nobody wants those sad little slivers ruining an otherwise beautiful job.
Start by measuring from your center point to each edge of the room, then divide those measurements by your tile width (plus grout line spacing) to see how the tiles will land.
If your calculations show you’ll have less than half a tile’s width at the edges, shift your starting point slightly so you’ll get more balanced, fuller tiles on both sides of the room.
Before you start slapping tiles on the floor, you’ll want to figure out exactly where they should go—because nothing’s more frustrating than ending up with tiny slivers of tile along your walls that look awkward and are nearly impossible to cut.
Start by measuring the length and width of your room, then find the center point of each wall. Snap chalk lines between opposite centers to create intersecting lines on your floor. This X marks the spot where you’ll begin laying tiles.
Remember to account for tolerance allowances and thermal expansion—your tiles need a bit of breathing room to expand and contract with temperature changes. Dry-lay a row of tiles along each centerline to visualize spacing, adjusting as needed to avoid those pesky slivers at the edges. Using professional laser measuring tools can speed up this process and improve accuracy.
Once you’ve dry-laid those tiles and taken a good look at how they line up, it’s time to make some smart adjustments before you commit to anything permanent.
Shift your starting point slightly to avoid those frustrating slivers along the edges—nobody wants to cut a half-inch piece that’ll crack instantly. Consider traffic patterns too, because high-traffic areas deserve full tiles that can handle the wear.
Check your lighting considerations as well, since shadows and angles can make wonky cuts stand out like a sore thumb.
Move tiles left, right, or center until you’re happy with the symmetry. This planning stage saves you from headaches later, and your floor will look professionally done instead of rushed. Also consider the dimensions and storage needs when selecting a bathroom vanity cabinet to ensure it complements your tile layout.
How do you know which spacer size will give your tile project that professional, polished look?
Start by considering your tile size and style.
Larger tiles typically need bigger spacers, while smaller mosaic tiles work best with tighter grout lines.
Match your spacer size to your tile dimensions—bigger tiles demand wider spacing, while delicate mosaics shine with minimal grout lines.
Think about material compatibility and spacer durability when making your selection.
Also consider using power tools to ensure accurate spacer placement and faster installation.
Here’s a quick guide:
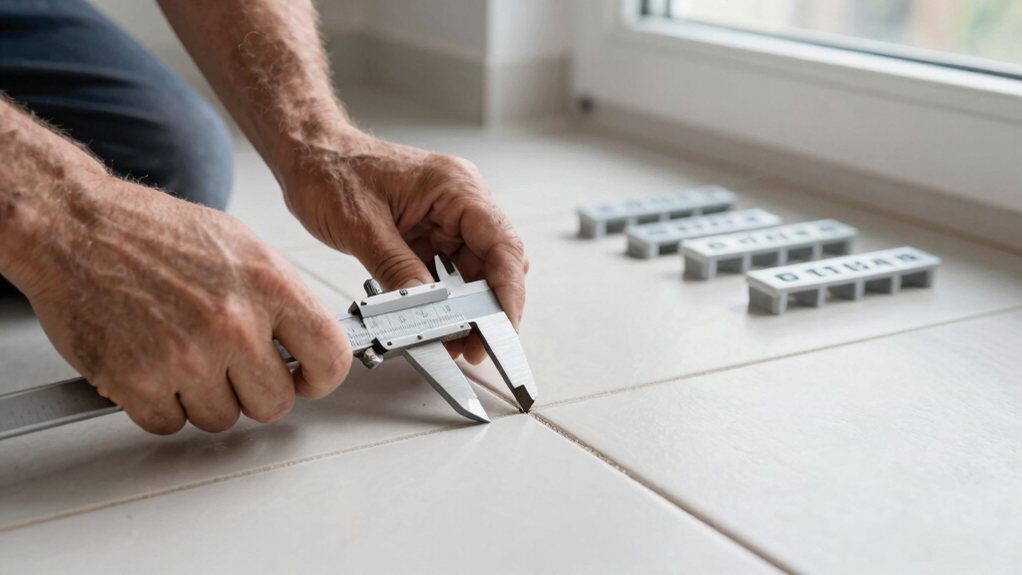
When you’re planning your tile layout, you can’t just measure tile to tile and call it a day—those grout lines between each piece actually take up real space that’ll affect your entire project.
Standard grout joints typically range from 1/16 inch for rectified tiles up to 3/8 inch for rustic or handmade varieties, and ignoring this gap in your calculations means you’ll end up short on materials or with a layout that doesn’t fit your space properly.
Before you order anything, you’ll need to add up your tile dimensions plus the grout width to get accurate measurements, then adjust your tile count so you’re not making last-minute trips to the store.
Grout joint width isn’t just a finishing detail—it’s a critical measurement that’ll affect your entire tile layout and the final look of your project.
Most installers work within these standard ranges:
Your choice impacts both Material Compatibility and Color Selection, so don’t treat it as an afterthought.
Wider joints accommodate tiles with irregular edges and create a more forgiving installation, while narrower joints deliver that sleek, modern aesthetic you’re probably scrolling through on Pinterest.
Using the right equipment can make precise spacing achievable, so consider investing in luxury home renovation tools where accuracy matters.
Most DIYers make the same costly mistake: they measure their tile area, divide by tile size, and order materials—completely forgetting that grout joints take up real space.
Here’s the reality: a 100-square-foot bathroom with 12-inch tiles and 1/8-inch grout lines needs about 2% more tiles than you’d think.
Those tiny gaps add up fast!
You’ll need to factor in both the grout width and finish tolerances, since tiles aren’t always perfectly uniform.
Calculate your total dimensions by adding one grout joint width for each tile in your layout.
Don’t wait until shipping logistics become a nightmare because you’re short fifty tiles.
Grab your calculator, account for those joints, and you’ll avoid those “oops” moments that cost time and money.
Consider tools like power drills and tile spacers when planning to ensure accurate cuts and spacing.
Understanding how grout joints affect your tile count is where theory meets your wallet.
You’ve calculated your layout dimensions, but now you’ll need to order extra tiles.
Here’s why grout spacing changes everything:
Don’t forget about batch matching—tiles from different production runs can look noticeably different.
Order everything at once to avoid color variations.
Also, consider delivery timing when placing your order.
Most suppliers recommend adding 10% extra for cuts and breakage, but that’s on top of your grout-adjusted calculations, not instead of them.
Before you can start laying tiles, you’ll need to establish reference lines that’ll guide your entire installation. These lines act like a roadmap, making sure your tiles don’t end up crooked or off-center.
Start by finding the center point of your room, then snap chalk lines across both directions to create a perfect cross. If you’re worried about chalk dust making a mess, consider chalk alternatives like temporary tape or even a laser level for precision.
Don’t skip this step—it’s the difference between a professional-looking job and one that’ll make you cringe every time you walk by. Trust me, your future self will thank you for taking the time to mark these lines accurately.
Once you’ve got your reference lines down, it’s time for what might be the most underrated step in tile installation—laying everything out dry.
This means placing tiles without any adhesive to see how everything actually fits.
You’ll catch spacing issues, awkward cuts, and wonky patterns before they become permanent disasters.
Here’s what dry layout helps you nail down:
Think of it as a dress rehearsal for your floor or wall.
You’re testing the choreography before the big show.
Move tiles around, adjust spacing, and figure out your game plan.
This fifteen-minute investment saves hours of frustration later.
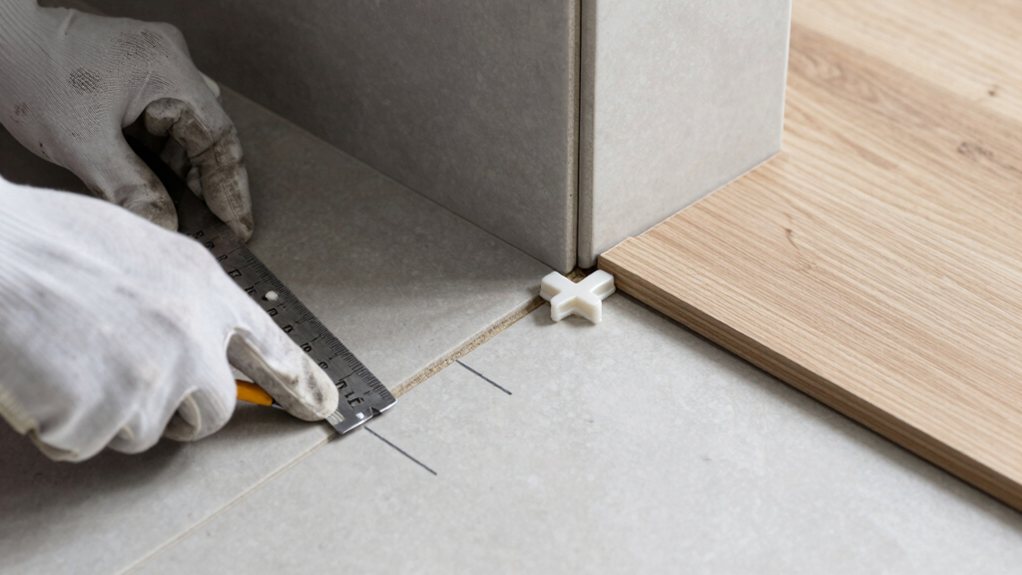
Corners and seams are where your tile job either looks professionally polished or screams “amateur hour”—there’s really no middle ground.
That’s why corner mitigation deserves your full attention during the spacing phase.
You’ll want to adjust your layout so cut tiles at corners measure at least half their original width—anything smaller looks awkward and breaks easily.
Pay special attention to threshold detailing where different flooring materials meet.
These junctions need consistent grout lines that align with your main field, but you’ve got flexibility to widen spacing slightly if it prevents tiny slivers.
Walk through your dry layout and scrutinize every corner and doorway.
Trust me, spending an extra twenty minutes repositioning tiles now beats staring at wonky corners for the next decade.
Your dry layout looked perfect until you remembered that pesky floor outlet smack in the middle of your tile run, right? Don’t panic—planning cuts around obstacles is easier than you think.
Start by creating fixture templates using cardboard cutouts that match your outlets and fixtures exactly. This lets you visualize cuts before making them permanent.
Here’s your game plan:
Remember safety precautions when working around electrical outlets: turn off power at the breaker and use proper protective gear.
Map out plumbing fixtures and vents the same way, making sure your spacing accommodates these interruptions while maintaining your overall pattern integrity.
Although most rooms look square at first glance, they’re almost never perfectly aligned—and that’s going to affect your tile layout more than you’d expect.
Rooms rarely achieve perfect alignment, creating tile layout challenges that require strategic planning from your most visible starting point.
You’ll need to measure each wall independently and compare opposite sides.
When you discover variations, start your layout from the room’s most visible area and work outward.
This lets you hide smaller cuts in less noticeable spots.
Diagonal patterns actually help disguise out-of-square conditions better than straight layouts since the eye doesn’t track misalignment as easily.
Corner compensation becomes essential—you might need to slightly adjust grout lines progressively across the floor.
Don’t panic if one side needs quarter-inch cuts while the opposite needs half-inch pieces.
That’s normal, and visitors won’t notice these subtle differences.
You’ve got all the tools now to tackle your tile project like a pro. Take your time with measurements, don’t skip that dry layout, and remember—those little spacers are your best friends. Sure, it might feel tedious marking center lines and calculating coverage, but trust me, you’ll thank yourself later when every tile lines up perfectly. Now grab your tools and get started—you’ve got this!