Phone:
(701)814-6992
Physical address:
6296 Donnelly Plaza
Ratkeville, Bahamas.

Phone:
(701)814-6992
Physical address:
6296 Donnelly Plaza
Ratkeville, Bahamas.
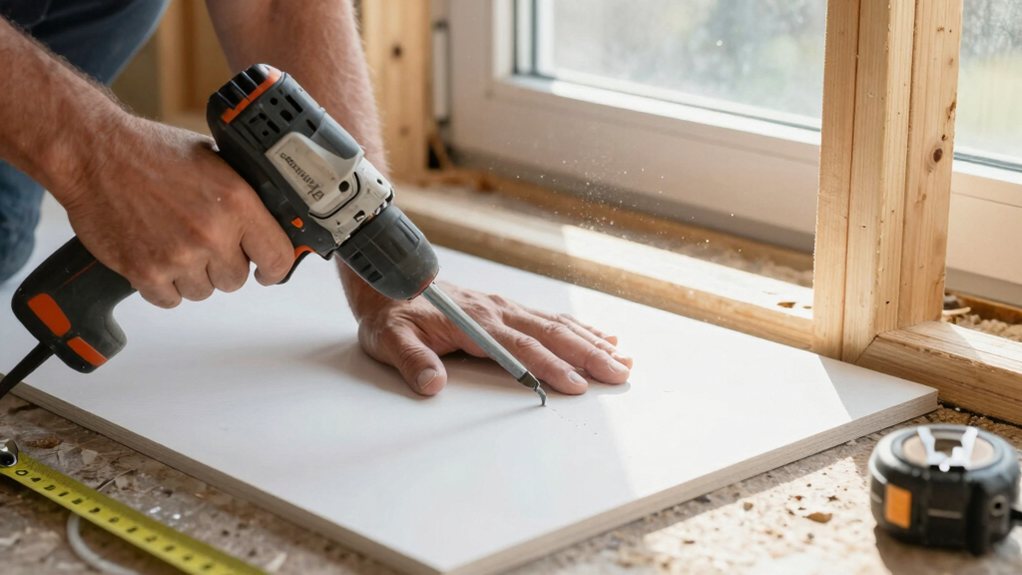
Step-by-step guide to hanging drywall, from prep to taping, for a flawless finish—discover the secrets professionals use.
Start by prepping your wall and gathering your tools. You’ll measure, mark, and cut your drywall panels to minimize seams. Hang them horizontally, fastening them securely to the studs before tackling tricky spots like outlets and corners. Then, you’ll tape the seams and apply joint compound in even, feathered coats. A good sanding makes everything seamless. It’s a satisfying project, and there’s more to know for a perfect finish.
Table of Contents
Before you begin hanging drywall, you’ll want to set yourself up for success by gathering your gear and getting the wall ready. First, inspect your wall framing for straightness and proper stud spacing.
Start your drywall project by checking the wall framing for straightness and proper stud spacing.
Next, grab your tools: a utility knife, T‑square, drywall saw, screwgun, and plenty of drywall screws.
Measure and cut your first sheet of drywall after calculating the total footage of the walls; longer boards mean fewer seams. It’s often smart to hang drywall horizontally.
Before mounting each drywall panel, mark every electrical box location on the framing. A little prep now saves a ton of fuss later, making the actual hanging go easily.
Consider keeping a professional drywall repair kit on hand for quick fixes and touch-ups.
Now that your tools are ready and the wall’s been checked, you’re set to tackle the measuring and cutting—the part where you turn those big panels into perfect puzzle pieces for your wall.
Start by calculating your total square footage and dividing to find how many drywall sheets you need, adding one extra for waste. Careful planning of your layout minimizes seams, so avoid putting them in the middle of the panel near doors.
Transfer stud locations onto each drywall sheet before you Cut Drywall. For outlets, mark a cut-out tool guide, then score and snap the board. Always score from one edge to another, then trim the backing to prevent rough edges. Having a quality drywall finishing tools kit makes finishing seams and corners much easier.
Hanging the first sheet of drywall feels like a real milestone, because you’re finally transforming that open framing into actual walls.
Start panels at the ceiling, hanging drywall horizontally so seams land on studs.
Use a jack to hold sheets, then start screwing them in.
Drive screws every 12 to 16 inches apart into the framing, keeping screw heads slightly dimpled.
Remember to leave a half-inch gap at the floor.
When fitting around obstacles, mark outlets carefully and cut power before cutting.
For corners, let one panel overhang an outside corner, then trim the next for a tight fit.
You’ll add metal corner bead later.
Inside corners just need neatly butted panels, ready for tape.
For quickly and accurately locating framing behind finished surfaces, consider using a professional stud finder to speed layout and improve accuracy.
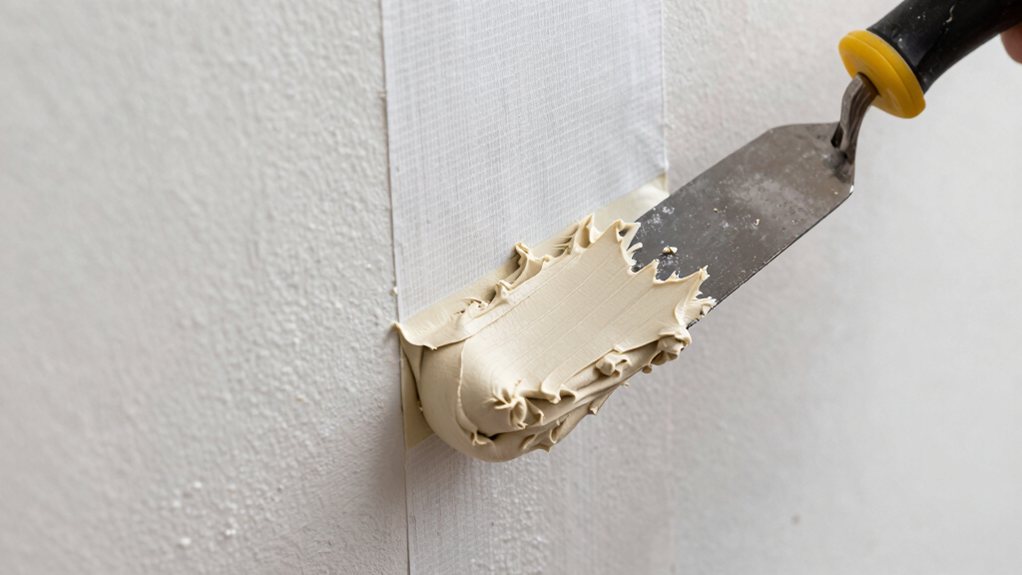
With patience, your common drywall sheets of Gypsum Board will become a seamless canvas ready for paint.
Consider using a professional caulking tool kit to ensure clean, consistent joints.
Since you’ve let those joint compound coats dry completely, you can move on to the satisfying, if dusty, stage of sanding everything flat.
Start with 120-grit paper on your seams and screw heads, using a sanding block to gently feather the edges. Please wear a respirator and use a sander with dust collection—this stuff gets everywhere!
After a first pass, inspect for any low spots or ridges, applying a thin skim coat if needed.
Once dry, do a final light sand with 180-grit.
Now, vacuum thoroughly and wipe the entire surface with a tack cloth to remove every speck of dust. This clean slate is essential before you apply a quality drywall primer, which seals the joint compound and guarantees your paint looks perfect.
Also, proper degreasing is critical if you later paint or refinish surfaces to ensure adhesion and prevent premature paint failure.
And there you have it! You’ve just tackled your first drywall project, which is a huge accomplishment. Sure, there’s a bit of dust from sanding and you might’ve discovered some new muscles, but you did it. Now step back and admire your even walls, ready for paint. You’ve saved money and gained serious skills, so give yourself a pat on the back—you’ve earned it.