Phone:
(701)814-6992
Physical address:
6296 Donnelly Plaza
Ratkeville, Bahamas.

Phone:
(701)814-6992
Physical address:
6296 Donnelly Plaza
Ratkeville, Bahamas.
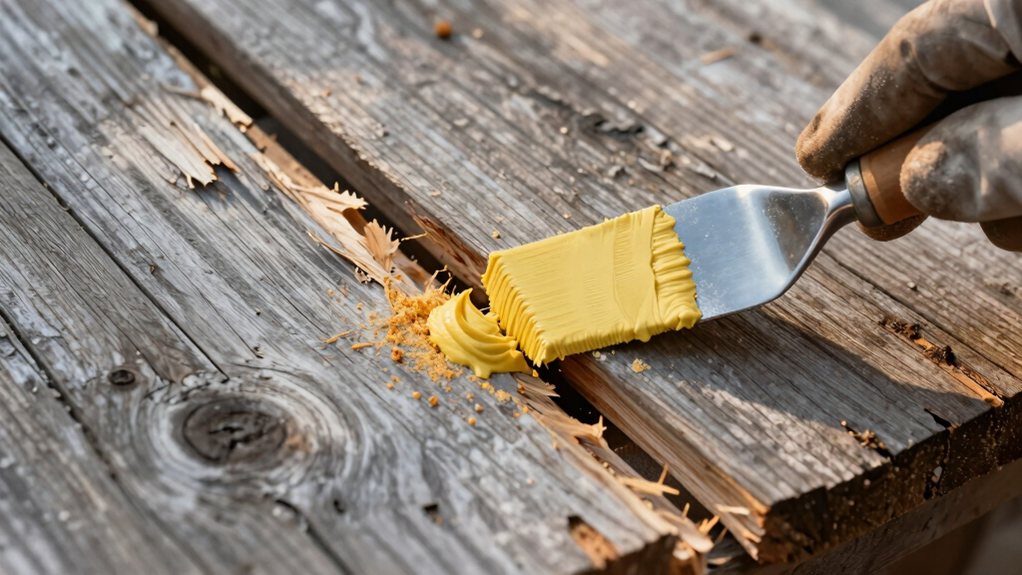
I reveal how to patch siding damage, but skipping the critical sealing step ruins your repair—discover the waterproof trick before rot spreads further.
Check soft spots in wood siding with a screwdriver. Shallow damage gets filler, but deep rot means replacing the whole board. Test corners for sponginess and use a level. Wobbly spots need fixing.
Carefully cut out rotten wood, then seal gaps with Kilz primer, Bondo, and exterior caulk for a waterproof shield. Clean gutters too, so water stops leaking. That’s step one toward siding that lasts.
Stick around for how to tackle stubborn warping next.
Table of Contents
Before you grab your tools, take a good look at that suspicious spot on your siding, because figuring out whether to patch or replace starts with a careful check.
Gently poke the wood siding with a screwdriver; if it sinks in easily past the surface, that’s soft rot. Check for dark discoloration and crumbling texture too.
Small, shallow spots? You can likely patch those with wood filler right over the old paint.
Small, shallow spots? Patch them with wood filler—no need to strip old paint.
But if the damage feels deep, spongy, or goes all the way through, don’t waste time patching. Whole-board replacement is your only real fix for lasting strength.
Ignoring serious rot just makes your wood siding leakier and weaker fast!
Seal gaps later, but first, know your enemy.
While you’ve got your tools out and that corner board’s got your attention, grab that trusty screwdriver and give the wood a friendly nudge right where it meets the siding.
Feel for any spongy spots or surprise give that screams “rot hiding underneath.”
Especially in an Old House, corners get fragile. Press firmly along the board; softness means trouble lurks deeper.
Now, plunk your level against it—check if it’s truly plumb. Notice any scary cracks or warping? Those weaken everything.
Seriously, jot down exactly what you see and where the wood feels shaky; this log helps plan later fixes.
If it’s way too wobbly, you might need extra support after pulling it. Don’t skip this step—it stops bigger headaches later!
This careful approach prevents making the problem bigger.
Remember, patience here saves you headaches and more water damage later.
Get that bad wood out cleanly, and you’re set for the fix.
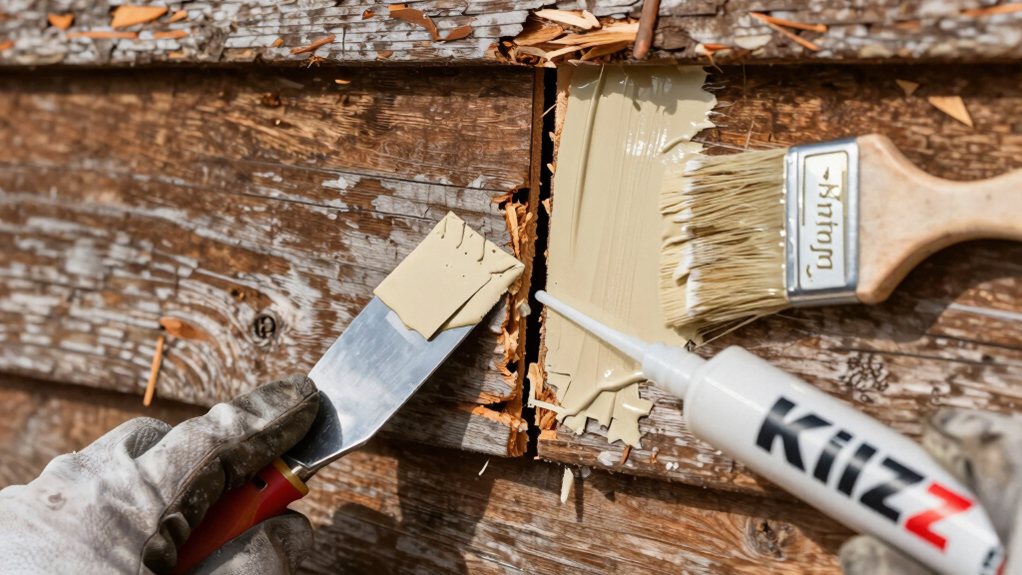
With the damaged wood cleared away, you’re set to lock out sneaky moisture using three trusty allies: Kilz, Bondo, and caulk. Grab these necessities—you’ll find them all at Home Depot.
First, slap on Kilz primer; it seals gaps like a boss, stopping moisture dead in its tracks and saving your siding from future rot.
Seal gaps with Kilz primer—it stops moisture cold and saves siding from rot.
For bigger holes where wood feels soft, mix Bondo with its hardener and pack it in tight. It sets rock-solid, giving you an even, durable surface.
Finally, run a bead of quality exterior caulk along every seam and joint between boards. This stops water from sneaking behind your siding.
Using all three together creates a powerhouse waterproof shield, seriously boosting your wood’s lifespan against weather and decay.
Smart sealing now saves big headaches later!
Keep those gutters clean and flowing to protect your freshly sealed siding! Smart Gutter Maintenance is your first defense against soggy, ruined boards.
Don’t let clogs sneak up on you—here’s your quick action list:
Toss in gutter guards to slash future chores, and glance at siding for soft spots.
You’ll dodge costly fixes while keeping that repair shining.
Heck, it’s way easier than redoing boards! Stay on top of this, and your home stays dry and cozy. (124 words)
You’ve got this! Start by checking how bad the rot is. Patch small spots or swap boards if needed. Test corners first so nothing crashes down. Cut carefully, seal gaps tight with caulk or bondo, and don’t rush the sealant.
Oh, and fix those gutters—they’re sneaky culprits! Wood’s tricky, but you handled it.
Now step back, admire your work, and enjoy that dry, happy home. Great job!