Phone:
(701)814-6992
Physical address:
6296 Donnelly Plaza
Ratkeville, Bahamas.

Phone:
(701)814-6992
Physical address:
6296 Donnelly Plaza
Ratkeville, Bahamas.
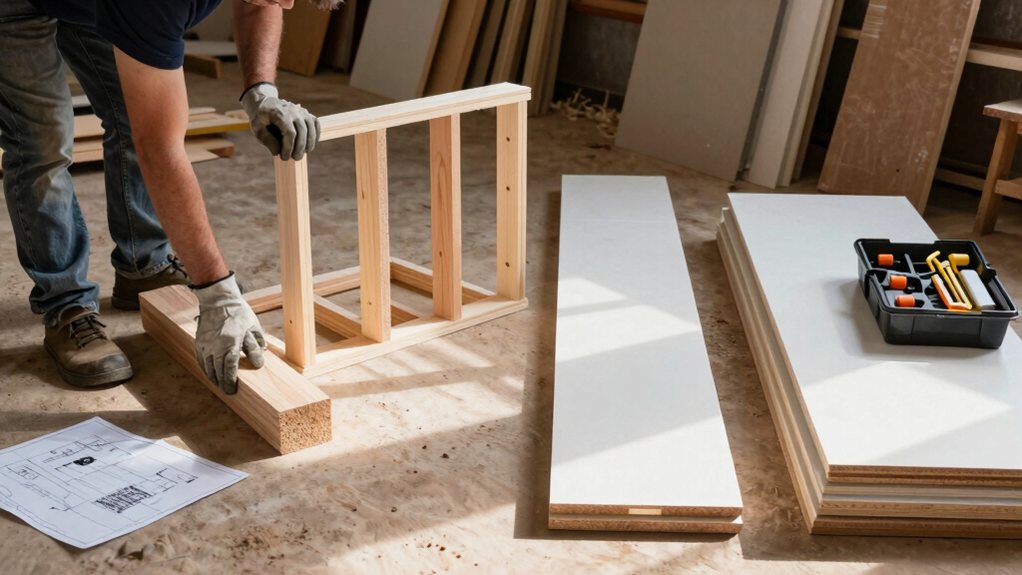
Opting for scratch or kit? Compare time, cost, and skill to start your project right.
Choosing between a kit and a scratch build means weighing your time, skills, and budget. Kits simplify the job with pre-cut parts, often getting your shed done in a weekend, but remember you’ll still need a foundation and extra supplies. Building from scratch gives you ultimate customization and can be cost-effective if you already own the tools, but it demands more time and skill to avoid expensive mistakes. Let’s break down the details to help you decide.
Table of Contents
When you’re dreaming of extra storage or a backyard workshop, you might think building a shed from scratch is the obvious way to save money. The DIY route can seem cheaper upfront, with material costs running $10–$150 per square foot.
However, those potential savings can vanish quickly if you’re not careful. You’ll need a full set of tools, which can cost over $500 new, and enough carpentry skill to avoid expensive mistakes.
Then come hidden costs like a proper foundation, delivery fees, and permit expenses. Unless you already own the tools and have the experience, a shed kit often helps you save money more reliably by avoiding those big extra purchases and frustrating do-overs. Consider buying power tool combo kits to get essential tools at a lower price and avoid purchasing each tool separately.
So, what’s the real price tag on a shed kit? You’ll find shed kits ranging from about $350 for small resin models to over $4,000 for large wood ones, with many common kits costing between $800 and $2,000.
Material is a huge cost driver—lighter polymer kits are budget-friendly, while sturdy wood kits with real siding cost more. These kits typically include pre-cut parts, hardware, and clear instructions for a weekend project.
But remember, the listed price often excludes necessities like a foundation, shingles, and paint, so budget for those extras. On the plus side, your kit comes with documentation and support, which saves you from design headaches and helps with permits. If you’re browsing retailers, you may also find related outdoor products listed, such as a raised garden bed kit, that can complement your yard projects.
Now that you’ve got a handle on kit prices, you might be thinking about going the fully custom route and building your shed from scratch. While you can save on material markups, the real DIY cost quickly adds up. You’ll need lumber, siding, and roofing, which can range from $1,200 to over $18,000 for a 10×12 structure.
Then come the tools—a saw, drill, and nailer might set you back hundreds if you don’t already own them. Hidden expenses are the real budget-busters, like a proper foundation, permit fees, and those inevitable extra trips to the hardware store. Mistakes and waste can push your final cost way above early estimates, sometimes making a pre-cut kit a smarter choice for your wallet and sanity. If damage extends to structural supports, you’ll want a pro to assess and repair to avoid bigger costs.
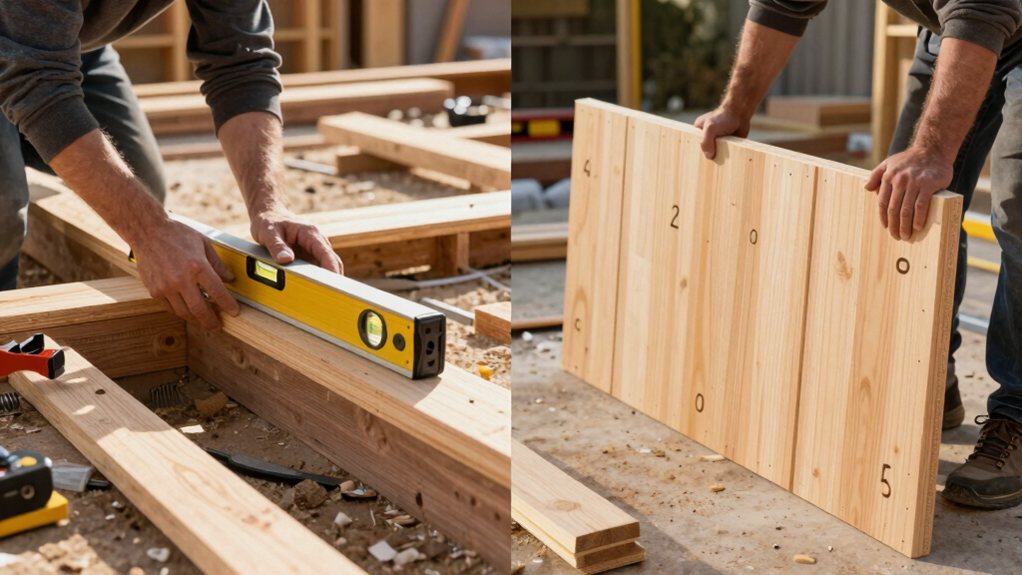
While you might be tempted to start cutting boards right away, it’s smart to compare the time and effort involved in a kit versus a full DIY build before you commit.
The key in the shed kit vs DIY debate often comes down to time and effort.
Most kits assemble in a weekend with a helper, thanks to pre-cut parts and clear instructions. Building from scratch, however, can devour several weekends or even months, demanding real carpentry skill. You’ll be measuring, cutting, and problem-solving every step.
Most kits assemble in a weekend, while building from scratch can devour months of skilled work.
Honestly, if you relish a complex project and have the expertise, DIY is rewarding. But if your weekends are precious and your skills are casual, a kit saves massive effort and gets you to a finished shed much, much faster. Kits often include pre-cut parts that speed assembly and minimize on-site measuring.
You’ll save a ton of time and money with a kit, as everything you need is included, so you avoid costly tool purchases and frustrating mistakes.
The build process is simplified with pre-cut parts and clear instructions, turning a potentially overwhelming project into a manageable weekend task.
It’s the straightforward path to getting your shed built, letting you focus on the fun part—filling it with your stuff.
Consider a premium DIY tool kit to ensure you have quality tools on hand without purchasing expensive individual items.
You get a great shed without the drawn-out hassle. You can often complete assembly using just a power tool combo kit, further reducing cost and tool purchases.
Beyond saving time and money, a shed kit simplifies the entire building process so you can get straight to the fun part: putting it together. When you build a shed from a kit, the heavy mental lifting is done for you.
All parts are pre-cut, so you skip the frustrating measuring and complex cutting that can go wrong. This streamlined shed build means you just follow clear instructions, like a giant puzzle, using basic tools you likely own.
It removes the guesswork and stress, making the project feel manageable and even enjoyable. You avoid those “oops” moments that waste materials and weekends. Fundamentally, the kit hands you a clear path to success, letting you focus on the satisfaction of construction. Cedar is naturally rot-resistant, making outdoor storage bench cedar a durable choice for outdoor projects.
While building a shed from scratch might seem intimidating, it’s actually a smart move in several specific situations, especially if you’re aiming for a custom fit or superior quality.
Building a shed yourself pays off in the long run when you can meet unique needs that a kit just can’t. Here’s when diving in is truly worth it:
Consider investing in Premium Power Tool Kits to outfit your workshop with reliable equipment that suits both pros and DIYers.
Before you get too excited picking out your shed plans or kit, you need to check your local permit rules, as many towns require one for larger sheds and have specific setback rules.
The type of foundation you choose, like a simple gravel pad versus a concrete slab, is a huge deal that will majorly impact your budget and timeline.
Finally, don’t forget about your actual building site—its slope, access for deliveries, and any pesky tree roots can turn a simple project into a real headache.
For compacting gravel pads, consider renting a plate compactor to ensure a stable, even base.
Even if you’re keen to start building, you really can’t skip checking your local permits and codes—trust me, it’s a step you’ll be glad you took.
A larger shed,means you’ll need a building permit and plan review, so don’t guess on the size limit.
Here’s your quick checklist:
Also, confirm moisture testing and proper substrate preparation requirements before building to avoid future flooring or foundation issues.
Now that you’ve tackled permits, let’s get to the fun part—picking a foundation and prepping your site, because skipping these steps is a sure way to invite wobbly walls and soggy floors. Whether you’ve bought a shed kit or are building from scratch, make sure you choose a base suited to your needs.
A simple gravel pad is affordable and drains well, while a concrete slab offers rock-solid stability for heavier use. Always properly level your site and slope the ground away to keep water out. Thorough prep now saves major headaches later, giving your shed a firm, dry place to live for decades. It’s the unglamorous hero of the whole project!
1. Verify your local rules first, as many areas don’t require permits for small sheds under 120 square feet.
But have strict property-line setback rules you must follow.
2. Always call 811**** before you dig a single hole to have underground utility lines marked; hitting one is dangerous and expensive.
3. Check for clear access—ensure a 8-10 ft wide path for delivery trucks and kit panels.
Otherwise you’ll be hauling everything by hand.
4. Pick a level, well-drained spot to make foundation work easier.
This will keep your stored items safe from water.
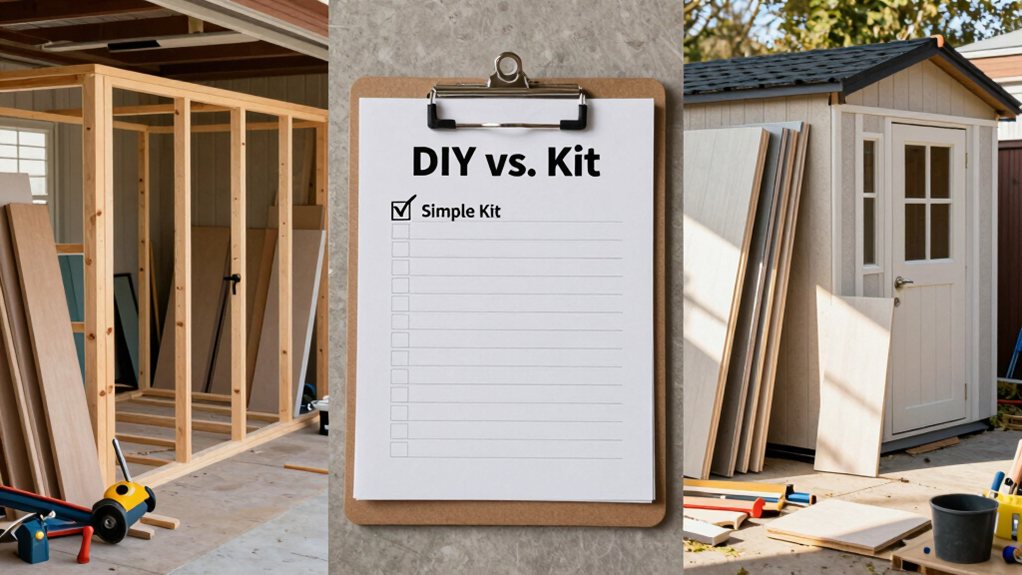
When you’re ready to make your final choice between a kit and a DIY shed, think of it as picking between a pre-assembled puzzle and a blank canvas with a pile of lumber.
For most people, a kit is the clear winner. You’ll find one in a wide variety of styles and sizes, your budget stays predictable, and you can assemble it in a weekend.
Only choose the DIY route if you genuinely have the tools, skills, and extra time. Honestly, building from scratch is a big commitment with hidden costs.
So, what’s the right choice for you? Honestly, a kit is your best bet for a seamless, successful project that won’t eat up every weekend. But if you love a challenge and have the skills, building from scratch can be deeply rewarding. Whichever path you pick, don’t forget the boring stuff, like permits and a solid base. Grab your checklist, make your choice, and get ready to build your perfect shed.