Phone:
(701)814-6992
Physical address:
6296 Donnelly Plaza
Ratkeville, Bahamas.

Phone:
(701)814-6992
Physical address:
6296 Donnelly Plaza
Ratkeville, Bahamas.
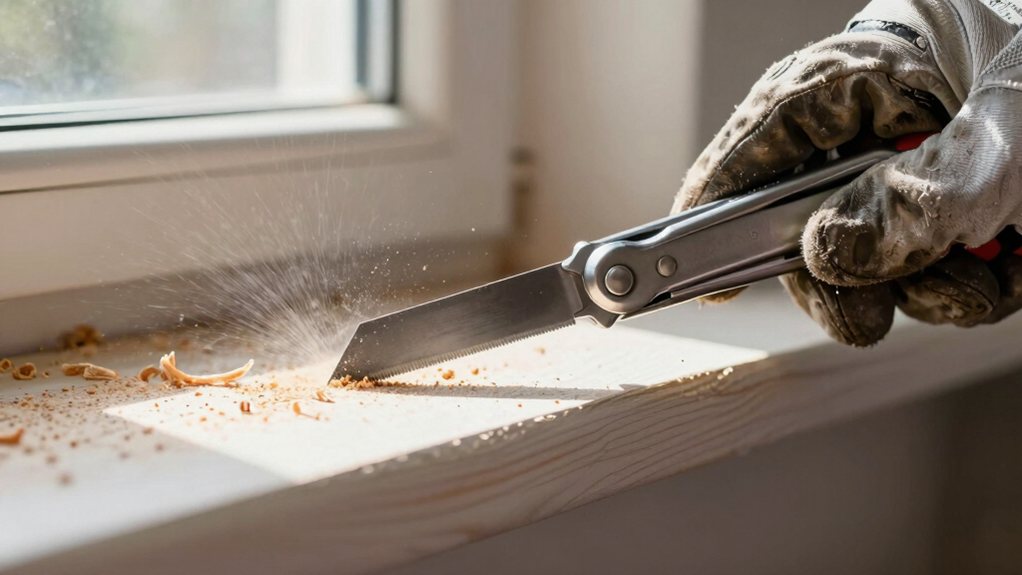
Cut through DIY challenges; discover ten perfect jobs for your oscillating multi-tool and master your next project.
An oscillating multi-tool is your DIY secret weapon. It vibrates, not spins, so you can tackle tricky jobs with less kickback. You’ll use it to undercut doorjambs for new flooring, make flush cuts against pipes, and create clean openings for outlets. It’s also perfect for scraping off old caulk, sanding tight corners, and even removing stubborn grout. Keep a few different blades handy, and you’re set. Stick around to discover all the ways this little tool can save your project.
Table of Contents
If you’ve ever tackled a home project and wished for a tool that could do it all, meet the oscillating multi-tool—your new best friend in the workshop. This clever power tool works by moving its head side-to-side in a tiny, rapid arc instead of spinning. That oscillation, humming along at up to 20,000 times per minute, powers through materials with minimal kickback.
Think of it as a precise, vibrating helper. You can swap its head for blades, scrapers, or sanding pads, making one power tool perfect for dozens of jobs. Because it oscillates, not spins, it neatly tucks debris downward instead of throwing it in your face, which is a dusty win for your next cleanup. A typical power tool combo kit includes multiple tools and accessories sold together for convenience and savings.
Before you fire up that oscillating multi-tool, let’s run through a quick safety checklist—it’s like putting on your seatbelt, a simple habit that keeps you protected and ready for a seamless ride.
First, always wear eye protection, hearing guards, and a dust mask. Avoid loose clothing that could snag.
Next, unplug the tool or pull the battery before any blade change. Inspect that blade for damage and pick the right one for your material.
Clamp your workpiece down firmly to prevent dangerous slips. Finally, do a quick scan of your cut line with a detector to avoid hidden wires or pipes.
This little ritual sets you up for an effortless, safe, and successful project every single time. Consider having a professional safety equipment kit on hand to ensure you have all necessary PPE.
When you need to trim doorjambs for new flooring, you can use your oscillating tool with a scrap piece of flooring as a guide, which keeps your cut perfectly straight and flush.
For tasks like cutting copper tubing or removing old nails and pipes, a bi‑metal blade is your best friend, letting you shave things right down to the surface without causing damage.
Just remember to wear your safety gear and let the tool’s fast oscillation do the hard work, so you avoid straining the motor and keep your project looking neat.
Consider investing in a premium multi-tool kit to have the right blades and attachments on hand.
Undercutting doorjambs and trim with an oscillating multi-tool is one of those pro tricks that makes installing new flooring look seamless. For this job, you’ll want to explore specific oscillating tool uses. Start by fitting a narrow saw blade designed for wood.
Run a scrap piece of your new flooring next to the jamb as a depth guide, then set your blade to match that thickness. Plunge the tool in slowly, using light pressure for a controlled cut. This method guarantees a perfect gap for your flooring to slide underneath, giving you that clean, professional finish without any awkward gaps.
It’s a satisfying bit of precision that makes all the difference in your project. Many modern vinyl plank floors are 100% waterproof, so ensuring a tight fit with an undercut helps prevent moisture intrusion at the edges.
Moving from the careful trimming of doorjambs to a task that demands equal precision, cutting copper tubing flush against a wall or trim is a skill that’ll make your plumbing work look neat and professional.
First, grab a bi-metal or metal-rated oscillating blade—this is key, as a wood blade will fail. Clamp the tube securely, then start slow to score it before ramping up to full speed to finish cleanly.
For that perfect flush cut, use an offset or flat-front blade so the tool body doesn’t hit the wall. After cutting, always deburr the edge for a snug fit.
Remember eye protection, and if the pipe’s soldered, keep the blade moving to avoid overheating your metal blade. You can find the necessary items in a Professional Plumbing Tool Kit available on our webpage.
Since you’ve already mastered the art of cutting tubing flush, you’ll find that removing stubborn nails and pipes right up against a surface is a very similar game—it’s all about choosing the right blade and keeping your tool flat.
For metal cutting, grab a bimetal blade.
Press the tool flush against the wall and start at a moderate speed to groove the nail or pipe, then speed up.
That wide-front round blade you used for copper? It’s perfect for pipes, too, as it hugs the curve and won’t slip.
Always protect nearby surfaces with a scrap of cardboard.
Consider investing in a professional tool set to ensure you have the right blades and accessories on hand.
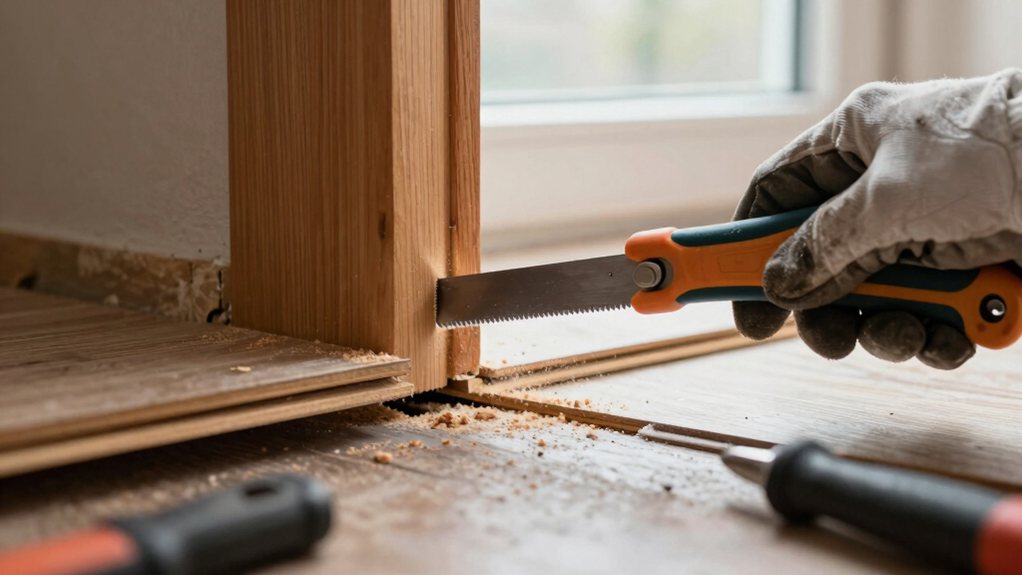
You can easily undercut doorjambs with your oscillating multi-tool for a pro-looking floor install. First, you’ll want to pick the right blade and set its depth carefully so your new flooring slides right under the trim.
Then, with a steady hand and a scrap piece as your guide, you’ll make a clean cut that saves you from having to remove and reinstall the trim later. This method works well when installing luxury vinyl plank flooring because it creates a seamless transition under door trim.
To achieve that sleek, professional look where your new flooring slips perfectly under doorjambs, you’ll want to master positioning your oscillating tool and choosing the right blade. First, use an oscillating tool with a straight plunge blade at least as wide as the jamb base; a bi-metal blade is your friend if you suspect hidden nails. Slide a scrap of your new flooring underneath as a spacer.
Now, position the tool with the blade parallel to the floor and its body offset, pressing the blade flush against that spacer guide. Use light, steady pressure and a moderate speed—don’t force it! Making several shallow passes is smarter than one deep cut, which can overheat the blade and splinter the wood. It’s a simple trick for a flawless fit. Be sure to choose durable equipment from reputable home renovation power tools when outfitting your workshop.
Now that your tool’s in place and the blade is ready, the moment of truth arrives: making that perfect undercut. Slide your scrap flooring piece underneath as a guide, then start your tool and gently plunge the blade into the jamb.
Use slow, controlled passes—let the tool do the work! Forcing it can cause tear-out and strain the motor. If you hit a nail, don’t panic; a proper bi-metal blade will handle it.
Just pull the blade back now and then to clear sawdust. Remember, a dull blade makes this job frustrating and messy, so make sure yours is sharp.
Test the fit with an actual floor plank; that satisfying, seamless slide means you nailed it. Before undercutting, be sure to check for unevenness in the subfloor so your flooring will sit flat.
While a precise undercut is the goal, guaranteeing clean results means your new floor will slide under with a satisfying, almost invisible fit.
To achieve this, protect your doorjamb and adjacent surfaces with a thin piece of sheet metal or sturdy cardboard. This guard prevents ugly scratches and yields cleaner cuts.
Keep a steady, moderate speed on your multi-tool and avoid forcing the blade; patience prevents burning or chipping the wood.
After cutting, always test-fit a flooring plank to check your work. You might find a slight high spot needing a quick pass with your tool or a file.
Finally, vacuum out all the sawdust—this last step is the secret to that seamless, professional look you’re after.
For guaranteed precision, consider hiring professional door frame installation services to ensure perfect alignment and finish.
Mastering the art of cutting clean holes for outlets and switches is a fantastic way to boost your DIY confidence, and your oscillating multi-tool is the perfect partner for the job.
Boost your DIY confidence by mastering clean outlet cuts with your oscillating multi-tool as the perfect partner.
It’s all about control and working smart. Here’s how to get a snug, professional-looking cutout every time.
Getting your oscillating tool into the tile game is a real game-changer for repairs, letting you strip away old grout or stubborn thin-set mortar with surprising control.
First, depending on the type of job, pick your blade—use a carbide-grit grout blade for small lines or a diamond one for big projects.
For thin-set, switch to a carbide grinding pad.
Keep in mind, you should work in short passes at a moderate speed to avoid overheating.
Always clear dust often and wear safety gear, because this tool drops a fine powder.
Test on a hidden spot first, and stop once you hit a clean surface to avoid overcutting.
You’ll be amazed how quickly you can prep for a perfect tile fix.
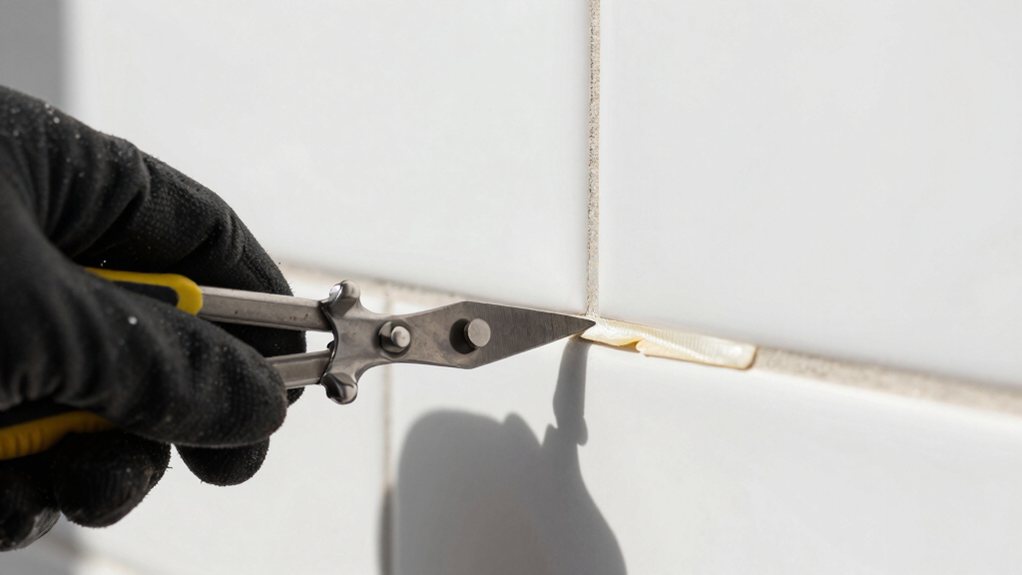
Moving from tile repairs to another tricky cleanup job, your oscillating tool is also your best friend for neatly removing old caulk or adhesive.
The key is to let the tool do the work with a gentle, controlled technique.
Let the tool do the work with a gentle, controlled hand—don’t force it.
Here’s how to strip away the old stuff without harming your beautiful surfaces.
Once you’ve got the old caulk cleaned up, you can put that same oscillating tool to work making your cabinets look and function even better, because it’s perfect for those detailed modifications that need a careful touch.
Use a straight blade to plunge-cut clean hinge mortises or slots for drawer slides—just clamp a guide for perfect grooves.
When you need to cut a hole for plumbing or cutting round sink openings, switch to a half-round blade for seamless, controlled curves.
It even tidies up rough edges with a sanding pad so hardware sits flush.
If you hit a hidden screw or bracket, a bimetal blade powers through it.
You’ll get pro-level precision without the pro-level headache.
1. Scrape first: Lock a stiff scraper blade in your tool to zip off old caulk or peeling paint from trim.
Keeping the blade flat to avoid gouges.
2. Sand the details: Switch to a triangular sanding pad with 80–150 grit paper to even out rough wood and feather filler in tight corners.
3. Progress your grits: Move from 120-grit for shaping up to 180-grit for a silky-polished finish ready for primer.
4. Protect yourself: Always wear safety glasses and a dust mask—this tool drops dust, but it’s still no fun to breathe.
Ever wondered why some oscillating tool blades seem to slice through a task effortlessly while others just struggle?
The secret is matching your blade to the job.
The key to effortless cutting lies in selecting the perfect blade for the material at hand.
You need to make smart choices.
For nails or screws, use a bi‑metal blade. For tile or grout, grab a carbide‑grit one. Use standard toothed blades for wood and drywall.
Shape matters, too—narrow blades are great for plunge cuts, while wide ones track pipes better.
Remember, heat kills blades fast. For long metal jobs, pick a thick, quality blade and keep spares handy so you can swap before your motor bogs down.
Always check the blade fits your tool’s mount. The right choice saves time and frustration.
So, there you have it! Your oscillating multi-tool is your new best friend for a ton of tricky jobs around the house. From cutting doorjambs to scraping old caulk, it’s the go-to gadget for detail work. Just pick the right blade for the task, always put safety first, and you’re all set. Now, go tackle those projects—you’ve got the perfect tool for the job. Happy DIY-ing!