Phone:
(701)814-6992
Physical address:
6296 Donnelly Plaza
Ratkeville, Bahamas.

Phone:
(701)814-6992
Physical address:
6296 Donnelly Plaza
Ratkeville, Bahamas.
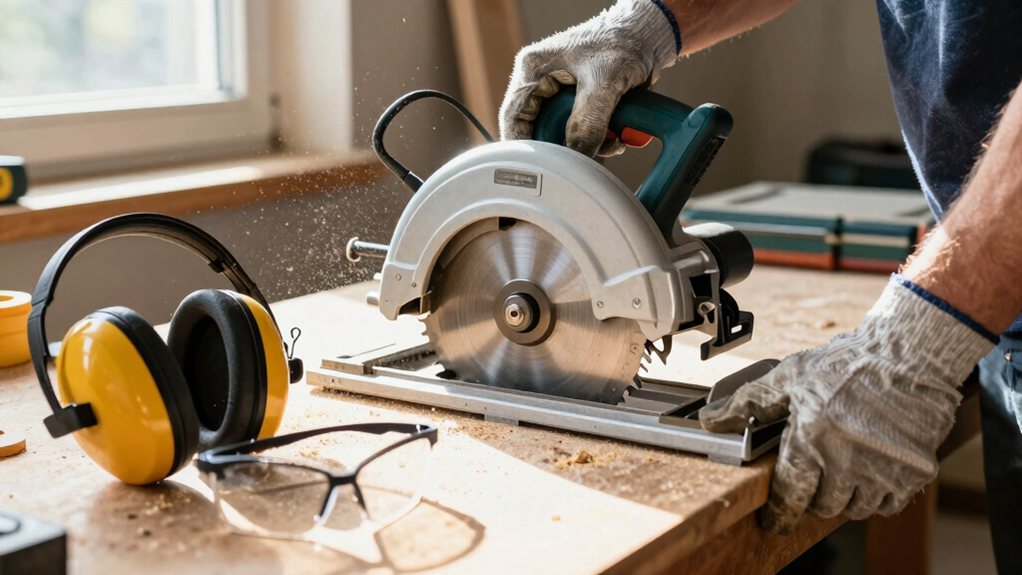
Wear safety gear and master precise cuts to build confidence; learn how to use a miter saw safely in this beginner's guide.
Before using your miter saw, always wear safety glasses, hearing protection, and a dust mask. Power off and check the blade guard moves freely. Securely clamp your workpiece, set your angles using the saw’s detent stops, and double-check all locks. Let the blade reach full speed before making your cut in one steady motion, and keep your hands well clear. Stick with these steps, and you’ll build the confidence to master this tool.
Table of Contents
Before you make your first cut, it’s important to get cozy with a few safety basics that’ll keep you in one piece and turn a potentially intimidating tool into a trusted workshop friend.
Before your first cut, a few simple safety basics turn this intimidating tool into a trusted workshop friend.
In this Beginners Guide to your new Miter Saw, start by suiting up: always wear eye and hearing protection plus a dust mask.
Next, get to know the saw itself without the power on. Swing the arm to feel its range and check the blade guard. Locate the handy detent stops at common angles like 45 degrees.
Always secure your workpiece firmly against the fence, using clamps for small pieces—your fingers should stay far from the blade path.
These simple steps build confidence and safety from the very start. If you’re shopping, consider a professional miter saw for more durability and precision.
While you’re getting ready to make that first perfect cut, gearing up with the right safety equipment is just as important as knowing how to use the saw itself.
First, always wear ANSI-rated safety glasses to shield your eyes from flying wood chips. Trust me, a rogue fragment from your crown molding project is no joke.
Next, use hearing protection; that saw is loud, and earmuffs make a huge difference.
A dust mask is also vital, especially when cutting MDF, to keep your lungs clean. Finally, secure loose clothing and tie back long hair. This gear isn’t optional—it’s your personal force field, letting you work confidently and focus on crafting beautiful, precise cuts. Consider purchasing a professional safety equipment kit to make sure you have all essential items.
Now that you’re suited up with your safety gear, it’s time to get your saw and workpiece ready for action, because a proper setup is what separates a stressful cut from a satisfyingly seamless one.
First, with power disconnected, test the blade guard’s travel to make sure nothing’s stuck. Next, dial in your miter and bevel angles using the handy detent stops for common angles like 45°. Lock everything down tight!
For your DIY project, firmly position your material flat against the fence and platform; clamp any small pieces—safety first. Clearly mark your cut line.
This home improvement step is like measuring twice so you only cut once, saving material and your sanity. Now you’re set for a safe, clean cut. If you need higher performance, consider a professional-grade miter saw for shop-quality cuts.
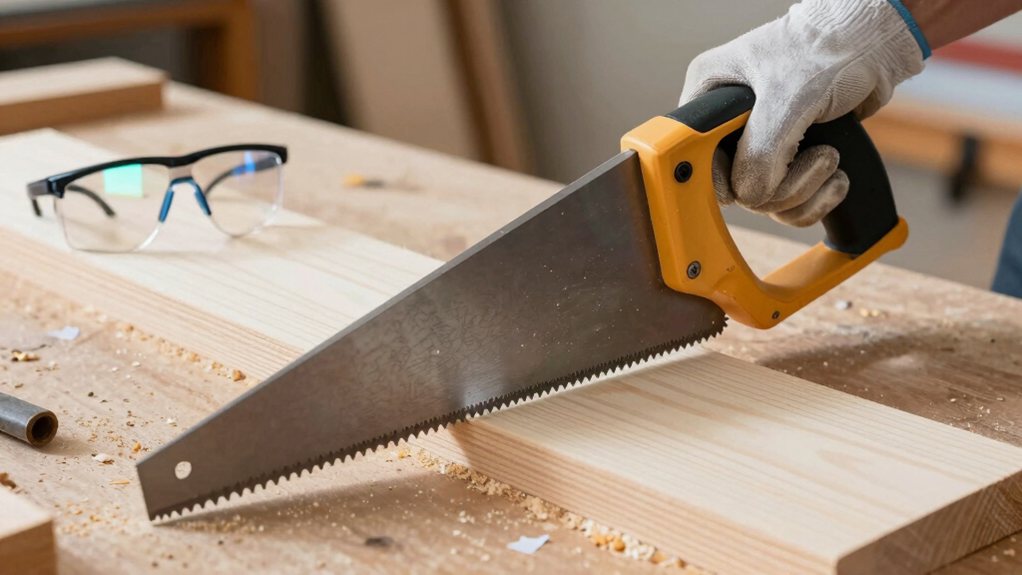
Alright, you’re all set up and ready to go, so let’s bring that cut line to life without any drama.
This is where focus meets motion, and following a seamless routine is your ticket to a perfect result for your project.
For product recommendations and accessory options, see our professional circular saw guide.
Mastering straight cuts is a fantastic foundation, and now you can use that confidence to explore the creative angles of miter and bevel cuts.
Unlike a circular saw, your miter saw is built for this, and you’ll find it’s quite clever.
First, test the saw’s motion and set your angle using the handy detent stops—like 22.5° or 45°—so you don’t awkwardly twist your material.
Always clamp your workpiece flat against the fence. Seriously, a clamp is your best friend for preventing scary kickback on small pieces.
Start the blade and let it reach full speed before lowering it gradually; never force it. Keep your hands clear, use a push block, and gear up with safety glasses. You’ve got this. Consider investing in a woodworking tools professional set to outfit your shop.
Remember, your miter saw is a powerful tool, but you’re the one in control. Keep that safety gear on, respect the blade, and take your time. You’ve got this! With each safe cut, you’re building confidence and skill. So go ahead, tackle that project you’ve been dreaming of, knowing you’re doing it the smart way. Happy, safe building!