Phone:
(701)814-6992
Physical address:
6296 Donnelly Plaza
Ratkeville, Bahamas.

Phone:
(701)814-6992
Physical address:
6296 Donnelly Plaza
Ratkeville, Bahamas.
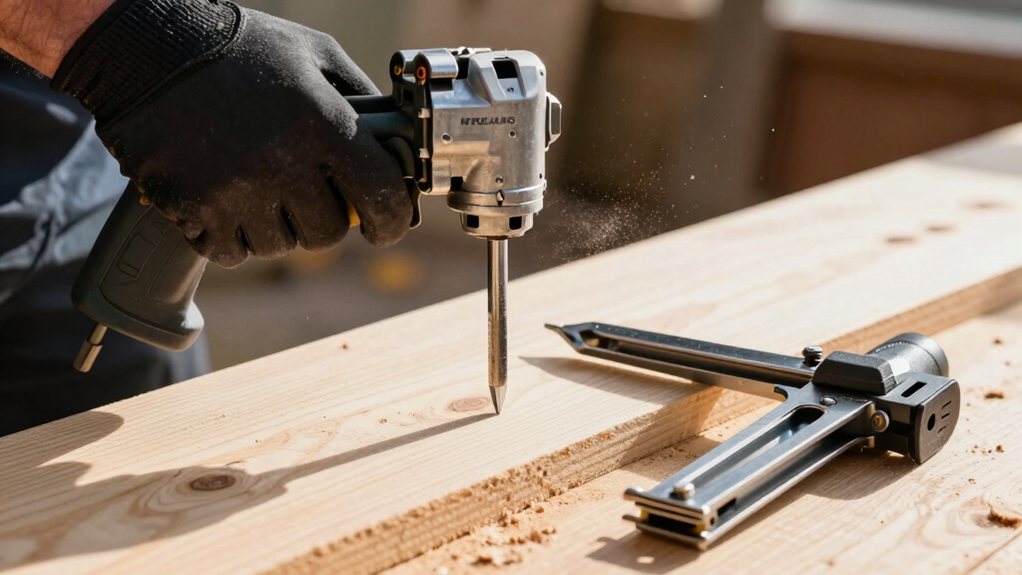
Discover essential nail gun safety tips and techniques for brad, finish, and framing types to ensure your projects are...
Start by gearing up with safety glasses, gloves, and ear protection. Choose your nailer: a brad nailer is light for trim, a finish nailer is stronger for moldings, and a framing nailer tackles studs. Always load with the air disconnected, set the pressure on scrap wood, and hold the gun firm and perpendicular to your workpiece. There’s a bit more to each step that can make your work even more seamless and safer.
Table of Contents
Before you even pick up that nail gun, let’s suit up—because while you’re about to feel like a DIY superhero, your eyes and ears aren’t bulletproof.
Here’s what you need to know.
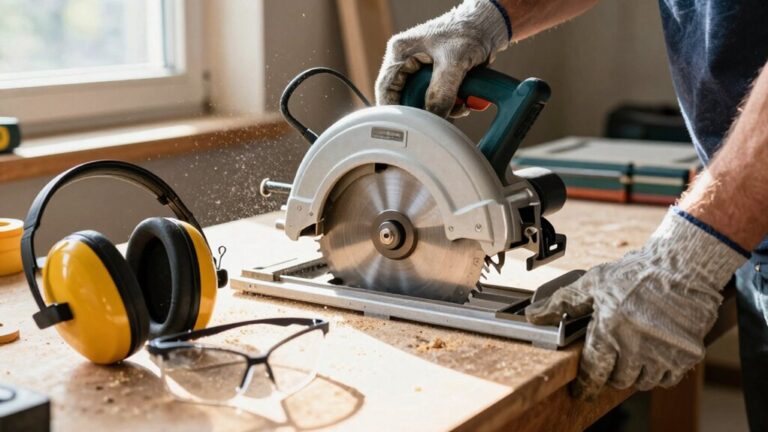
I’m going to stress impact-rated safety glasses (look for ANSI Z87.1).
They stop ricocheting nails and wood chips, and that’s a big deal for keeping your vision safe.
Next, pop in earplugs or use earmuffs; these tools are seriously loud and can damage your hearing.
Also, wear close-fitting work gloves. They protect your hands but still let you position material safely, keeping your fingers well away from the nail’s path.
Always check your gear for damage before you start, because compromised protection isn’t protection at all.
Consider investing in a safety gear kit that contains these essential items for convenience and compliance.
So, you’re suited up and ready to go—but did you know your nail gun’s type is a major player in how you use it and stay safe?
Your lightweight brad nailer is a gentle giant for trim, using lower air pressure and minimal recoil, but still demands respect to avoid a painful fingertip surprise.
Stepping up, a finish nailer packs more driving force and kick; use its sequential trigger for careful placement to prevent blowout.
The powerful framing nailer, however, is a beast. It operates at the highest pressures and recoils fiercely, so always use two hands and a firm brace.
For convenience and completeness, consider a pneumatic nail gun kit that includes fittings, nails, and a durable case.
Choosing the right nail is about matching length to your material’s thickness, so a good rule is to pick one about twice as long as what you’re fastening.
The nail’s thickness, or gauge, is just as important, since a heavier gauge like those in a framing gun gives you more holding power for structural jobs.
You’ll want to check your nailer’s specs and lean toward a slightly longer nail when in doubt, as it’s much better for holding things securely together.
Also consider purchasing from reputable sellers listed under power tools for home improvement to ensure compatibility and warranty coverage.
Since you’ll be driving those nails into different types of wood, getting the right length and thickness is key for a strong, clean hold.
Start by measuring thickness of each piece you’re joining. Remember, you want the nail to penetrate the second board—the substrate—by at least an inch. Watch for substrate variations, like a knot hiding in the grain that could bend your nail.
When dealing with layered materials, like trim over drywall, add those depths together before picking your nail. A good rule of thumb is to choose a nail about twice as long as the top piece’s thickness. This provides a solid grip without a sharp surprise poking out the other side, which is always a party foul. For best results, consider using a professional woodworking tools collection designed for these applications.
While you’re picking out your nail length, it’s also smart to think about nail thickness, or gauge, because it’s directly tied to how strong your hold will be.
Remember, a smaller gauge number means a thicker nail. Delicate 18-gauge brads are great for trim where you want tiny holes, but they lack the muscle for heavy moldings.
For that, you need the superior withdrawal resistance and shear performance of 15- or 16-gauge finish nails. Their thicker shank and larger head profile really lock things down. It’s like choosing between a thumbtack and a proper nail—both have their place! Match the gauge to your project’s demands; using a nail that’s too thin is a shortcut to a wobbly, disappointing result.
If you’re outfitting a workshop, consider investing in professional power tool sets for broader capability and better value.
Loading the nails into your gun is a crucial step, and doing it correctly keeps you safe and keeps the tool working efficiently.
First, always disconnect the air supply and wear safety glasses.
Then, mind the magazine orientation; most strips only fit one way, with the clipped head aligning with the feed channel.
Push the strip fully forward until it seats, then release the latch. This engages the pusher spring, which holds everything snug.
This proper loading sequence guarantees the nails are flush and ready.
Keep those hands clear of the muzzle while loading, and never point the gun at anyone.
Finally, double-check you’re using the right nails for your job before you reconnect and test on scrap wood.
Our selection includes home renovation power tools suitable for brad, finish, and framing nailers.
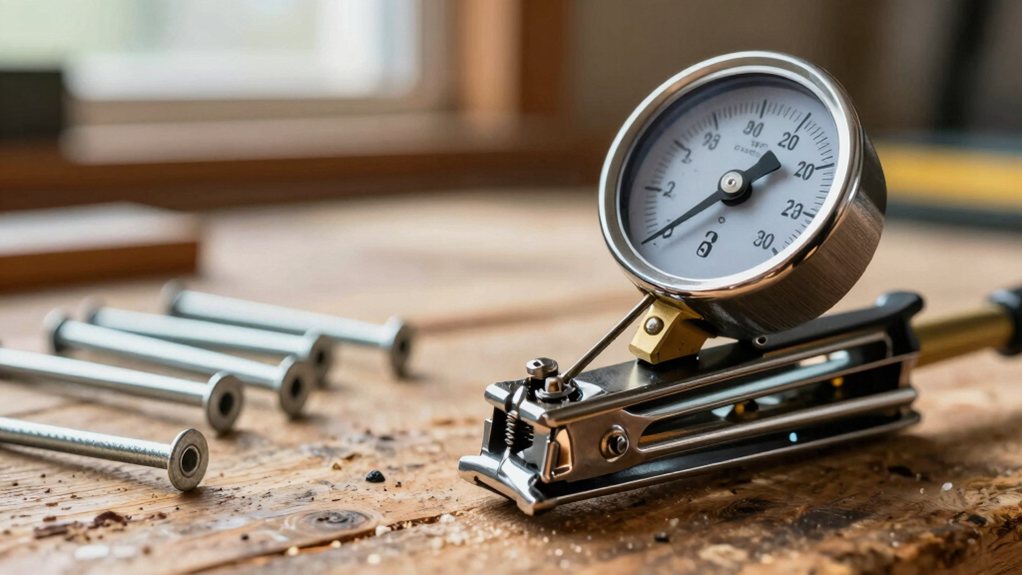
Fire a few nails into material identical to your project, adjusting pressure in small steps until the nail sits flush without damage.
* Remember hose losses and altitude compensation.****
The actual pressure at your tool can be lower than your regulator shows, especially with long hoses or at higher elevations, so an inline gauge is a smart check.
Always lock your regulator after adjustment to stay safe. When working with pneumatic equipment, make sure the regulator settings are compatible with a professional foam applicator gun to avoid tool damage or poor performance.
To fire your nail gun safely and effectively, you’ll need to get a firm, two-handed grip and square the nose up against your workpiece. Keep your stance balanced, press the safety tip firmly into the material, and then pull the trigger with a steady, deliberate motion.
This controlled approach helps prevent recoil and guarantees your nails go exactly where you want them, making your project look clean and professional. If you’re working across multiple tasks, consider a power tool combo kit to ensure compatible batteries and chargers for your tools.
Because using a nail gun is a bit like handling a powerful tool and a precise instrument at the same time, getting your hands in the right position is a game-changer.
Proper hand positioning keeps you safe and makes your work cleaner.
Focus on these three key points:
Consider having a Professional tool set in your workshop to ensure you have the right tools on hand.
Once you’ve got a good grip, you’re ready to focus on aiming and firing, which is where your nail gun transforms from a heavy tool into a real extension of your hands.
First, hold the gun perpendicular to the work for best results. For face frames, keep the nail point V parallel to the surface to avoid blowout. Good sight alignment means anticipating grain direction and angling slightly on tricky end-grain.
Always press the nose firmly against the work before pulling the trigger—never fire “floating.” Your trigger timing should be a single, confident squeeze. Expect a jolt; recoil management is just about keeping that steady pressure.
Disconnect the air to load, then test-fire on scrap. It’s loud and fun, but always wear those safety glasses!
For serious users, consider investing in high-end power tools designed for professionals for greater durability and precision.
When you’re working with a nail gun, nothing’s more frustrating than watching your wood split or a nail blow out the side—it’s one of those “now I’ve to start over” moments.
To avoid this, a few simple habits make all the difference. First, match your nail length to the stock thickness so it has enough grip.
Mastering your brad or finish nailer isn’t just about shooting fasteners—it’s about finesse, and you can get great results right away by focusing on a few key moves.
Start with surface preparation, making sure wood is clean and dry.
For trim sequencing, work from the longest pieces to the shortest, holding the nailer flush to avoid gaps.
Always check paint compatibility; some nails have a thin coating that bonds better with paint or stain. Remember to orient the V-shaped bottom of the nail head parallel to your work surface for a neat finish.
Drive nails at a steady speed, keeping your fingers clear, and you’ll have professional-looking trim without the headaches.
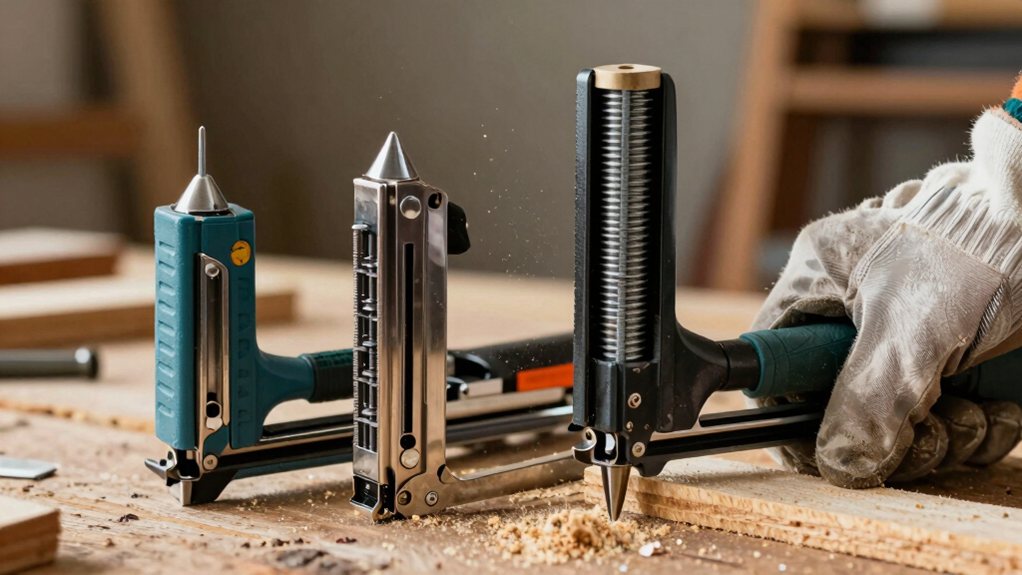
* Follow a logical framing sequence, like building a wall flat on the deck before standing it up.
This keeps everything square and safe.
* Use staggered nailing in pairs, not lining nails up in a row.
This prevents splitting the wood.
* Hold the gun firmly perpendicular, set the depth so heads are flush.
Let the tool’s power do the work—don’t force it.
Choose a nail about twice the thickness of your board for a solid hold.
To keep your nail gun running reliably for years, you should make routine maintenance and quick troubleshooting a regular part of your workflow.
Start with a simple diagnostic checklist: listen for air leaks, check for loose fittings, and verify nails are driving properly.
Stick to a regular lubrication schedule by adding a few drops of pneumatic oil into the air inlet every few weeks.
If nails jam, disconnect power, clear the magazine, and check your nail strips.
Good storage procedures, like keeping the tool clean and dry, prevent most issues.
You’re now set to tackle your project with confidence. Remember, it all comes down to safety first, choosing the right nails and pressure, and practicing your technique. Keep that gun clean and you’ll avoid most headaches. With a little care, you’ll be driving nails like a pro in no time, turning that big project into a job you can really be proud of. Happy building