Phone:
(701)814-6992
Physical address:
6296 Donnelly Plaza
Ratkeville, Bahamas.

Phone:
(701)814-6992
Physical address:
6296 Donnelly Plaza
Ratkeville, Bahamas.

Follow our flat roof sealant steps for a watertight finish, but first ensure you’ve matched the correct type to your roof material.
First, match your sealant to the roof material—like silicone for EPDM—and then clean the surface thoroughly with a pressure washer. Apply it on a dry, warm day using a sprayer or roller, reinforcing any seams with fabric tape. Let it cure completely, and keep up with yearly checks for small cracks. Stick with these steps, and you’ll secure a watertight finish for years. There’s plenty more to explore to get the job just right.
Table of Contents
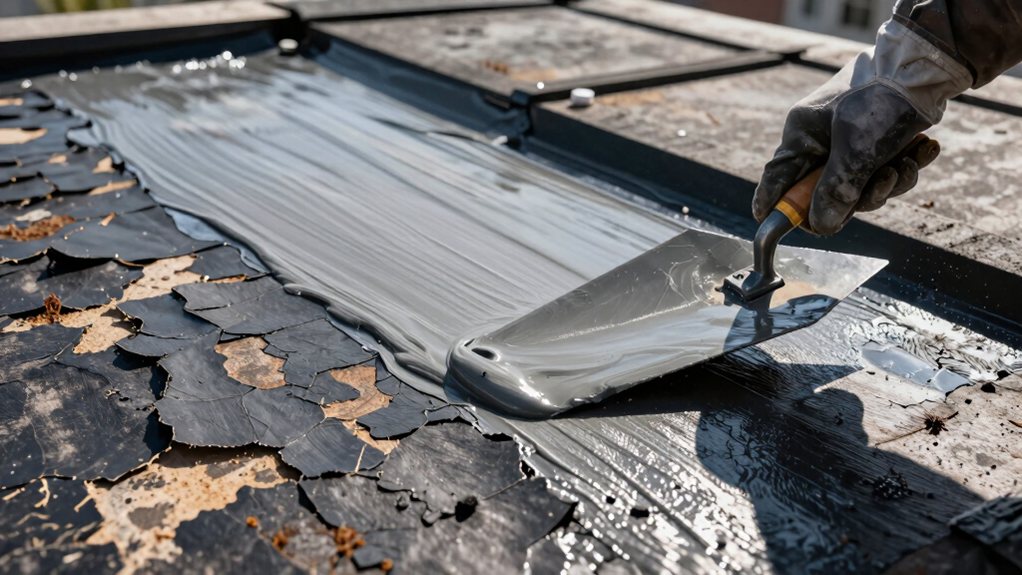
Before you grab the sealant, it’s smart to figure out if your flat roof actually needs it—because let’s face it, you don’t want to spend your weekend on a hot rooftop for no reason.
Before you start sealing, ensure your flat roof actually needs it to avoid unnecessary weekend work.
First, check for standing/ponding water after a storm; if it’s still there after 48 hours, that’s a red flag.
Look up for signs of membrane failure, like cracks, blisters, or exposed seams.
Don’t forget to peek inside your attic or ceiling for active leaks, water stains, or mold after rain.
Consider your roof age, too, as old coatings wear out.
A simple annual inspection can catch these issues early, saving you from bigger headaches (and bigger bills) down the road.
Also, use a straightedge to check for flatness before sealing to ensure the coating will adhere evenly and last.
Now that you’ve spotted the signs that your roof needs some attention, picking the perfect sealant is your next step.
First, match the sealant to your substrate. Silicone is a champ for EPDM or areas with ponding-water resistance, while acrylic is ideal for reflective concrete in hot climates. Need something tough? Polyurethane handles high traffic beautifully. Consider longevity, too—silicone often lasts over a decade!
Don’t skip the primer if your roof material needs it for a solid grip. Finally, always check the manufacturer’s warranty and recommended coverage rates; following these rules keeps your protection valid and your wallet happy. It’s like picking the right shoes for a hike—comfort and durability matter! For areas prone to movement or high traffic, consider a fiber-reinforced formulation for added durability and crack resistance.
Getting your roof sealed properly starts with gathering all the right gear—think of it as prepping your toolkit for a seamless and successful project day.
You’ll need your chosen sealant, like silicone, acrylic, or polyurethane, plus a compatible primer for your roof’s material.
For repairs, grab sealant/caulk for cracks and seam tape or geo‑textile for reinforcing joints.
Your key tools are a pressure washer for cleaning and, depending on your roof’s size, an airless sprayer for speed or sturdy rollers for smaller areas.
With everything gathered, you’re set to tackle the prep work confidently, knowing you have what’s needed for a solid, long-lasting finish.
For larger jobs, consider renting or purchasing a professional paint sprayer system to increase efficiency and ensure consistent coverage.
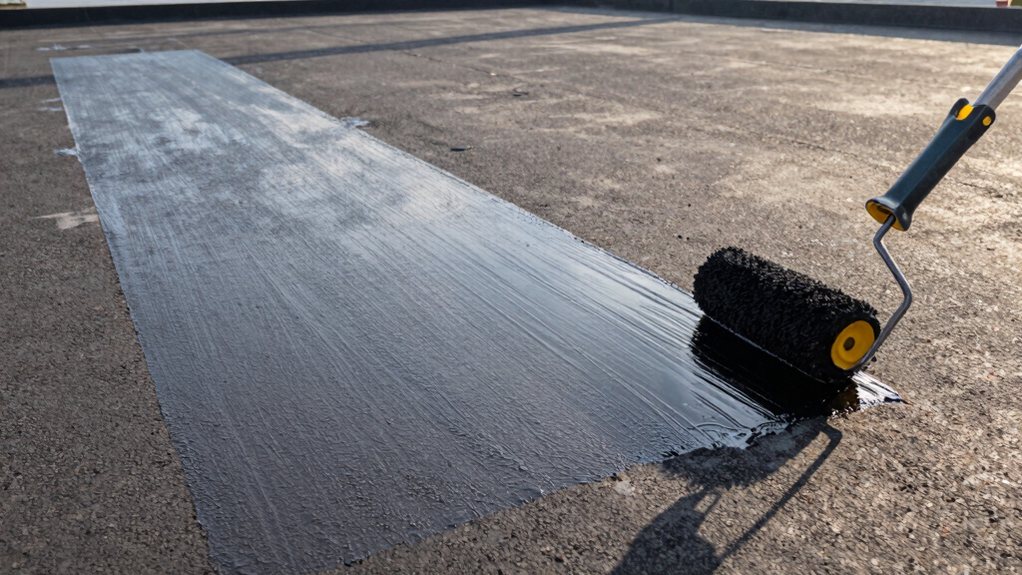
Once you’ve got all your tools and materials ready, you’ve got to turn your attention to the roof itself because, honestly, the secret to a long-lasting seal isn’t just in the coating—it’s in the prep work you do first.
The secret to a long-lasting seal isn’t just the coating—it’s the meticulous prep work you do first.
Start by inspecting your entire Roof Surface for any damage.
Next, you must Prepare the Roof by making it clean and free of debris.
Use a broom and a pressure washer to remove all dirt and old material, paying special attention to seams and flashings.
Allow the roof to become completely dry; a damp surface is a recipe for trouble.
Finally, always follow your coating’s manufacturer’s recommendations for your specific Low Slope roof substrate to guarantee a perfect bond.
For heavy-duty cleaning tasks, consider using a commercial-grade pressure washer to ensure sufficient cleaning power and efficiency.
Applying silicone roof coating is a straightforward task that transforms your prepared surface into a weatherproof shield.
First, check your temperature conditions; only apply silicone in dry weather between 50 and 86°F, making sure the surface is warmer than the dew point.
Use an airless sprayer, roller, or brush to apply your first thin coat. Focus on building extra protection at all seams and flashing, laying down reinforcement fabric and brushing it in.
For areas prone to ponding water, give them special attention.
Let each coat fully finish curing before adding the next—this patience prevents problems!
After the final cure, inspect for thin spots. Ensure coverage uniformity across the entire roof to prevent future failures. Your flat roof will now confidently resist the elements.
To keep your roof sealant doing its job for years, you’ll want to stick to a simple annual check-up and cleaning routine.
Clearing away leaves and debris from drains and the roof surface prevents water from pooling and wearing down the coating.
And by watching for cracks or wear and recoating when needed, you can avoid bigger headaches later.
Using a gutter cleaning pressure washer can make clearing gutters faster and reduce the risk of damage when used properly.
You should really get into the habit of inspecting your sealed roof at least once a year. This simple routine is the best way to extend the life of your roof and prevent leaks before they start.
For flat roofs, your goal is to spot trouble early. Pay special attention after any big storm, too.
When sealing a flat roof, always follow the manufacturer’s instructions for repairs, but your annual check can catch small issues before they demand a major roof repair.
Also inspect and maintain associated components like exterior door weatherstripping to prevent water intrusion around doors.
Look for:
Keep notes and photos; if you see widespread damage, call a roofing professional.
Regularly cleaning your roof is like giving it a check-up and a spa day combined—it’s essential maintenance that keeps everything flowing seamlessly.
Start by using a soft-bristled broom or leaf blower to remove leaves and debris after storms, which prevents moisture traps.
Next, give it a gentle bath with a garden hose or low-pressure pressure washer and a mild roof cleaner to wash away dirt and pollen.
Always allow the roof to dry completely before any further work.
It’s also important to keep gutters and drains clear year-round to prevent ponding water, which can damage sealant.
After cleaning, inspect for blisters and cracks so you can fix them.
Remember to avoid harsh solvents, using only approved cleaners for stubborn spots.
For tougher grime, consider using a low-pressure electric pressure washer pressure washer electric with a gentle nozzle.
Consider using a penetrating sealer for durable, natural-look protection on porous surfaces.
So, you’ve sealed your roof and given it a real fighting chance. Nice work! Just remember, this isn’t a one-and-done deal. Keep an eye on it every year, and clear off any debris you find. With a little bit of routine care, your sealant will protect your home for years, saving you money and giving you peace of mind. Now, go enjoy that secure, dry space you’ve earned.