Phone:
(701)814-6992
Physical address:
6296 Donnelly Plaza
Ratkeville, Bahamas.

Phone:
(701)814-6992
Physical address:
6296 Donnelly Plaza
Ratkeville, Bahamas.
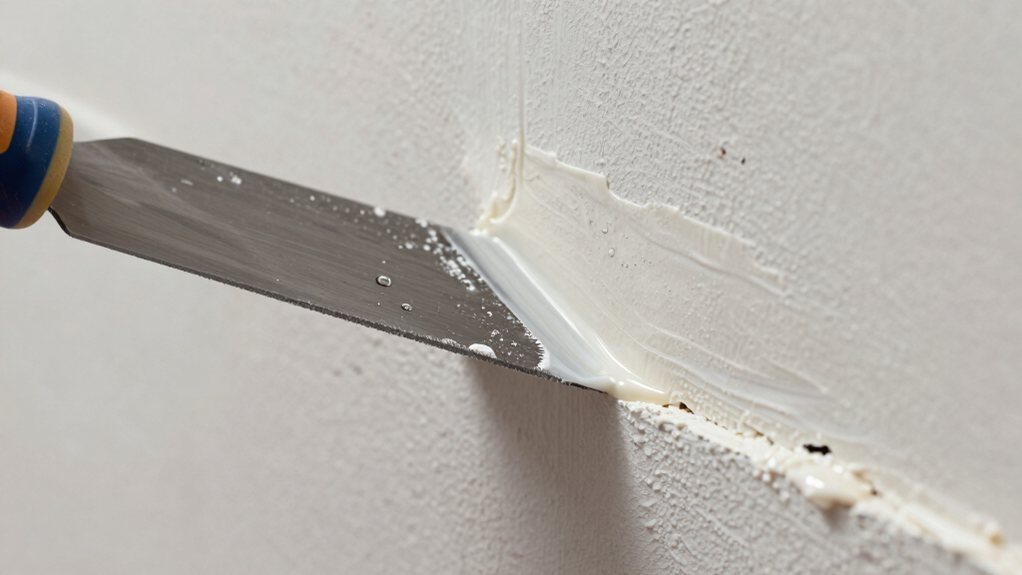
I'll show you how to skim coat a wall for that perfect smooth finish you've always wanted.
You can get that perfect, plaster-flawless wall with skim coating. It involves applying super-thin layers of joint compound to hide imperfections. First, you’ll prep the room and mix your mud to a thick, cake-batter consistency. Apply it with a roller, then immediately level it flat with a large blade, keeping a wet edge to avoid seams. After drying, you’ll sand between coats for that flawless finish. Stick around for all the pro tips to make it easier.
Table of Contents
So, what exactly is skim coating, and could it be the secret to giving your walls that magazine-ready sleekness? Think of skim coating as spreading a super-thin layer of joint compound**** across the entire surface, like buttering a giant piece of toast.
It’s the ultimate fix for hiding seams, bumps, or a dated textured wall. This process creates a perfectly seamless, plaster-like finish from edge to edge.
It’s fantastic for high-visibility walls hit by strong light, but it’s a commitment. You’ll apply multiple coats with drying and sanding in between.
So, while it’s right for a flawless result, it’s more intensive than simple patch jobs.
Ready for the dust and the reward? For best results consider using a drywall finishing tools kit to ensure you have the right taping knives, hawk, and sanders.
Before you start, you’ll need to pick the right joint compound, as the all-purpose type is great for beginners, while a quick-set powder works faster if you’re on a tight schedule.
The star of your toolkit will be a large skim blade for feathering the walls, supported by a smaller blade for those tricky corners and tight spots around outlets.
Don’t forget your sanding supplies for the final finish, because even a pro-level skim coat needs a little blending out to look perfect.
For best results, consider investing in a professional drywall repair kit that includes tools tailored for skim coating.
Since you’re aiming for a seamless, professional-looking wall, picking the right joint compound—or “mud”—is your first vital step. For your initial coat to embed tape, grab an All-Purpose or quick-set mix.
When you Skim your subsequent layers, switch to a Lightweight or Topping ready-mix; it sands like a dream and minimizes annoying shrinkage ridges. Need speed? A 45-minute quick-set saves the day. Keep in mind that fast-setting mixes cure much quicker than standard compounds and can cut downtime on a project.
Your skim blade is your magic wand for transforming lumpy, uneven walls into a canvas of pure evenness. Think of it as a giant drywall knife.
You’ll want a long stainless-steel blade, about 32 inches, for making full-wall passes that leave a beautifully even surface. Keep a shorter 12–14 inch blade handy for tight spots around outlets and corners.
Have at least two—one for laying on thick mud and a clean one for your final, feather-light pass. Clean them frequently between strokes to avoid dragging gunk and scoring your fresh work. With the right blade gliding over your properly mixed mud, you’ll see that skim coated wall become perfectly flat and ready for paint. You can keep your blades in professional workshop tool sets designed for craftsmen to protect and organize them between projects.
With all your skim coating magic complete, you’ll need a few key items to handle the final, critical finishing phase.
Proper sanding is what transforms your work from good to flawlessly polished. Here’s what you’ll need:
Using a professional dust collection system significantly reduces airborne particles and speeds cleanup.
Before you get started, you’ll want to clear and protect your space by moving furniture to the center and wrapping it tightly, because skim coating is a famously dusty and splattery job.
Next, take off those baseboards and outlet covers so you’ve got a clean, flat surface to work on, and don’t forget to seal up doorways and vents with plastic sheeting to keep the mess from spreading through your whole house.
Finally, give your walls a good once-over, scraping away any loose bits and cleaning off dust, to make sure your fresh coat of mud will stick perfectly and give you that even finish you’re after. For floor and furniture protection, consider layering an absorbent top with a canvas drop cloth over a waterproof plastic tarp to catch heavy spills and make cleanup easier.
Although it might seem like a hassle, clearing and protecting your space is the secret ingredient for a seamless, clean skim coating job, saving you from a mountain of cleanup later.
Taking the time to prep now saves time and frustration later.
A good setup helps keep your project area contained and your sanity intact.
1. Clear the stage: Move furniture out and slide remaining items 3–4 feet from walls.
Cover everything with flame-retardant cloths or plastic sheeting to make sure dust and compound splatter don’t ruin your stuff.
2. Seal it up: Use 6-mil plastic and painter’s tape to block doorways, vents, and openings.
This creates a dust containment zone.
3. Floor defense: Layer canvas over plastic drop cloths on floors, taping seams so they stay put.
This protects from spills and heavy foot traffic during the messy work.
Use quality painter’s tape and apply it firmly to create a tight seal that resists lifting and prevents dust and compound from escaping.
Now that you’ve protected your space from the dust and mud to come, it’s time to roll up your sleeves and prep your walls by removing their accessories. Start by carefully prying off baseboards and door casings, labeling each piece so they go back in the right spot.
Next, shut off the power at your breaker before removing outlet covers and light fixtures. Fold the wires back safely and tuck them away.
This might feel like a chore, but clearing these obstacles is what lets you skim coat entire walls seamlessly. You’re creating a blank canvas, which is the first secret to achieving that Perfectly Even finish you’re dreaming of, without any annoying bumps or edges getting in your way. Also, perform thorough surface cleaning with a degreasing cleaner to ensure better adhesion of the skim coat.
Consider using a professional safety equipment kit to make sealing, covering, and cleanup safer and more efficient.
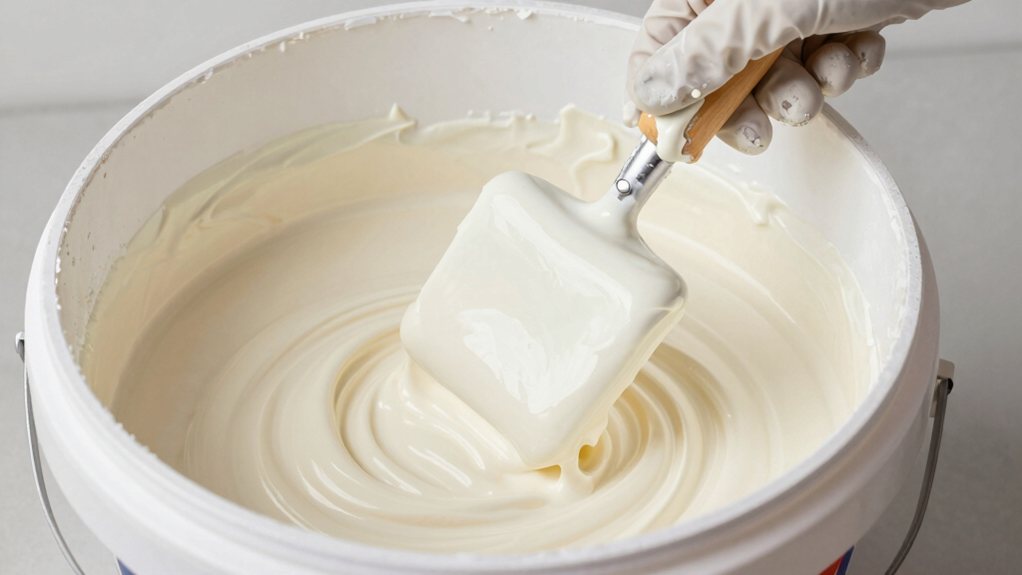
Getting your joint compound to the perfect consistency is the secret to seamless, frustration-free skim coating.
Mastering that ideal consistency is the essential trick for effortless skim coating and flawless walls.
Think thick, lump-free cake batter.
Mix it with a drill until it’s viscous enough to hold on your skim blade without running off.
For those beautiful Sleek Walls, this right consistency is key for applying a thin layer of joint compound evenly.
Add water slowly to pre-mixed tubs, stopping when it flows smoothly but doesn’t drip.
Over-thinning weakens it and increases drying time—a real patience tester!
For big areas, mix a full five-gallon bucket to guarantee uniform color and texture.
Always store mixed compound covered and give it a quick re-stir before use to banish any lumps or separated water.
For heavy or large-format work, choose materials and methods rated for high shear strength.
1. Roll it on thick in sections covering half the wall height.
to prevent drying.
2. Immediately skim it flat using your 32-inch blade.
at a sharp angle, using long, firm strokes to remove excess.
3. Keep a wet edge.
and try to work quickly; mist the prior area if it dries, and blend corners with a corner trowel.
Let this coat dry fully overnight
before even thinking about sanding.
Once your first skim coat has fully dried, which might feel like waiting for paint to dry but with a bit more payoff, you’ll want to get the wall ready for its next layer. Patience is key here—a standard coat needs about a day to set, while fast-setting products can be ready in hours. Humidity or cooler temps can really stretch that time.
Now, grab a long skim blade and gently scrape off any high ridges, dried ropey bits, or obvious trowel lines. You’re shaving peaks, not gouging your new drywall.
Lightly sand any stubborn bumps or feather rough edges with 180-grit paper, or use a damp sponge on small nibs.
Finally, vacuum up all the dust and wipe the surface clean with a damp cloth. This vital prep guarantees your next layers of joint compound bond perfectly, slowly banishing that orange peel texture for good.
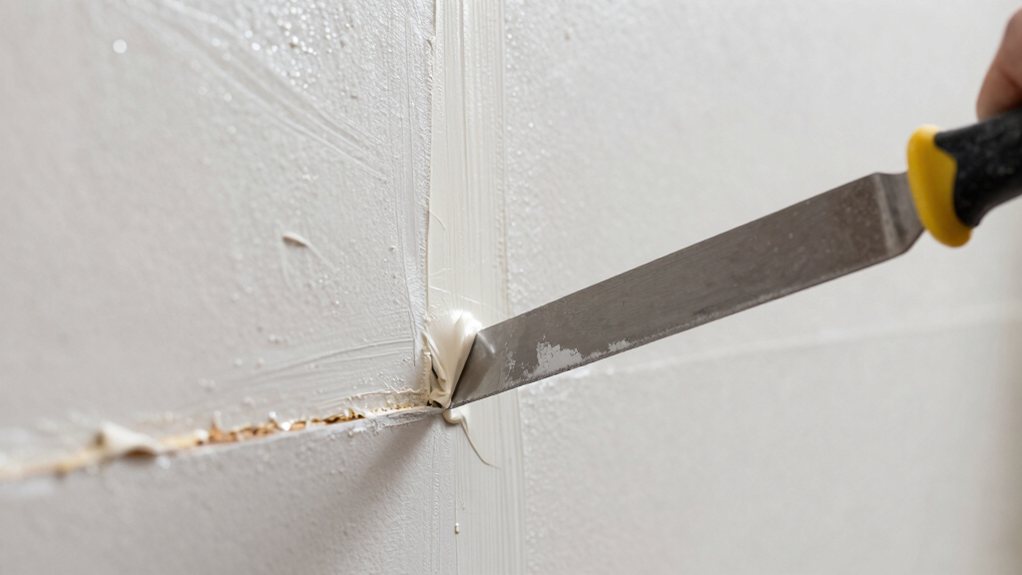
With the wall scraped and prepped, you’re ready to add your next layers of joint compound.
Remember, multiple thin coats are the secret. Here’s how to build them up seamlessly:
1. Apply two or three thin coats, letting each dry fully (8–24 hours) before the next.
Tips for cutting down ridges? Lightly sand high spots with a 180-grit pad between coats, then wipe away the dust.
2. On large areas, use a long 32-inch blade and alternate your stroke direction with each coat.
This flattens everything out beautifully, and if you think, “I’m working on a ridge,” just take a little more off with a damp sponge.
3. Finish inside corners with a corner trowel, feathering each pass 6–8 inches out.
Use smaller blades around outlets for seamless edges.
Sanding is where your wall transforms from looking “pretty good” to feeling perfectly even and ready for paint.
You’ve got to be patient—wait a full 24 hours after your final coat dries. This prevents gouging soft compound.
For big walls, a pole sander from your local big box store will make a big difference, saving your arms and back.
Start with 180-grit to knock down high spots, then use 220 for final finishing.
Always vacuum between grits to remove abrasive dust, which is especially important after wallpaper removal.
Use long, even strokes with light pressure, checking your work with an angled light. Finish by vacuuming and wiping with a tack cloth so your primer bonds perfectly.
Now that you’ve got your walls beautifully even, you’re facing the big decision: should you tackle the skim coating yourself or call in a professional? Consider these points:
You’ve got smooth walls—now should you skim coat yourself or hire a pro? Here’s how to decide.
1. Go ahead with DIY if you’re determined and have time.
It’s a multi-day, labor-intensive process of mixing, applying multiple coats, and heavy sanding. You’ll need some tool investment and must master the long-blade technique.
2. Hire a pro for a guaranteed, flawless finish, especially in high-light rooms.
Explicitly ask for a Level 5 finish, as most default to Level 4. It costs more but saves you time and a huge dust mess.
3. Choose based on your priorities.
I’ve seen great DIY results with practice, but if you’re short on time or patience, a professional is the safer bet.
So, you’re nearly finished and ready to admire your even walls! Sure, skim coating takes patience and a little elbow grease, but the pro-level results are worth it. Remember, don’t stress over small imperfections; a final sanding will handle them. Now, step back, enjoy your handiwork, and start planning what color to paint your beautiful, flawless canvas. You absolutely did this yourself!