Phone:
(701)814-6992
Physical address:
6296 Donnelly Plaza
Ratkeville, Bahamas.

Phone:
(701)814-6992
Physical address:
6296 Donnelly Plaza
Ratkeville, Bahamas.
Begin installing a ceiling fan where none exists by securing a proper electrical box and wiring, but you must first...
You’ve got to start by turning off the power and hanging a warning tag. Then, you’ll mount a fan-rated ceiling box to a joist or brace, which is your fan’s essential support. Next, run new cable from a power source and connect the wires carefully, matching colors. After installing a wall switch and assembling the fan, restore power and test everything. If you’re curious about the finer details, the next steps will guide you right through.
Table of Contents
Ready to transform your room with a cool breeze and a fresh look? Installing a Fan Where No Fixture currently exists is a rewarding DIY project.
First, for absolute safety, you must turn off the correct circuit breaker—this prevents any shocking surprises.
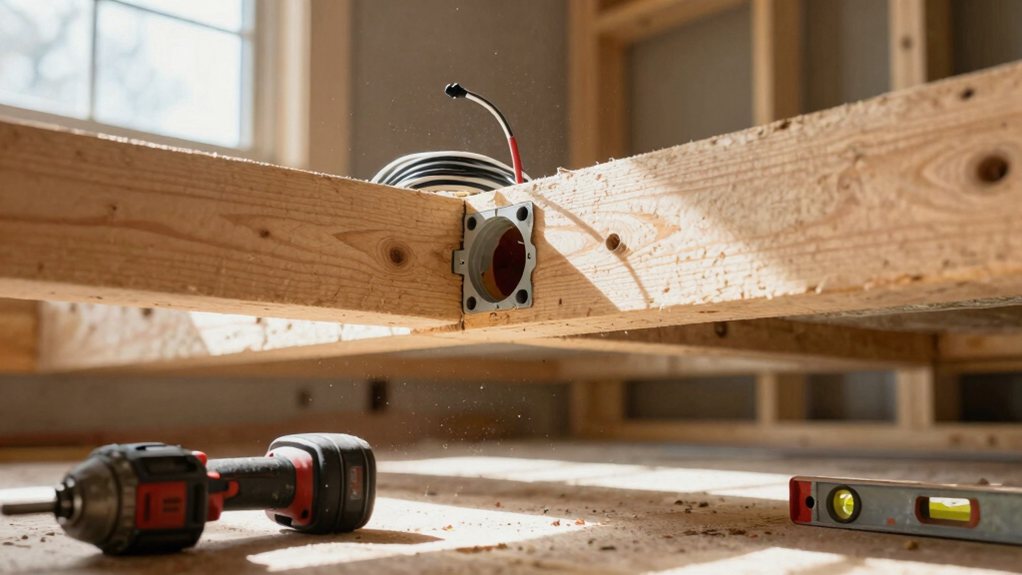
Next, find a ceiling joist using a stud finder and securely install a fan-rated electrical box; your fan’s weight depends on this solid anchor.
You’ll then need to run new cable from your power source to this box, which might involve some careful fishing through walls.
Before connecting your fan, always double-check your wiring at the ceiling to confirm you have a proper neutral and the correct voltage.
Finally, assemble and mount your fan following its instructions, restore power, and enjoy your handiwork!
Also consider choosing a fan with a DC motor for quieter, more efficient operation.
Before you grab your drill, because you’ll be working with electrical wiring, your absolute first step is to gather your tools and make absolutely certain the power is safely off—this isn’t a step you can skip or rush.
For this fan installation, you’ll need a stud finder, drill, wire strippers, a fan-rated electrical box, and a reliable voltage meter. Now, head to your circuit breaker and turn off the room’s power.
Here’s the critical part: hang a “DO NOT TURN ON” tag, then double-check with your meter for zero volts at the switch and ceiling spot. Think of it as confirming the stove is cool before you touch it. With gloves and glasses on, you’re set to work safely in the dark, illuminated by a separate light. Consider using a professional stud finder to locate joists accurately before drilling.
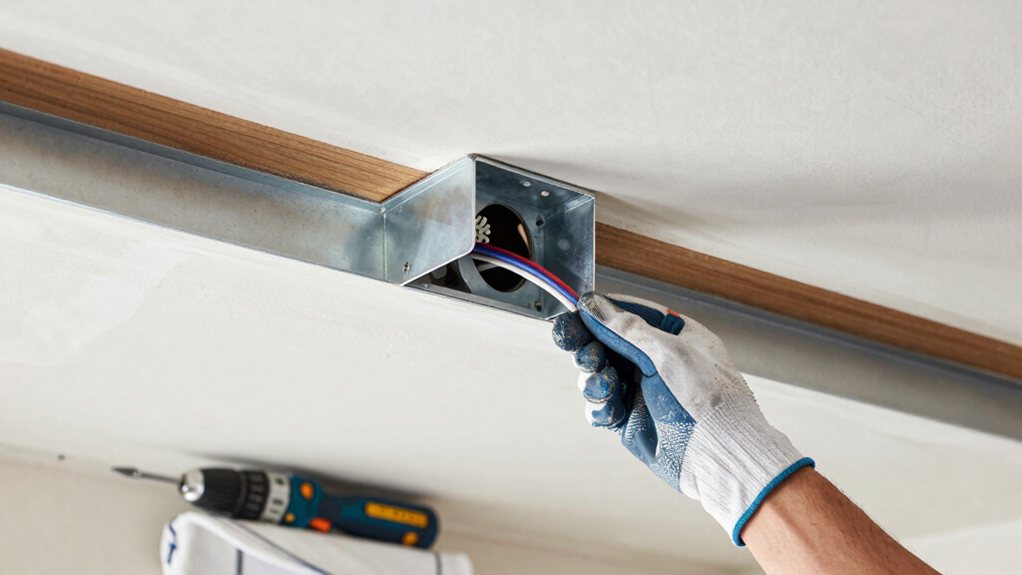
Now, let’s get that critical ceiling box up there—think of it as the rock-solid foundation for your fan. You can’t use an old light box; your new ceiling fan needs a special fan-rated box or brace that handles wobble and weight.
Install the right fan-rated ceiling box—it’s the essential, sturdy foundation that prevents wobble and supports your fan’s weight.
First, find a ceiling joist with a stud finder. Mark your opening, then cut the drywall. If you’re mounting to a joist, screw the box directly into it.
For spots between joists, you’ll slide in an expandable brace and lock the box onto it. Make sure it sits flush with the ceiling and has room for the canopy and blades to spin freely.
Following these steps and the manufacturer’s instructions means your fan will hang securely for years to come. Also consider matching your installation to the aesthetics and specifications of premium ceiling fans listed for elegant home comfort.
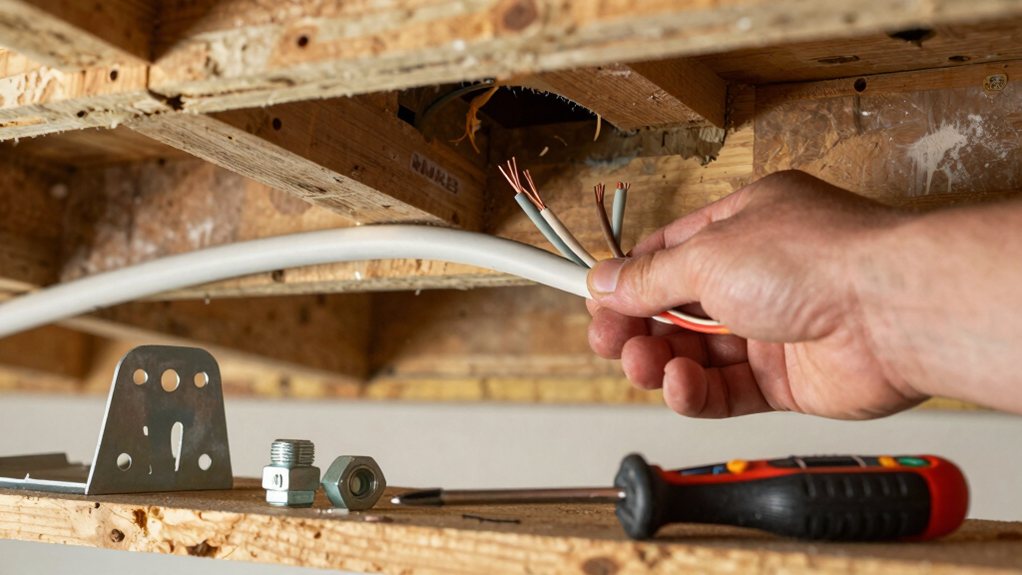
With your fan-rated ceiling box securely in place, you’ve got a strong anchor ready for the electrical connections. Now, run the correct cable from your power source or switch to this new box. Remember, if you want separate switches for the fan and light, you’ll need a cable with an extra hot wire.
Inside the box, the fun part begins: connecting wires. Always match the black wire to the fan’s hot lead and the white to its neutral.
Don’t forget to bond all those bare copper grounds securely—they’re your safety net! Make every splice tight with wire connectors.
Before you celebrate, double-check your connections; a quick voltage test with a multimeter verifies everything is safe and sound for when you flip that switch. Confirm whether the switch or dimmer requires a neutral wire before finalizing connections.
While you might be excited to see that fan spin, taking the time to wire your wall switch correctly is what makes the whole project click—literally. First, shut off the right breaker and double-check it’s dead with a meter for safety. Run your cable to the switch box, using 14/2 for a 15A circuit or 12/2 for a 20A one.
At your single-pole light switch, connect the incoming black wire to one screw. The outgoing black wire, which will run to the fan, goes to the other screw—if it’s a white wire re-marked with tape, that’s your switch leg.
Splice all the white neutrals and grounds together in the ceiling box; never switch the neutral. Finally, bond all the bare grounds to the switch’s ground screw. For added safety, choose wall plates that are UL Listed to ensure compliance with recognized standards.
First, you’ll want to unpack your fan and lay out all the parts.
Following the diagram to get the motor housing ready.
Next, bolt the mounting bracket to that fan-rated box you installed, making sure it’s nice and flush so everything will hang solidly.
Finally, you can lift and hook the motor onto the bracket, a step that’s easier with a helper,
then tighten everything up securely before you even think about wiring. Consider pairing your fan with premium ceiling light fixtures to ensure compatible style and fixture quality.
Getting your new ceiling fan ready for installation involves a bit of assembly, which is a perfect chance to get familiar with all its parts.
First, unpack the fan on a clean, padded surface to prevent scratches. Follow the included diagram to pre-assemble components like the motor housing, canopy, blades, and light kit.
If your fan uses a downrod, thread the motor wires through it, then secure it to the motor with the provided pin or setscrew, tightening until snug. This prep work makes the actual mounting much easier later.
Think of it like a practice run, making sure you won’t be fumbling with parts while holding the fan up. Just take your time and check each connection. If you’re also considering lighting options, many homes use LED ceiling light fixtures for energy-efficient illumination.
Now that you’ve got your fan’s pieces laid out and ready, it’s time to get its new home in the ceiling ready to receive it.
First, double-check your ceiling box is fan-rated; if it isn’t, you’ll need to install a support brace. This step is essential for safely installing a ceiling fan, as it needs to hold serious weight.
Next, bolt the mounting bracket to that box using the provided long screws. Tighten them down really well—you shouldn’t be able to wiggle the bracket at all.
Think of it as a trusty handshake between the bracket and your house; you want it to be firm and secure.
This solid base makes the rest of the job so much easier.
If you need help, consider hiring professional door frame installation services to ensure a secure mount.
With your mounting bracket firmly locked in place, you’ve set the stage for the main event—assembling your fan and securing it for good. First, hang the fan motor on the bracket’s safety hook; this temporary support is a lifesaver while you connect the wires.
Once your electrical connections are secure, including the grounding wire, carefully lift the motor housing up to the bracket and align it. Now, use all the manufacturer-supplied screws or bolts to lock the fan into its permanent home, tightening them until they’re nice and snug.
This essential step to install a ceiling fan prevents wobbling occurs later. Finally, double-check that everything is level and tight before you pop the canopy on and celebrate your secure, successful installation. If the fan is near recessed lights, consider the IC-rated designation for adjacent fixtures to ensure safe installation.
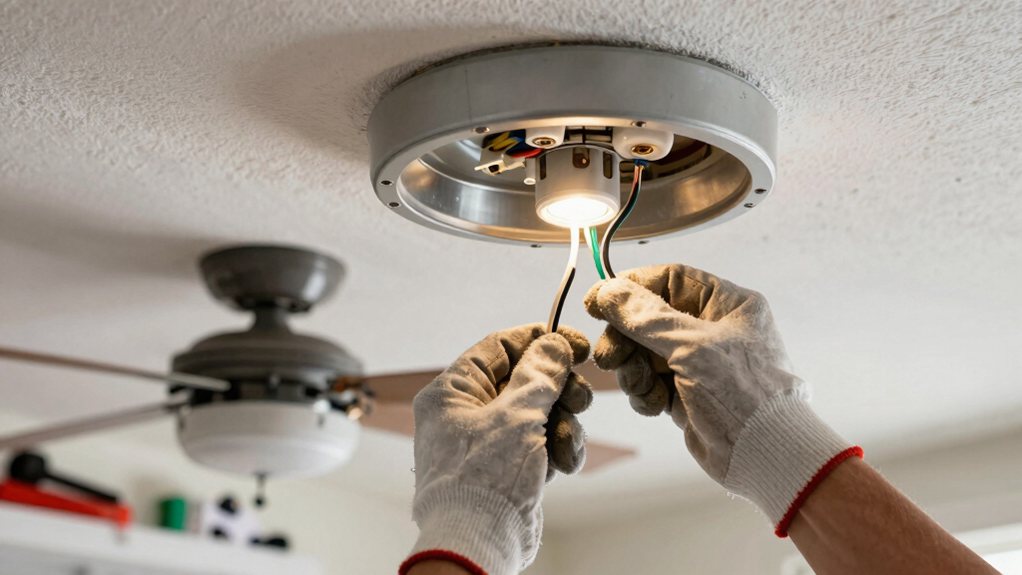
First, you’ll need to identify which wire from your ceiling is the hot (typically black) and which is the neutral (usually white).
Then, connect the fan’s white wire to the neutral bundle in the ceiling box, and attach its black wire to the switched hot wire so your wall switch controls the fan.
Finally, don’t forget the green or bare ground wire—securely fasten it to keep everything safe and prevent any shocking surprises.
For integrated home control, consider a smart home lighting system to coordinate lights and fan operation.
Ever wondered why your ceiling fan has so many colorful wires? Let’s decode them safely.
In a typical setup, the green or bare wire is your ground, a critical safety feature.
The white wires are normally neutral, but here’s a key twist: if you measure ~120V from black to ground but zero between black and white, that white is likely a switched hot, not a neutral. Don’t connect it to your fan’s neutral!
The black wire runs the fan motor, while blue (or red) controls the light kit. Both hots need a switched power source.
Always verify with a multimeter—never just a non-contact pen. If no true neutral is present, you’ll need to run one for the fan to work properly.
Now that you’ve identified which wires do what, let’s get those neutrals connected properly—it’s a bit like introducing two friends who need to get along perfectly.
Your fan’s white wire must join the circuit’s white neutral bundle inside the box. Never just twist them together; always use a secure wire nut. If the bundle is tight, add a short white pigtail wire of the same gauge.
Remember, in solid electrical work, you must verify that white wire is truly a neutral and not a repurposed switched hot. If you’re unsure, stop and test with a meter.
This connection is essential for safety and function, so take your time here. A good neutral connection means your fan will run seamlessly, merely hang there looking pretty.
With your neutrals happily chatting away, let’s get the hot wires settled—they’re the ones that actually bring your fan to life. First, you need to identify the switched hot wire from your wall switch; it’s often a black wire or a white wire with black tape.
Make sure you connect this wire to your fan’s hot lead, which is usually black or blue. Use a wire connector that’s the correct size for the number and gauge of your wires.
A good, snug connection here is everything—a loose wire means no power or a dangerous fault. Just remember, never connect a hot wire to a neutral bundle. Get this right, and you’re moments away from feeling that first, glorious breeze.
Once you’ve securely mounted the fan and made all the electrical connections, you’ll want to carefully flip that circuit breaker back on—just make sure it’s the right one you labeled earlier, so you’re not surprised by a different room going dark!
Before touching anything, grab your digital multimeter (not a non-contact pen) and verify you have about 120 V at the ceiling wires.
Before you touch anything, confirm you have roughly 120 volts at the ceiling wires using a proper digital multimeter.
With power confirmed, it’s showtime for your fan in a room!
Operate the wall switch and any remote to confirm the motor spins evenly at all speeds and the light works.
If nothing happens, don’t panic—just turn the power off and double-check your wire connections.
Finally, run it for a few minutes on each speed to enjoy your handiwork and listen for any odd wobbles or noises.
Even though you’ve wired everything perfectly, sometimes your new ceiling fan might just play hard to get—and that’s when a bit of smart troubleshooting comes in handy.
If your meter shows 120 volts at the ceiling but the fan’s dead, you might’ve a missing neutral or a miswired switch leg. Remember, if there’s no voltage between black and white at the switch, that white wire is likely a switched hot, not a neutral. Never assume wire colors without tracing them first.
For missing neutrals, unconventional wiring, or if you’re at all unsure about running new cable, you should always hire a licensed electrician. Faulty wiring is a serious fire risk, so it’s better to be safe and call a pro.
And there you have it! You’ve installed a ceiling fan where there wasn’t one before, and you should feel really proud. Just remember, if any step felt confusing or the wiring seemed too tricky, calling an electrician is a smart and safe choice. Now, kick back, turn your new fan on, and enjoy that cool breeze. You’ve earned it with your own two hands. Great job!