Phone:
(701)814-6992
Physical address:
6296 Donnelly Plaza
Ratkeville, Bahamas.

Phone:
(701)814-6992
Physical address:
6296 Donnelly Plaza
Ratkeville, Bahamas.
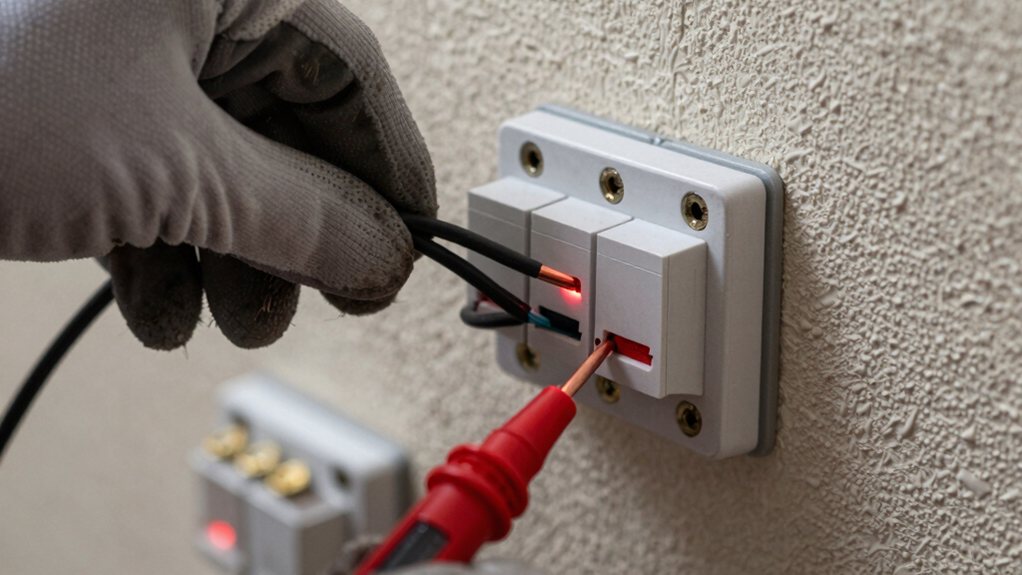
Discover the safe, step-by-step method to wire a 3-way switch and learn how to test it like a pro.
You’ve found the right guide for wiring a 3-way switch! First, kill the power at your breaker and double-check with a tester—safety isn’t just a slogan. At the first box, connect the incoming hot wire to the common terminal (it’s often darker), then attach the two traveler wires to the other screws. In the second box, hook the common terminal to the wire heading to your light and repeat with the travelers there. Keep going to see how to test your handiwork like a pro.
Table of Contents
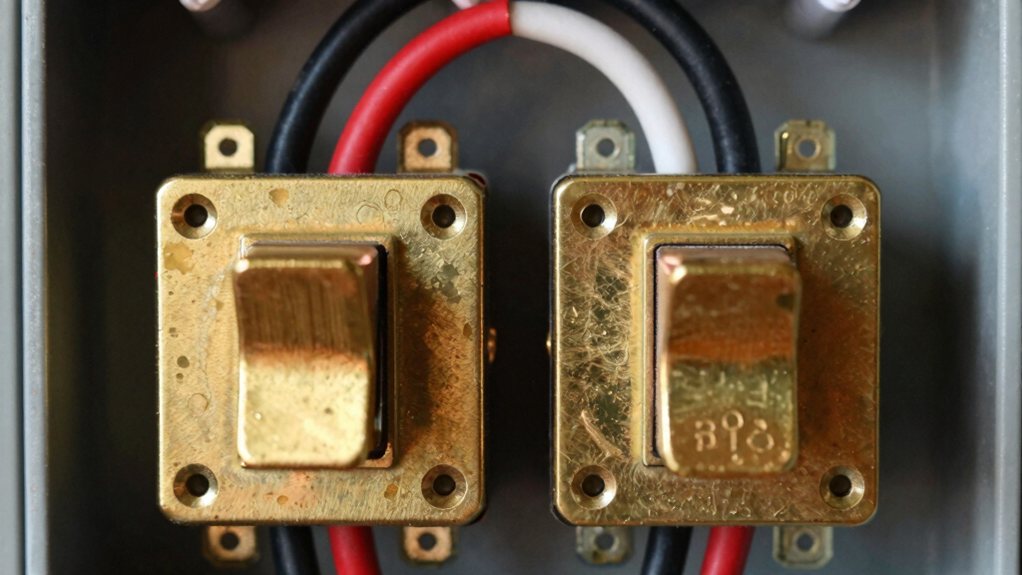
Ever wonder how you can turn a hallway light on from either end? It’s all thanks to the clever 3‑way switch.
Unlike a standard switch with just one on/off path, this switch has three terminals: one common and two travelers.
A standard switch offers a single on/off path, but this one uses three terminals: a common and two travelers.
Inside, flipping the toggle just changes which traveler wire is connected to the common.
The two traveler wires run between your pair of switches, creating the possible hot paths to the light.
Flipping either switch changes the active path, allowing you to control the light from two spots.
There’s no true “on” position, which can be a little funny when you’re trying to signal someone across the house!
It’s a neat bit of wiring magic that makes daily life more convenient. When retrofitting dimmers into a 3‑way setup, confirm whether the dimmer requires a neutral to ensure proper compatibility and wiring.
Now that you’re ready to wire your 3‑way switch, it’s time to gather your tools and do the single most important step in any electrical project: turning off the power.
You’ll want insulated screwdrivers, needle‑nose pliers, wire strippers for 12–14 AWG wire, and a trusty voltage tester.
Before you start, make sure you have your safety glasses and insulated gloves on—think of them as your superhero gear.
Head to your main panel and switch off the breaker for your lighting circuit.
Here’s the critical part: make sure the power is truly off. Use your voltage tester on every wire, and then double‑check with a multimeter.
If anything is unclear, please call an electrician; it’s the smartest move you can make.
Consider purchasing a professional safety equipment kit that includes eye protection, insulated gloves, and testers.
With that, your first switch is wired and ready for its partner. Consider using wall plates made from polycarbonate thermoplastic for durability, impact resistance, and heat resistance when you replace the cover.
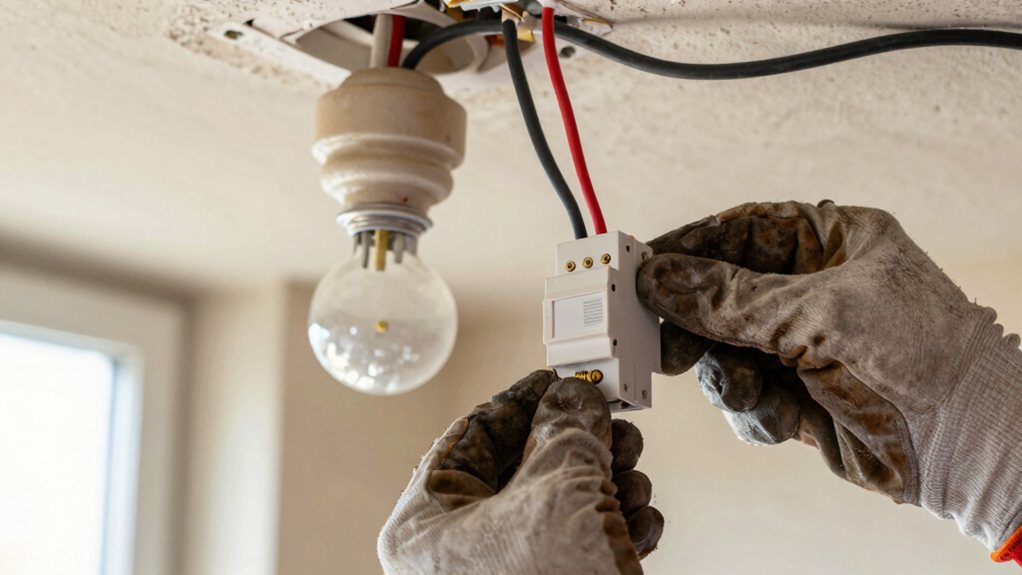
Since you’ve already got your first switch wired up, you’ll find the second one follows a similar rhythm—it’s like finishing a dance your partner started.
Once the first switch is set, the second flows naturally—like completing a dance your partner began.
Use the same type of three-way switch here.
Attach the bare ground wire to the switch’s ground screw and bond all grounds in the box.
Find the darker common terminal and connect the black wire heading to your light fixture.
Hook the red and black travelers from the cable between switches to the two remaining traveler terminals; order doesn’t matter.
Join all the white neutrals together with a wire connector, keeping them off the switch.
Finally, connect the light fixture: hot to the switched black, neutral to the bundle, and ground to ground.
Mount everything, restore power, and test your handywork. For exterior fixtures, also consider wet-location certification to ensure the fixture is rated for rain and exposure.
Now you’re ready to test your work and see that light shine! Restore power at the breaker and carefully flip each switch through its positions, making sure you can control the light from both locations.
If it doesn’t work as expected, don’t worry—just follow a simple troubleshooting process to check your connections. Consider upgrading to a smart home electrical panel for centralized circuit control and easier device integration.
With the wiring securely in place and all your connections double-checked, you’re ready for the exciting moment when you bring the power back and see your handiwork in action.
Safety is the top priority, so follow these steps to restore power and test your new three-way switch.
Also, confirm any new lighting fixtures are IC-rated fixtures if they will be installed in contact with insulation.
Flip the breaker back on and take a moment to let that satisfying hum of restored power signal you’re in the home stretch!
Now, with your non-contact tester, double-check that the common black wire is live—safety first, even when you’re excited.
Here’s the fun part: test your switches like a maestro. Have a partner at the light while you toggle each switch up and down in every possible combination.
The light should obediently turn on and off from both locations.
If it doesn’t, don’t panic; it just means you’ll need to play detective with a multimeter later.
But if it works perfectly, give yourself a pat on the back—you’ve just mastered the elegant dance of a 3-way circuit!
Consider using a professional stud finder to locate framing studs accurately before installing heavy fixtures.
Even though you’ve followed the steps carefully, sometimes a 3-way switch can still act a little stubborn—but don’t worry, because most issues are quick to track down.
Isolate the problem with this checklist. Grab your multimeter and let’s get systematic.
If you’re staring at a tangle of unlabeled wires and aren’t sure which is which, it’s a smart move to call an electrician, since guessing can lead to dangerous live connections.
You should also hire a pro when the switch box has multiple circuits or shared neutrals, because that complex setup can be a real headache and a code violation.
Getting expert help in these situations saves you from repeated troubleshooting attempts and keeps your project safe and up to code.
If you’re considering replacements, look for reputable smart door lock options that meet safety standards.
When should you call in a pro for your 3-way switch project?
Honestly, if you’re ever feeling uncertain about the wiring, it’s a smart move to pick up the phone.
Missteps can be shocking in the worst way.
Here are five clear signs you should hire an electrician:
Consider compatibility with existing wiring when installing a smart home automation system.
While you might feel ready to tackle most 3‑way switches, some circuit setups are best left to a pro because they’re just plain tricky. If your circuit has shared neutrals or is an old multi-wire branch circuit, a wrong connection can overload wires and create a real fire risk.
Likewise, outdated systems like aluminum or knob-and-tube wiring need special materials and know-how. Things also get complex if you have more than two switches controlling the light, moving beyond a simple single pole switch setup.
Bundled wires in conduit or planning for a smart switch that needs a neutral wire are other clear signs to call for backup. Honestly, recognizing these tricky situations is a sign of a smart DIYer, not a quitter. Many homeowners upgrade to a smart home lighting system to add remote control and scheduling.
And that’s it—you’ve just wired your own 3-way switches! You should feel a real sense of accomplishment, because it’s a handy skill that saves you a call to the electrician. Just remember to double-check your connections before you flip the power back on, and give those switches a test. If anything seems off, don’t hesitate to call a pro, because safety always comes first. Enjoy your new, convenient lighting!