Phone:
(701)814-6992
Physical address:
6296 Donnelly Plaza
Ratkeville, Bahamas.

Phone:
(701)814-6992
Physical address:
6296 Donnelly Plaza
Ratkeville, Bahamas.
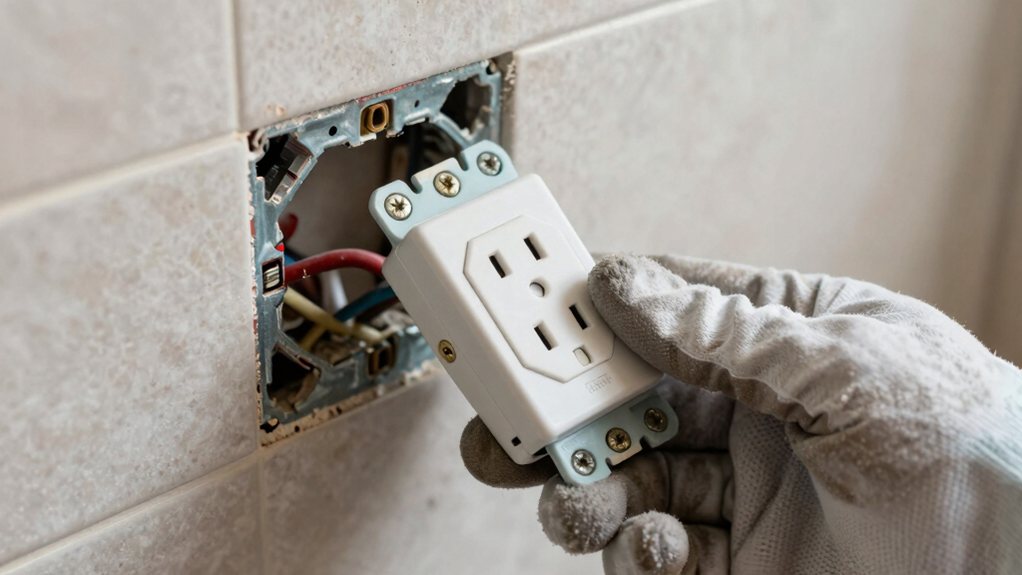
This thorough guide teaches you how to install a GFCI outlet for safety, but the critical final step is
You’ll start by turning off power at your breaker and verifying it’s safe. You’ll then identify your hot, neutral, and ground wires, grounding the metal box firmly. Next, you’ll connect the wires to the correct LINE terminals on your new GFCI, using screw connections for safety. After mounting the outlet, you must test it thoroughly to confirm it trips and resets correctly, protecting you from shock. That’s the fundamental process, and there’s plenty more useful detail to explore next.
Table of Contents
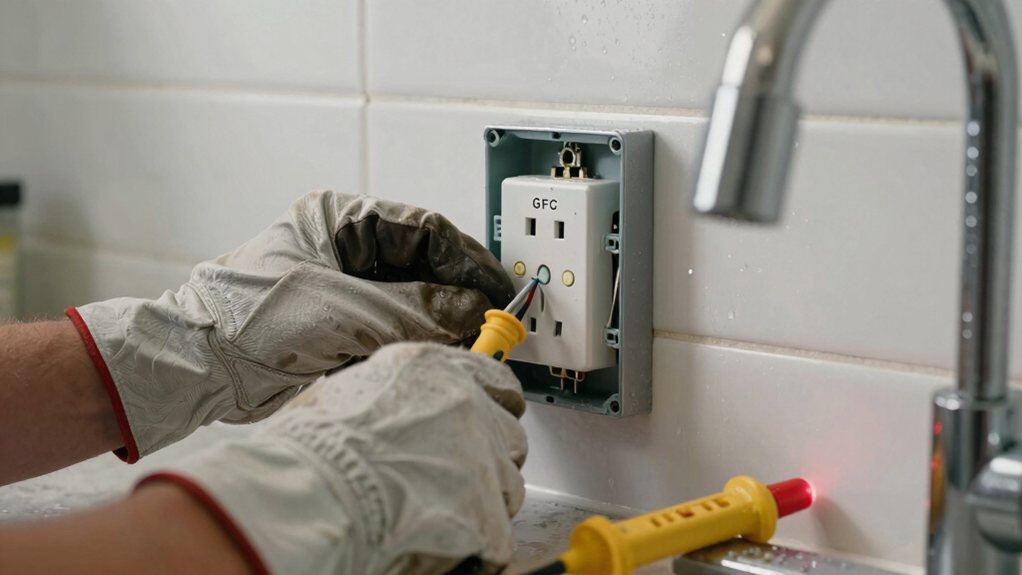
When you’re installing a new outlet in your kitchen or bathroom, you shouldn’t even think about skipping a GFCI, and here’s why: these clever devices are your home’s silent, vigilant guardians against electric shock.
Imagine a tiny appliance falling into a sink—that’s when this lifesaving circuit interrupter springs into action. It senses a dangerous leak in milliseconds and cuts power before you feel a thing.
Code requires them near water because, let’s be honest, splashes happen! Always turn off the power at the breaker and double-check with a voltage tester before you start—safety first. And don’t sweat the ground wire; the GFCI provides protection even without one, making it a true safety superhero for your family. Consider upgrading to Smart home electrical panels for integrated monitoring and control.
Now that you understand why a GFCI outlet is your best safety partner, let’s get your toolkit ready and make sure the power is safely off.
Gather insulated screwdrivers, needle‑nose pliers, wire strippers, and a new GFCI outlet.
Don’t forget a voltage tester and a multimeter—they’re your safety detectives.
Head to your home’s electrical panel and turn off the correct breaker for the outlet you’re replacing.
This is essential, so please double check your work!
Test the wires inside the metal box with your voltage tester to confirm they’re dead.
You should see no voltage between the hot wire and the neutral or that bare copper ground.
Only then can you confidently, and safely, start your installation. If you’re also planning to replace or add a dimmer or smart switch, confirm whether it requires a neutral wire and that the box contains one before proceeding.
Since your voltage tester confirms the power is truly off, you can breathe easy and start identifying the wires in front of you. You’ll see the incoming Romex cable containing your line wires: a black wire for hot, a white for neutral, and a bare copper wire for ground. First, locate the bare copper ground coming from your panel. This is key for safety!
You’ll bond the metal box by wrapping this copper wire clockwise around the screw on the box and tightening it down—this guarantees a solid connection. Then, add a short green pigtail from that bonded point to the GFCI’s ground screw. This grounds the outlet and any downstream fixtures, making your whole setup safe and sound. Many modern switch and outlet covers are made from polycarbonate thermoplastic, a durable, unbreakable material that resists heat and impacts.
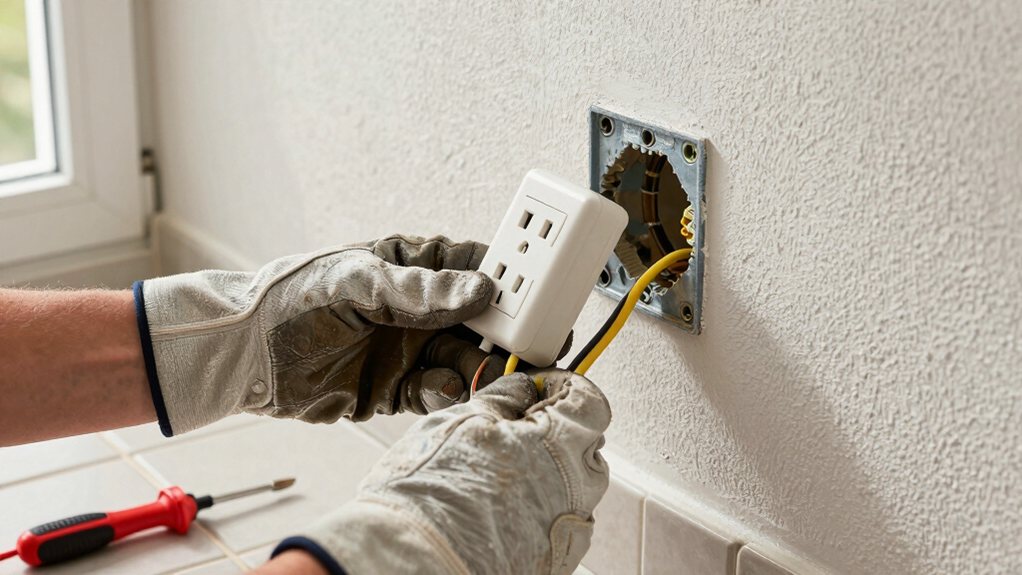
With the metal box safely grounded, you’re ready to connect your GFCI outlet.
First, identify your incoming electrical lines. Attach the black hot wire to the brass “LINE” terminal and the white neutral to the silver “LINE” terminal.
Identify your incoming lines: connect the black hot wire to the brass LINE terminal and the white neutral to the silver LINE terminal.
If you’re replacing an old outlet and protecting downstream ones, connect those wires to the matching “LOAD” screws—cover the yellow sticker if unused.
Always use the screw terminals, never the quick, unreliable back-stabbing holes. Trim wires neatly, tighten every screw firmly, and make sure no bare wire is exposed.
Mount the outlet with “TOP” facing up, restore power, and then test it. That satisfying “click” means you’ve done it right and made your home safer!
Consider upgrading to luxury outlet covers to complement your elegant home’s finishes.
1. Press the Test Button: Push the recessed test button.
You should hear a solid click and power will cut, proving it can trip.
2. Press the Reset Button: Now push reset until it clicks.
The green light should come on, restoring power.
3. Use a Plug-in Tester: This gadget you’re going to be using confirms correct wiring and that the GFCI trips and resets properly.
4. Check Downstream Outlets: Verify any outlet on the load side (the wire going out) loses power when the GFCI trips.
Commit to pressing “Test” and “Reset” monthly—it’s a quick, lifesaving habit.
You’ve just given your kitchen or bathroom a major safety upgrade. Give yourself a pat on the back, because you did it right. Just remember to test your GFCI every month with that little button, and you’ll keep your home safe from shocks. It’s a small job with a huge payoff, so enjoy your peace of mind and your newfound electrical skills