Phone:
(701)814-6992
Physical address:
6296 Donnelly Plaza
Ratkeville, Bahamas.

Phone:
(701)814-6992
Physical address:
6296 Donnelly Plaza
Ratkeville, Bahamas.
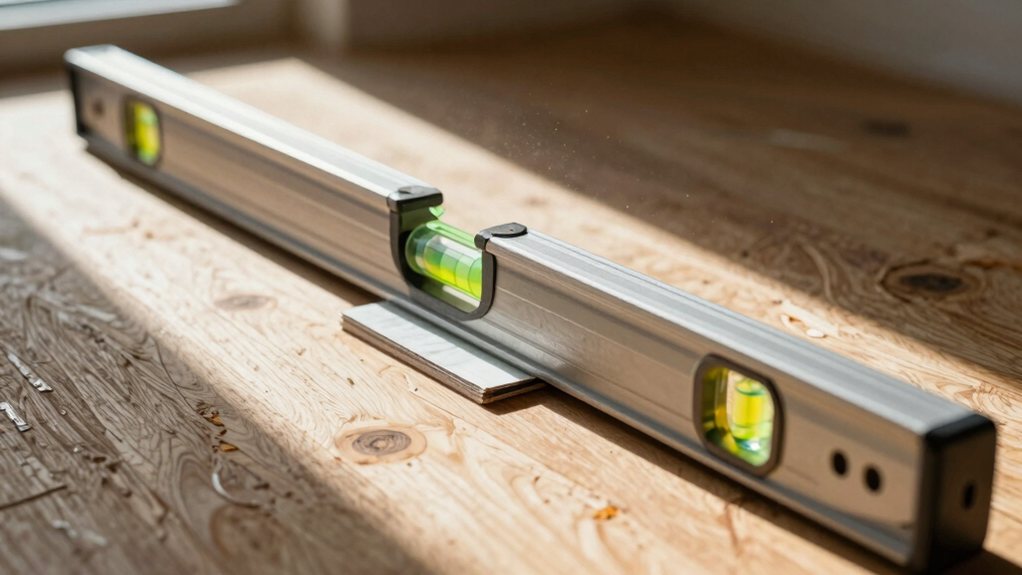
Begin by tackling subfloor gaps and cracks, but discover the critical step most DIYers miss for a flawless floor foundation.
First, use a long level to check for gaps larger than 3/16 inch. Prep by scraping off old adhesive and patching any cracks. For concrete, apply a bonding primer and pour a self-leveling compound; for wood, use plywood or shims. Let everything cure fully before your new flooring goes down. Avoid common mistakes like skipping the primer. Stick with us and get your seamless, rock-solid foundation ready for action.
Table of Contents
Alright, let’s get started. First, you need to know if your subfloor is truly uneven. Grab a long level or a straight edge to check for dips and humps. Lay it across the floor in several directions. If you see a gap larger than 3/16 of an inch underneath it over a ten-foot span, you’ve found a problem area that needs leveling.
Walk around and press down on suspicious spots; a bouncy or deflecting floor means the subfloor itself is moving, which you must fix. As you measure, mark any High Spot (H) and low spot (L) on a simple room map.
This quick detective work saves you from nasty surprises later, like squeaky or buckling laminate. Consult ASTM F710 tolerances when determining acceptable deviations for different floor types.
Now, let’s get your subfloor ready by cleaning off any old adhesive or paint splatters with a scraper and vacuuming thoroughly.
Next, you’ll want to seal up all those cracks and gaps with patching compound, which is a bit like spackling a wall but for your floor.
Finally, a coat of the right bonding primer will seal the surface and make sure your leveling materials stick properly, setting you up for success.
Also, perform moisture testing to confirm the substrate meets the underlayment’s moisture requirements before priming.
Before you can even think about pouring that self-leveling compound, you’ve got to deal with the old gunk on your subfloor—think of it like cleaning a plate before you put a fresh meal on it.
First, you’ll need to scrape off old adhesives, paint, and thinset with a razor or a flexible floor scraper. Get down to a clean, solid surface.
Next, you must clean the subfloor thoroughly. Vacuum and wipe up all that dust and debris, because any leftover grit will ruin the bond of your primer.
For really stubborn, bumpy spots, you can rent a belt sander; it’ll make quick work of high spots and dried glue. This might feel tedious, but a perfect base is your secret to a flat, beautiful floor later on. Also, inspect for water damage and rot inspect for water damage because degraded subflooring can undermine any leveling work.
Imagine your subfloor as a trusty pair of jeans—those little holes and gaps need mending before you can rely on them for a big night out. To level subfloor, you must first seal every crack.
Remove dust, then fill concrete gaps with a polymer-modified patching compound, letting it cure for 24 hours. For wood floors, tighten joints and use wood filler. Importantly, seal perimeter gaps with low-expansion spray foam, trimming the excess later. This stops your leveling compound from migrating where it shouldn’t.
Next, prime all patched spots with the recommended product; this prevents moisture wicking and helps your self-leveling compound bonds perfectly. Always follow the manufacturers instructions for primers and patching materials—this attention to detail is what guarantees a flat, solid foundation. Ensure the substrate is dry—moisture in substrate can prevent proper adhesive curing and weaken bonds.
With your cracks and gaps sealed tight, your subfloor is ready for the bonding primer that’ll make sure your self-leveler sticks like glue.
This step is essential whether you’re working on a concrete or wood subfloor, as it seals the surface so your compound isn’t sucked into thirsty pores.
Once fully dry, you’ll have a perfect, sealed surface ready for the leveler. For best adhesion on concrete, consider using a concrete primer as some peel-and-stick tiles recommend.
Once you know what you’re working with, you’ll want to pick the perfect fix for your floor.
For a concrete slab, a cement-based self-leveling compound is your best friend, but on a wooden subfloor, you’ll usually need to add new plywood or make strategic shims.
On wood subfloors, installing a layer of cement board can provide a rock-solid, moisture-resistant base before you add underlayment or tile.
Let’s look at how each method works so you can tackle those dips and bumps with confidence.
For heavy-tile installations, consider adhesives specified for shear strengths of 400 psi or higher to minimize slippage.
Now, let’s talk about wood subfloors, which have a personality all their own compared to concrete. They can squeak, bounce, and develop wavy spots over time.
To properly Level a Subfloor made of wood, you need a stable, solid base. The best long-term fix is to add a new layer of plywood underlayment. Screw it down tightly to the joists every 6–8 inches to kill any bounce. For small, localized dips right over a joist, you can Use shims to gently raise the low spot. Consider hiring professional floor joist repair when joists are damaged or weak.
So, how do you know which fix is right for your project?
Your choice depends entirely on whether you’re tackling concrete or wood.
Matching the correct method to your subfloor type is essential for a successful, long-lasting floor.
Choose an underlayment with an integral vapor barrier when installing over concrete to prevent moisture issues.
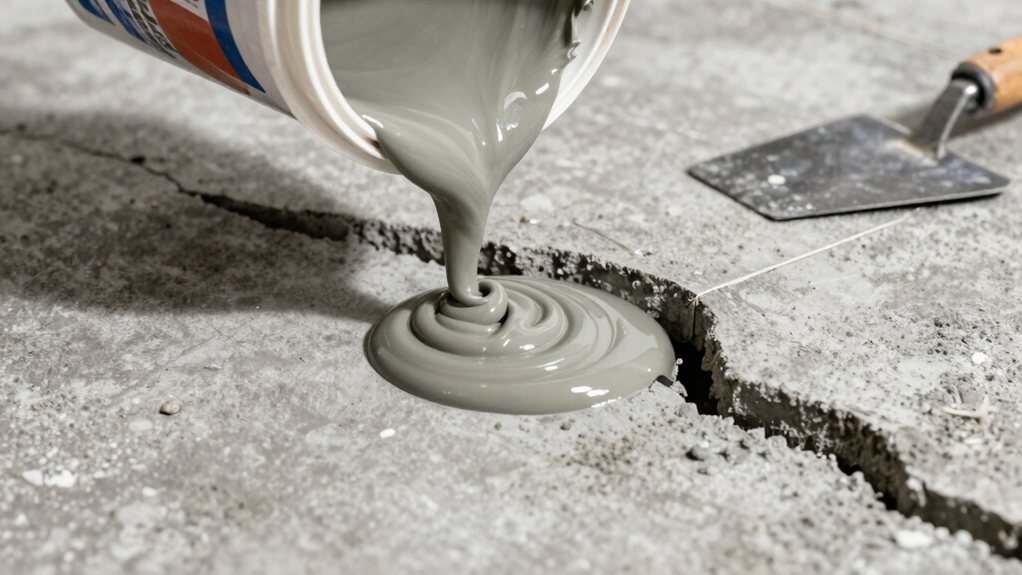
Once your concrete subfloor is clean and primed, you’re ready to mix and pour the self-leveling compound, which is the exciting part where you get to watch it level itself out almost like magic.
Start by mixing a small batch; add powder to the exact water amount and blend with your drill for two minutes until it’s like pancake batter. Work fast, as you only have about 15-20 minutes before it sets!
Pour it in ribbons from the lowest point, letting it flow into every uneven low spot and creating a flat plane. Use a gauge rake to spread it, then a spiked roller to pop bubbles.
This will ensure a level finish and properly level your subfloor for any new flooring. Let it cure fully, usually a day, before walking on it. Also, remember to allow an expansion gap around the room perimeter to accommodate thermal movement and prevent cracked tiles.
Before you pour your leveler, you need to prime the concrete floor—this step is non-negotiable for a strong, lasting result.
The primer seals up the thirsty slab so your self-leveling compound bonds properly and cures evenly, instead of drying out into a crumbly mess. Just grab the manufacturer’s recommended primer, mix it exactly as directed, and roll it on evenly, letting it dry fully before you move on.
Applying your primer correctly sets the stage for a seamless, durable floor, acting like a trusty backstage crew before the main event.
First, mix it exactly as directed—no guessing!
Using a roller on a pole, apply it evenly across the whole room, working toward your exit to avoid missing spots.
This guarantees your chosen appropriate leveling method, like pouring self-leveler, works perfectly.
Mark any areas with deep cracks or high spots now, as the wet primer makes them easier to see.
Then, patience is key.
You must give the primer its full time to properly level the playing field by drying completely; rushing this can ruin your hard work and the floor’s future.
* For isolated valleys, drive tapered shims between the subfloor and joists, glue and screw them securely.
Then trim them flush once everything’s set.
* For widespread unevenness, install a new plywood underlayment layer, staggering the seams.
Firmly screw it down every 6 to 8 inches.
* Always prep the area first, fixing any structural issues.
Make sure the subfloor is clean and dry for a lasting, stable repair.
After you’ve shimmed or laid down new underlayment, you might still have a floor that’s a bit wavy, which is where self-leveling compound comes to the rescue. How long you wait really depends on the type of product and your specific floor needs.
Quick-set versions can be dry to walk on in just hours, but you’ll typically need at least 24 hours before installing laminate planks over a thin pour.
For deeper fills, play it safe and wait 48–72 hours. Always make sure to check the manufacturer’s instructions, as temperature and pour depth are huge factors.
Rushing this step is a recipe for squishy floors, so give it the full cure time—your future, level floor will thank you.
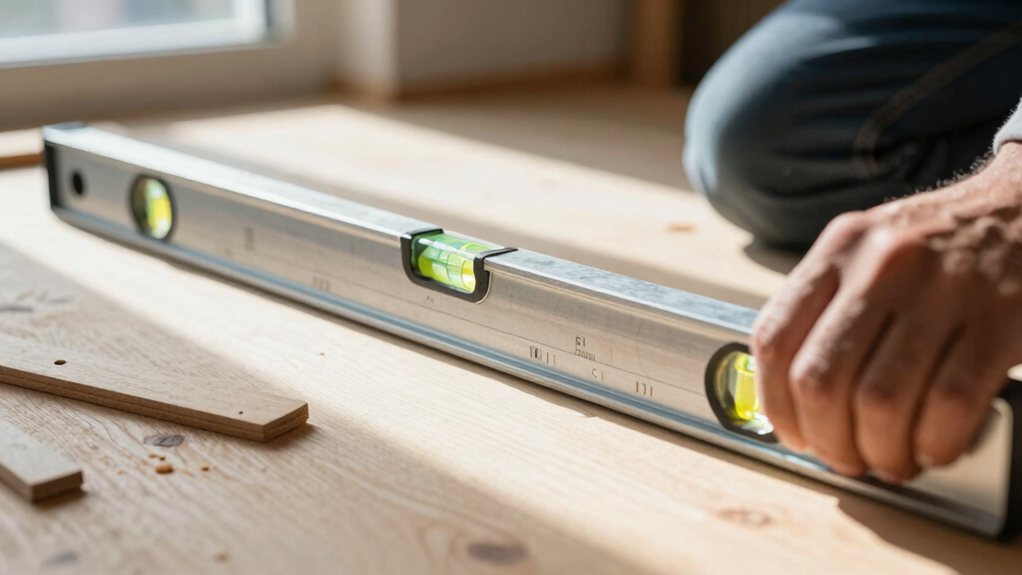
Even when you’re super careful, it’s easy to fall into a few common traps while leveling a subfloor, but knowing what they’re ahead of time can save you a ton of future headaches.
First, don’t skip using a long level or straightedge to find dips and humps; missing spots over 3/16″ will cause laminate problems.
Never pour excess material outside the product’s depth range, as it cracks.
Always prime porous surfaces to prevent bond failure, especially after water damage.
Ignoring a bouncy floor by just covering it with leveler is a big mistake—fix the structure first.
Finally, rushing is your enemy. Taking the time to check moisture and allow full cure prevents mold and guarantees your beautiful new floor lasts.
* Call for major unevenness or damage.
If your floor varies more than 3/16″ over 10 feet, or you find rot or sagging joists, a pro can handle the structural fixes needed for creating an even, stable base.
* Call for moisture issues.
Active water or high moisture readings risk mold and void warranties; professionals have the tools and know-how to resolve it.
* Call for complex leveling jobs.
Large pours or deep fills with leveling compound require precision mixing and pouring to avoid a costly mess.
You’ve tackled that wobbly subfloor, and now you’re ready for beautiful new flooring. Remember, taking your time with prep and those final checks really pays off. Don’t stress if it felt tricky—every DIY project has its moments. Soon, you’ll be enjoying a perfectly flat floor, and you can proudly say you did it yourself. Now, go pick out some amazing flooring to show off your hard work!