Phone:
(701)814-6992
Physical address:
6296 Donnelly Plaza
Ratkeville, Bahamas.

Phone:
(701)814-6992
Physical address:
6296 Donnelly Plaza
Ratkeville, Bahamas.
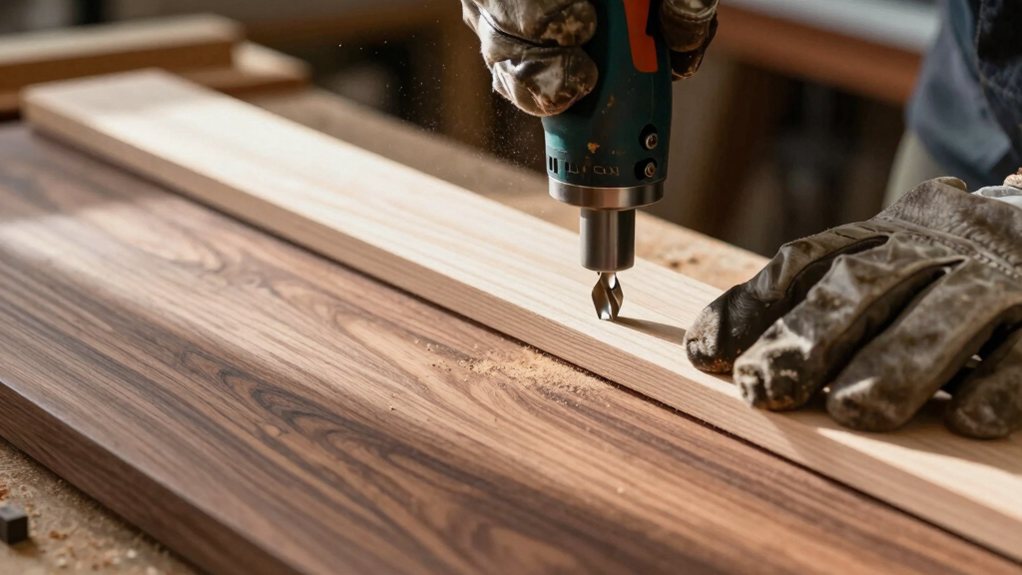
Perfectly craft decorative edges with a router by using multiple passes, but the final secret to a flawless finish is...
You can create decorative profiles by first choosing an ogee or other router bit with a guide bearing. Always unplug your router before installing the bit, seating it fully and then pulling it back slightly for a secure grip. Make your cut in two or three steady passes, moving against the bit’s rotation, and finish with a final, super-light pass to clean everything up for a perfect edge.
Table of Contents
Ever wondered how woodworkers create those elegant, S-shaped decorative edges you see on furniture and trim? An OG router bit is the secret. Its carbide edges cut the classic ogee profile, while a guide bearing above them follows your board’s edge or a template.
This bearing does all the steering, letting you reproduce that profile perfectly on both straight lines and curves.
Setting up the bit correctly is key; insert it fully, then pull it back out about 1/8″ before tightening the collet. This keeps the bearing and cutter in sync for a perfect edge.
Making three passes is a good idea, with a light final pass for a sleek, tear-out-free finish.
For consistent, professional results consider using a professional woodworking router set designed for these cuts.
Before you start, always unplug your router to keep things safe.
and remember to wear those safety glasses—you don’t want wood chips in your eye!
Clean the bit’s shank and the collet inside the router, then slide the bit all the way in before pulling it back out just a tiny bit, about an eighth of an inch, which helps the collet get a really good grip.
Finally, tighten the collet nut firmly with your wrenches, but don’t crank it like you’re trying to prove a point, as a snug fit is all you need for a secure hold.
If you’re planning frequent routing, consider mounting your router under a professional woodworking router table for better stability and control.
Although you might be keen to start creating beautiful edges, installing your router bit is a step where safety absolutely has to come first. So, before you even think about that lovely end grain, unplug the router completely.
If it’s a cordless model, remove the battery. This simple action eliminates any chance of an accidental, and frankly terrifying, startup while your hands are near the bit.
Treat this like a non-negotiable ritual; it’s the most important habit you’ll ever develop in the shop. That bit isn’t going anywhere, and your fingers will thank you.
Once it’s safely unplugged, you can take a breath and focus on getting a perfect, secure fit for your bit, setting the stage for flawless results. Webpages often list professional router table combo products for sale when researching equipment.
Consider using a dedicated router table when working on larger pieces to improve control and safety.
Now let’s get your router bit set to just the right depth, because dialing this in is what separates a polished, professional-looking edge from a splintered mess.
Start by using a calibration jig or a simple scrap piece to test your setting—this saves your good wood.
Always consider material hardness; tougher woods need more conservative, shallow passes.
Set your depth before powering on and plan for multiple passes, not one deep cut.
This approach gives you safety margins, preventing tear-out and burning.
For a delicate profile, your first pass might be two-thirds deep, then finish with a light final pass.
If you see minor burns, lower the bit a hair for a clean polishing skim.
You’ve got this!
For consistent quality and compatibility across projects, consider investing in a woodworking tools professional set that includes matched router bits and accessories.
Consider mounting your work on a professional workbench with built-in storage for convenience and better organization.
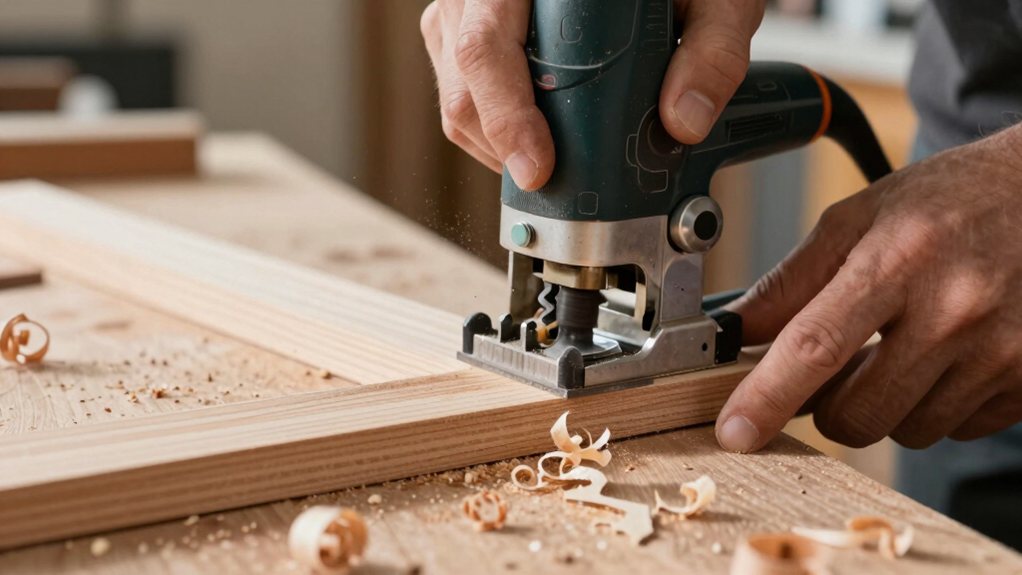
Ever wondered why your router sometimes seems to have a mind of its own, grabbing and jumping across the wood? The secret is mastering direction.
Picture your workpiece edge as a clock face. For an outside edge, move the router counterclockwise, left-to-right across the front. This counterclockwise feed puts your motion against the bit’s spin for a safe, controlled cut.
For inside cuts, like a round inner lip, you’ll switch to a clockwise feed. This keeps you feeding against the rotation, preventing a dangerous “climb.”
Always maintain a steady speed, letting the bearing guide you. On tricky curves, use a fluid pivot technique with your body, more than your arms, to keep that bearing firmly seated for a clean, beautiful profile. Consider investing in premium woodworking tool sets to ensure you have the right quality tools for the job.
This practice is really about grain visualization—anticipating how the cutter will interact with the wood fibers at each turn.
It’s not just routing—it’s visualizing grain direction and outsmarting splinters before they happen.
You’re not merely routing; you’re outsmarting splinters for a crisp, continuous profile.
Using a professional woodworking tool set ensures more accurate cuts and smoother routing results.
To prevent splintering and burning, you’ll want to make two or three lighter passes instead of one deep cut, which keeps your router and the wood happier.
Set your first pass to about two-thirds of the final depth, then take your time with a steady feed rate—not too slow or too fast—to clean things up on the last pass.
If you spot a little tear-out or a burn mark, don’t worry; just lower the bit a tiny bit and give it one more gentle, polishing pass.
Consider using a router table designed for premium plywood for better stability.
Consider investing in a professional woodworking tools set to ensure you have durable, accurate equipment for consistent, clean routing results.
Once you’ve set your router to the right depth, it’s time to focus on your pace as you move the tool along the wood.
Think of it like a metronome pacing—steady and consistent. A rushed feed leaves a rough, unfinished cut, while moving too slowly invites burning. Find your rhythm and maintain a consistent grip to help.
Use visual markers on your workpiece to gauge your speed. Remember, you’re not doing this in one heroic pass. Make two or three lighter ones instead.
If you see burn marks after your final pass, don’t panic. Just lower the bit a hair and run one more super-light polishing pass at that same steady pace to clean everything up beautifully.
Now that your final profile pass is done and the shape is looking sharp, you can give that decorative edge a final, sleek finish with a polishing pass.
This isn’t about changing the profile, just kissing away those last little imperfections. Use a very light cut and move the router at a steady, even pace—no rushing! This final touch makes all the difference.
This final pass isn’t for shaping—it’s a light, steady kiss that removes the last imperfections for a flawless finish.
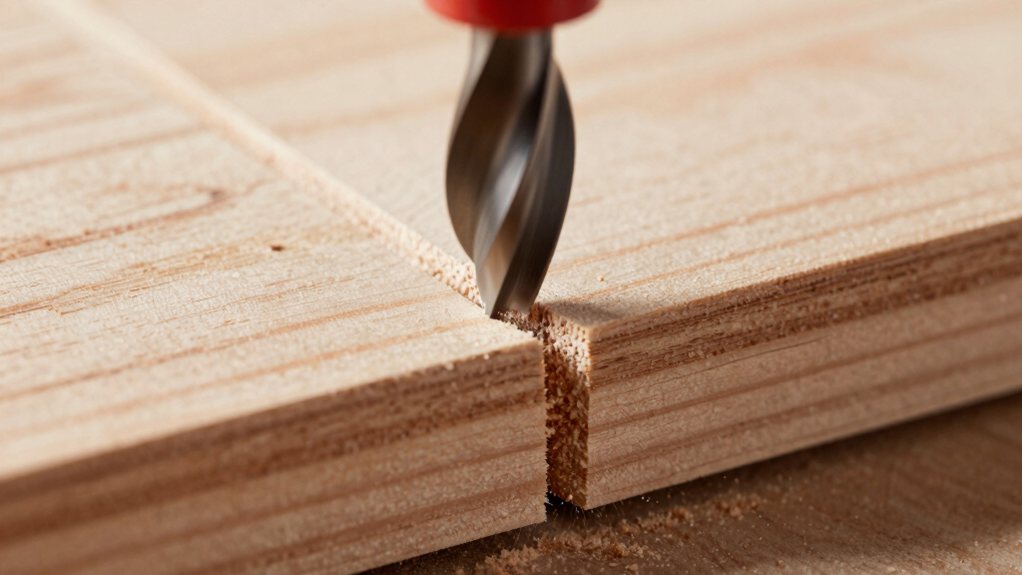
Even though you’ve got your technique down, it’s totally normal to run into a couple of pesky issues like burn marks or splintering when you’re routing decorative edges—don’t worry, they’re common and totally fixable.
First, make sure your wood moisture content is stable; wood that’s too dry can splinter more easily.
Always use sharp carbide bits and make your final pass light to reduce friction and burning.
A good dust extraction system is a huge help, as it keeps the cutting area clear and prevents sawdust from building up and scorching the wood.
For tricky end grain, try sealing the edge with a bit of painter’s tape or a light sanding sealant before routing. This simple trick dramatically reduces tear-out.
And that’s how you turn a plain board into something special with your router. Remember, taking it slow with multiple passes and moving in the right direction makes all the difference. Don’t forget those final, light polishing passes—they’re the secret to a pro finish. With a little patience and these tips, you’ll be creating beautiful edges that look fantastic and make you proud. Now, go make some sawdust!