Phone:
(701)814-6992
Physical address:
6296 Donnelly Plaza
Ratkeville, Bahamas.

Phone:
(701)814-6992
Physical address:
6296 Donnelly Plaza
Ratkeville, Bahamas.
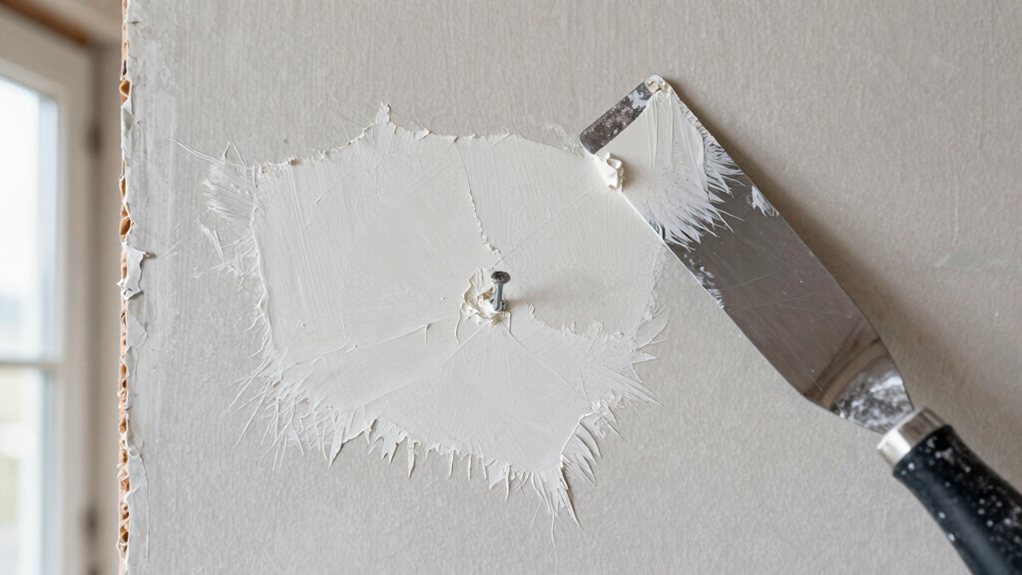
I guide you through fixing nail pops and cracks in drywall to… discover the final step for a seamless repair.
You can often fix annoying nail pops and hairline cracks yourself. First, drive a drywall screw near the popped nail into the stud. For cracks, widen them slightly, then press in joint compound. Let everything dry, sand flat, and wipe away the dust. Always prime your patch before painting to make it truly disappear. We’ll walk you through every step and even show you how to prevent future headaches.
Table of Contents
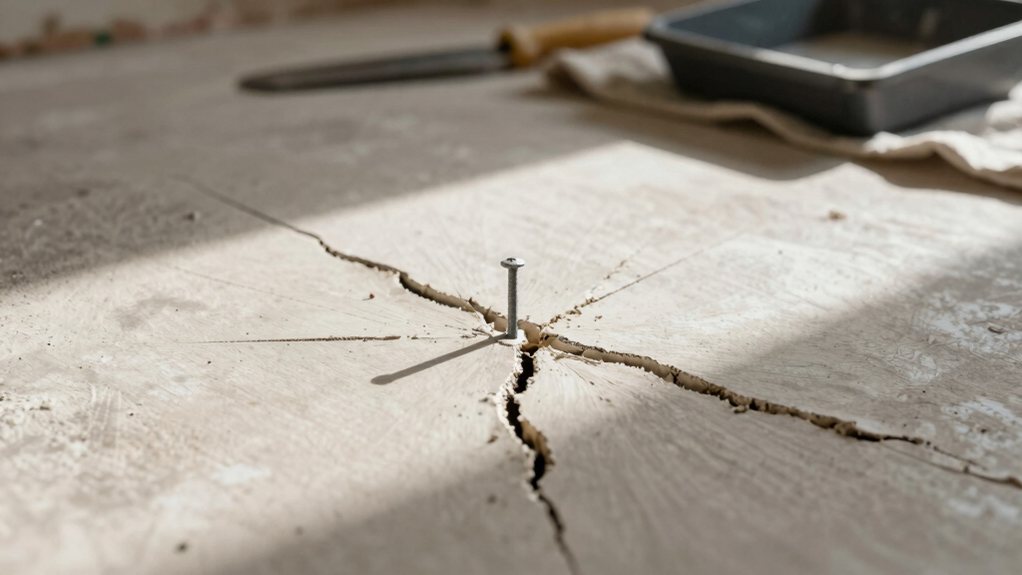
Before we grab our tools to tackle those pesky nail pops and cracks, it’s helpful to understand why they show up in the first place.
Think of your house as a living thing that breathes and shifts with the seasons. Thermal expansion is a big culprit; as wood framing swells with summer humidity and shrinks in winter dryness, it pushes and pulls on the drywall screws or nails, forcing them to “pop” out.
Over many years, fastener corrosion can also weaken a nail’s grip, letting it work loose. Add in typical house settling, and you’ve got the perfect recipe for those annoying hairline cracks along seams or corners. Knowing these causes makes fixing them much less mysterious. Consider using a professional drywall repair kit to ensure durable repairs.
1. Watch for Foundation Settlement: Be concerned if you see stair-step cracks in brick or blocks, or large, widening vertical cracks in foundation walls.
These can signal soil movement under your home.
2. Inspect for Framing Damage: Worry if cracks are wide, long, and diagonal, especially around doors and windows.
This can indicate a shifting frame, which is a bigger deal than a popped nail.
3. Mind the Scale and Speed: A single, thin crack you’ve had for years is likely fine.
It’s the sudden appearance or rapid growth of multiple cracks that calls for a professional’s opinion.
If you suspect your joists are compromised, consider contacting professional floor joist repair specialists.
Now that you’ve sorted out whether your wall woes are just cosmetic or something more serious, it’s time to gather your supplies—think of it as prepping your toolkit for a little wall surgery.
You’ll need a putty knife, a sanding block, joint compound, drywall screws, and a screwdriver.
Don’t forget spackle for smaller cracks and a primer for painting later.
Good tool maintenance means wiping them clean after use so they’re ready for the next DIY surprise.
For storage solutions, a simple toolbox or a designated shelf keeps everything handy.
Having it all in one spot saves you from frantic searches mid-project, turning a potential headache into a satisfying, seamless repair job.
For more organized options, consider investing in professional tool storage systems that keep tools secure and accessible.
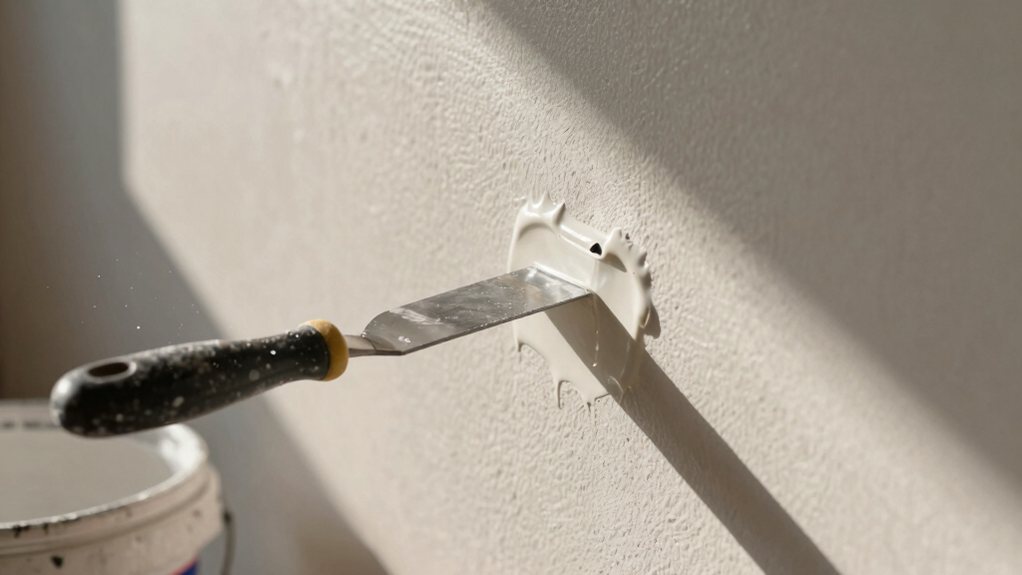
1. Re-secure the drywall.
Locate the popped nail, drive a drywall screw about an inch above or below it into the stud, then countersink the screw head slightly below the surface.
2. Remove the old fastener.
Set the original popped nail with a hammer, or for a super-clean finish, consider trim removal of any loose nail heads with pliers.
3. Conceal and finish.
Apply joint compound over both the new screw and the old nail spot, feather it out, let it dry, sand to a uniform finish, and you’re ready to prime and paint.
For best results consider using a drywall finishing tools kit to speed the process.
Moving on from popped nails, you’ll often find their quieter, sneakier cousin: the hairline crack. First, widen it slightly with a utility knife to create a shallow channel for your joint compound—this gives it something to grip.
Next, apply a thin layer of compound, pressing it firmly into the crack. The key is patience with drying times; let this first coat dry completely before lightly sanding it flush.
For stubborn or recurring cracks, consider using adhesive types like mesh tape over the crack before applying compound, which adds serious reinforcement. Apply a second, wider coat, feathering the edges, and sand again once dry.
A quick spot of primer and paint, and that sneaky crack is history. For long-term stability, consider installing a protective layer like cement board where tile will be applied nearby.
Now that you’ve filled your drywall repairs, you’ll need to sand them for a perfectly seamless finish.
You’ll want to pick the right sandpaper grit, use gentle circles with your sander, and then tackle the inevitable dust cloud.
It’s a messy but satisfying step that truly makes your repair disappear.
For best results, consider using a professional orbital sander from a quality kit to speed the process and improve consistency.
This progression turns a glaring patch into a perfect, invisible fix. Consider using a professional wood refinishing kit to ensure you have the proper sandpaper and tools for a smooth finish.
Even though you’ve got the right grits lined up, your sanding technique is what truly makes or hides a drywall repair.
Always pay attention to sanding directionality. Move your sander or block in broad, consistent strokes with the long seams of the drywall, never in small, frantic circles that create noticeable dips.
Good pressure control is your best friend here; let the sandpaper do the work. Pressing too hard flattens the joint compound and creates a visible “halo” around your patch.
Think of it like petting a cat—firm but gentle guidance gets the best results.
Your goal is to blend the repair seamlessly into the surrounding wall, so you can’t feel the seam with your fingertips when you’re done.
Keep in mind that sanding yields a smoother finish and is often necessary for a professional long-term result.
Removing the final layer of dust might seem like a tedious afterthought, but it’s actually your secret weapon for achieving that invisible finish.
Skipping this step leaves tiny grit that ruins your paint job, so be thorough but don’t overcomplicate it.
This clean slate guarantees your primer sticks perfectly, making your repair truly disappear. Now you’re ready for paint! You can also run a whole house air purifier to reduce airborne dust throughout the home during the cleanup.
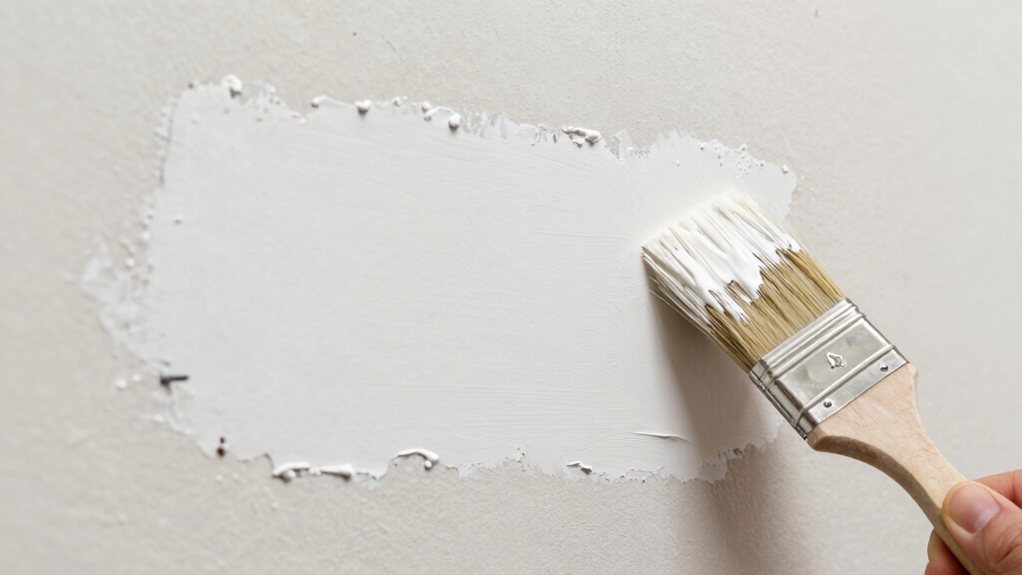
Now that you’ve got your patches seamless and flush, you’re almost ready to call this repair job done, but there’s one vital step you don’t want to skip: priming before you paint. Primer selection is critical; a good stain-blocking or drywall primer seals the fresh joint compound so your paint color goes on evenly.
Don’t forget paint matching—grab that old can from the garage or bring a chip to the store for a perfect blend. Apply a thin, even coat of primer and let it dry completely.
Then, paint with confidence using a roller for the field and a brush for edges. This final touch makes your repair truly vanish, leaving you with a wall that looks brand new. Also, choose the shortest nap that adequately covers texture to minimize unwanted stipple and get the smoothest finish.
You’ve just finished making your walls look flawless, so let’s talk about how to keep them that way for the long haul.
A little prevention goes a long way in avoiding those annoying nail pops and cracks.
Think of your drywall as a living part of your home—it reacts to its environment.
You’ve tackled those annoying nail pops and cracks like a pro, and your walls look as good as new. Remember, these repairs are a normal part of homeownership, so don’t stress if they pop up again. Just grab your tools and give it another go. Now, step back and admire your handiwork—you’ve earned it. Your home is looking fantastic, and you did it yourself!