Phone:
(701)814-6992
Physical address:
6296 Donnelly Plaza
Ratkeville, Bahamas.

Phone:
(701)814-6992
Physical address:
6296 Donnelly Plaza
Ratkeville, Bahamas.
Solve these common DIY problems like paint drips and wobbly furniture with simple tricks that will transform your next project.
You can easily fix those annoying paint drips by letting them dry completely, sanding flush, and feathering in a touch-up coat. Keep your furniture from wobbling with shims or anti-slip pads, and make wood filler disappear by tinting it and adding fake grain. Always mark your drill spots with a center punch to get perfectly aligned holes every time. There are more simple tricks like these waiting for you.
Table of Contents
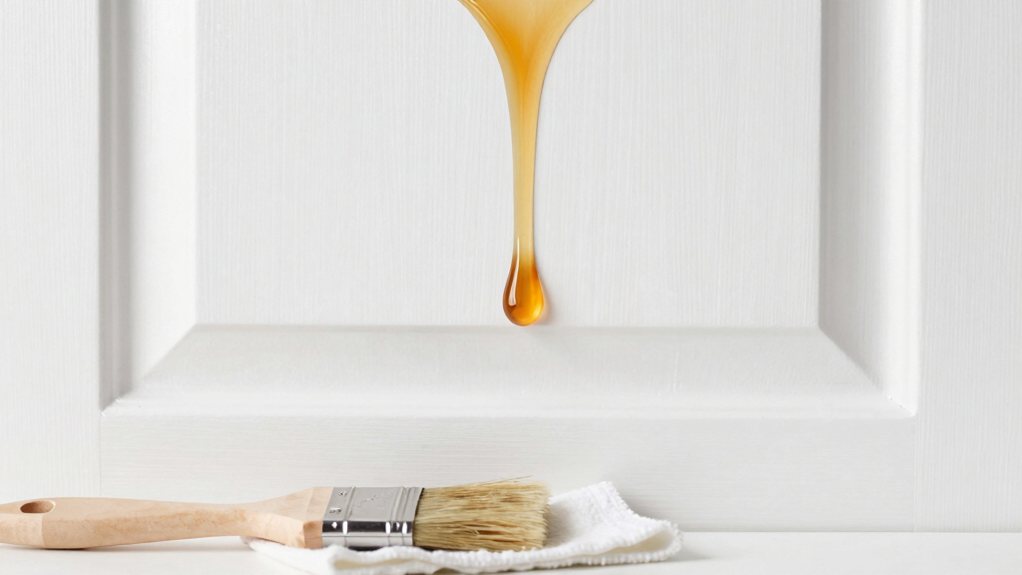
While you might think you should tackle those pesky paint drips right away, waiting is actually your smarter move. Let the drip dry completely first.
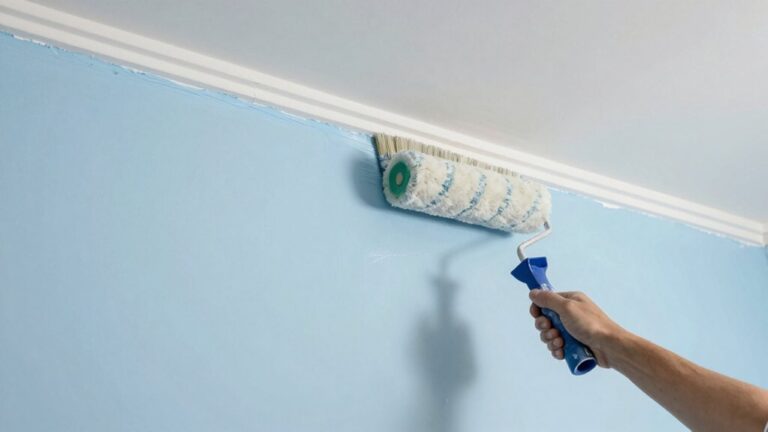
Trying to fix a wet drip just smears it, creating a bigger mess. Once it’s dry, lightly sand the area flush with fine-grit sandpaper. Wipe away the dust, then apply a thin touch-up coat.
This is where your brush technique matters—use a small, quality brush and feather the edges to blend seamlessly. Also, avoid creating drips in the first place by watching your roller pressure. Don’t overload it, and roll slowly to prevent splatters. A little patience now saves you a lot of rework later, making your project look pro. For best results, choose the correct nap size for your surface to balance coverage and texture.
Ever notice how that wood filler you carefully applied sometimes dries looking like a bright, mismatched patch instead of blending in?
Don’t worry, you can fix this.
First, accept that most fillers need help. While it’s wet, use simple tinting techniques; stir in a bit of acrylic paint or even a stain that matches your wood’s base color.
Accept that most fillers need help; tint them while wet with a bit of matching acrylic paint or stain.
Test it on scrap first.
After it dries and sands level, the real magic is grain replication. Grab a sharp tool, like an awl, and lightly scribe lines to mimic the surrounding wood pattern.
Then, layer on your stain or a colored pencil to darken those fake grooves. It’s a bit of artistry, but it tricks the eye perfectly.
For a more consistent outcome, consider using a professional furniture refinishing kit that includes tinting compounds and grain tools.
When you’re trying to line up those drill holes and they come out looking like a wobbly dotted line, don’t get frustrated—you’re definitely not alone.
The trick is to stop freehanding it.
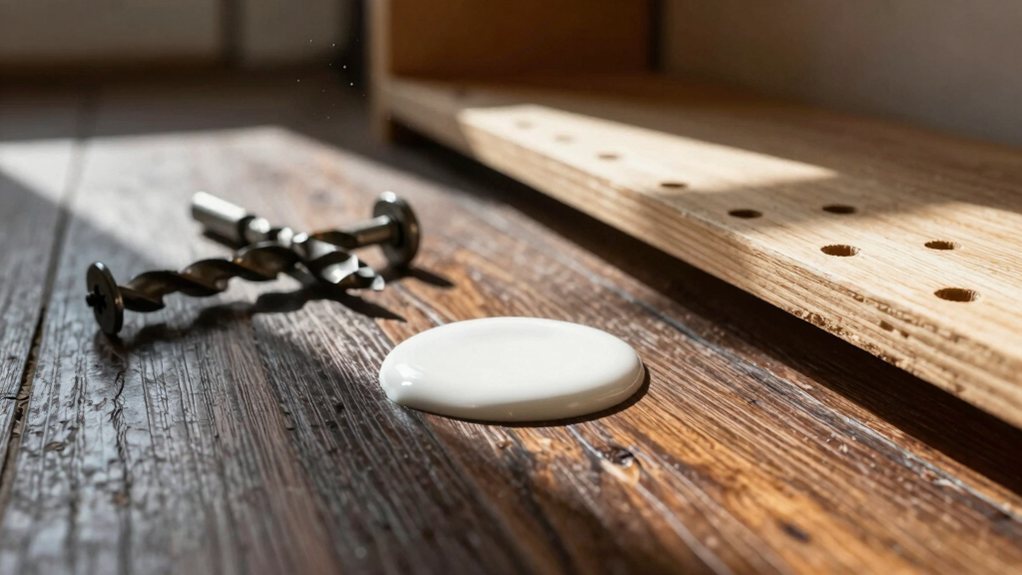
First, use a center punch to make a tiny, precise dent where each hole should go; this keeps your drill bit from wandering right off the mark.
For perfect alignment across pieces, a simple drill guide is your best friend.
This handy tool clamps down and guarantees your drill goes in straight every single time.
It feels like a magic trick, turning guesswork into a perfect, professional row of holes.
You’ll save time, materials, and a whole lot of muttered complaints under your breath.
Consider investing in a professional drill driver set for consistent power and durability.
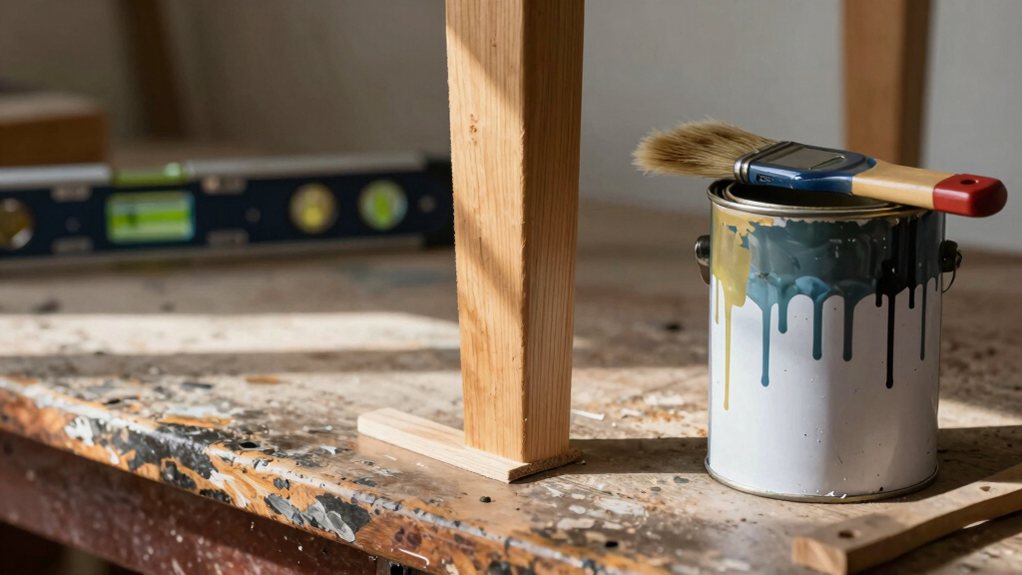
Since we all know that feeling of a wobbly table or chair threatening to spill your drink, you’ll be glad to know you can often fix it without a total rebuild.
First, identify the short leg causing the wobble. You can use simple furniture shims, which are small wedges made of wood or plastic. Slide one under the short leg until the piece feels stable, then trim any excess for a clean look.
For a less permanent solution on hard floors, try self-adhesive anti slip pads under each foot. These grippy pads add height and traction, often solving the wobble instantly.
It’s a satisfying, five-minute fix that saves your furniture and your coffee from certain disaster. For extra protection and stability, consider using non-slip end pads, similar to those used on adjustable drawer dividers, to increase grip and prevent scratching.
You’ve got small holes or uneven patches on your wall, but don’t worry, they’re totally fixable.
We’ll cover how to patch those holes seamlessly, even out your joint compound, and blend everything so it looks seamless.
With a little patience, you can make those mistakes disappear and feel proud of your handiwork.
For best results, consider using a professional drywall repair kit designed to make seamless patches faster and easier.
Small holes in drywall or plaster happen to nearly everyone at some point, but fixing them is a surprisingly straightforward DIY project.
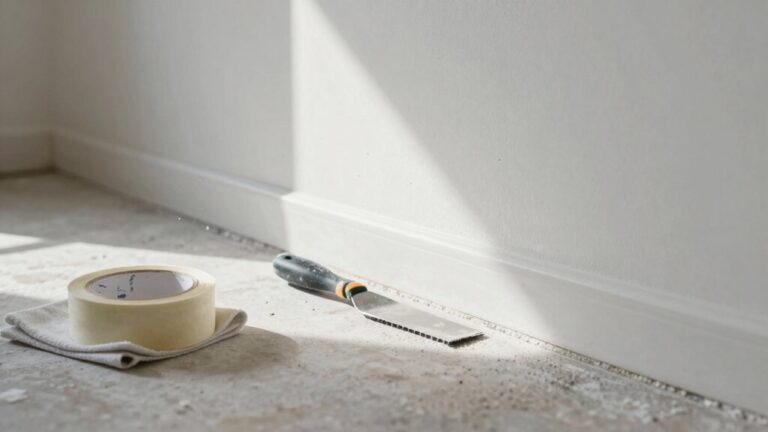
For nail or screw holes, you’ll need spackle, a putty knife, and sandpaper. Press the spackle firmly into the hole, scrape it flat, and let it dry completely before sanding flush.
Remember, while you’re patching, think about pest prevention; sealing even tiny holes helps keep critters out.
Also, be mindful of firestop requirements if you’re near electrical boxes or pipes—use fire-rated caulk for those gaps, not only spackle.
A little paint blends your repair perfectly. It’s a simple fix that makes your walls look brand new and keeps your home safer and more secure. Having a quality drywall finishing tools kit—taping knives, a hawk, and sanding tools—makes the job faster and smoother.
After you’ve tackled those small wall holes, it’s time to master the art of feathering out uneven joint compound, because nothing gives away a DIY repair faster than a bumpy wall or a visible seam.
Start by making sure your mud has the right mixing consistency—like creamy peanut butter—so it spreads easily without sagging. Apply a thin coat over your patch.
The real secret is the feathering technique. Use a wide taping knife and light pressure to gradually taper the edges into the surrounding wall. You’re not merely slapping on mud; you’re gently persuading it to disappear.
Sand lightly between coats for a perfectly seamless finish. With a little patience, your wall will look professionally flat, and no one will ever spot your repair. Also, when working near sinks or stoves, remember to prime and apply a paintable waterproofing membrane in high-moisture areas before proceeding to protect the wall long-term.
Even with a beautifully seamless patch, your work isn’t quite invisible until you match the wall’s texture and paint.
First, recreate the existing texture on your repair. A common trick is dry brushing—dipping a stiff brush in joint compound, wiping most off, and lightly dabbing it on. Practice on scrap board first; it’s easier than fixing a bad texture job!
Once textured and fully dry, you must paint.
Don’t just slap paint on the patch.
Feather your paint feathered edges well beyond the repair onto the old wall using a roller, blending the new coat with the old. This gradual blending hides the spot.
You might need two coats for a perfect match, but the patience pays off with an invisible fix. Before painting, make sure you thoroughly clean and consider degreasing the area to improve paint adhesion.
Start by adopting the simple habit of measuring twice and cutting once, which saves you from the frustration of wasted materials.
Next, always clean your surfaces before you begin any project, as this step guarantees everything sticks and looks right.
These two straightforward habits, along with the others we’ll cover, can make your DIY efforts more seamless and far more successful.
Also, remember to plan for 10–15% waste when purchasing materials to avoid mid-project shortages.
Because the heart of a successful DIY project lies in careful planning, you’ve got to adopt the classic mantra “measure twice, cut once.” It’s not merely about avoiding wasted lumber or an oddly-sized shelf; it’s about building confidence with every project you tackle.
Start with thorough Layout Planning. Visualize the final piece and think through each step before you ever pick up a saw.
Then, incorporate Margin Marking. Use a sharp pencil to make clear, fine lines, and always mark the waste side of your cut—that’s the side you don’t want to keep. This tiny habit is a huge guard against “oops” moments. It turns guesswork into precision, saving your materials and your pride from those costly little errors. For best results, use a woodworking tools professional set designed for accuracy and longevity.
While you might be excited to jump into your project, taking a few minutes to clean your workspace is a game-changer.
You wouldn’t paint over a dusty windowsill, right? That same logic applies to almost everything.
Proper dust removal is your secret weapon.
Wipe down surfaces with a damp cloth to banish grime and loose particles that ruin your finish.
Before you stick or paint anything, do a quick surface testing in an inconspicuous spot.
This simple check helps confirm your adhesive will actually hold or that your paint won’t bubble up and peel.
It’s a tiny step that saves you from the big headache of redoing work later.
A clean start means a professional-looking finish every single time.
So there you have it—you can fix those common DIY blunders without pulling your hair out. Remember, every pro started with a few paint drips and wobbly shelves. Keep these simple fixes in your back pocket, and you’ll save time and frustration on your next project. Don’t be too hard on yourself; even the best projects have a little character. Now go enjoy your handiwork, you’ve earned it!