Phone:
(701)814-6992
Physical address:
6296 Donnelly Plaza
Ratkeville, Bahamas.

Phone:
(701)814-6992
Physical address:
6296 Donnelly Plaza
Ratkeville, Bahamas.
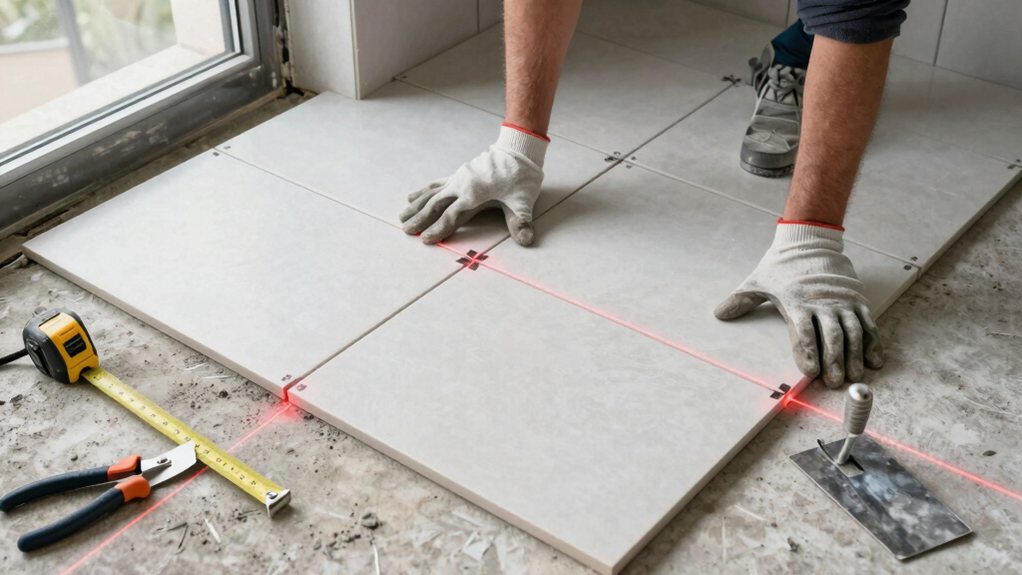
Plan your tile layout from center outward using spacers and dry-fit techniques to avoid costly mistakes and achieve professional results.
Start your tile layout by finding the room’s center and snapping chalk lines to create your anchor point—this prevents awkward slivers along walls. Before spreading adhesive, dry lay tiles from center outward to spot spacing issues and wonky cuts while they’re still easy to fix. Use consistent spacers (typically 1/8″ for standard ceramic) at every intersection for uniform grout lines, and create cardboard templates for tricky cuts around pipes and outlets. These foundational steps guarantee your pattern flows beautifully before anything becomes permanent.
Table of Contents
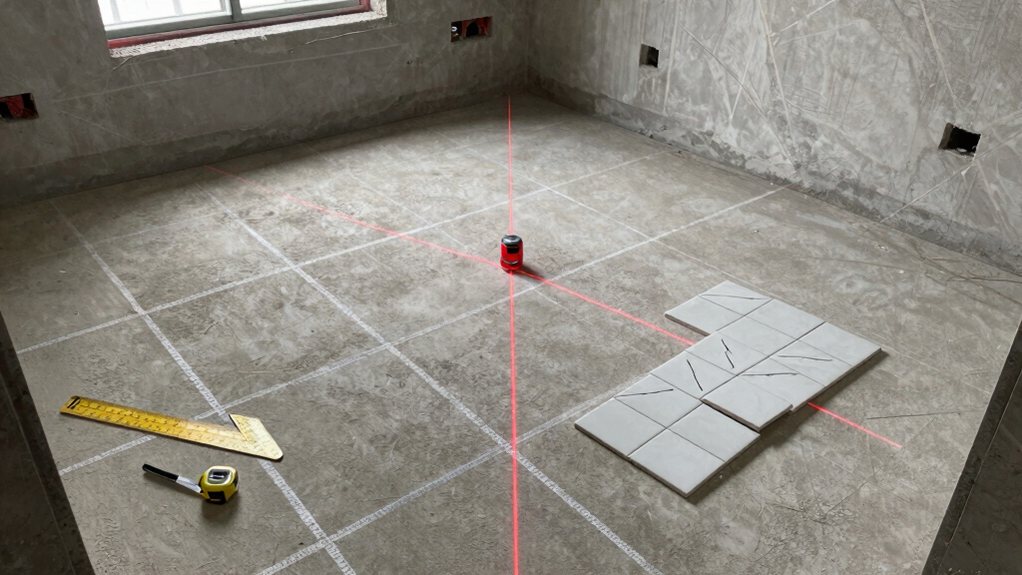
Where should you actually start laying your tiles? Here’s the thing: you don’t just pick a random corner and hope for the best.
Instead, you’ll want to find your room’s center mark by measuring the length and width, then snapping chalk lines where they intersect. This center point becomes your anchor, guaranteeing balanced tile placement on all sides.
Start by placing a reference tile at this intersection without any adhesive—it’s your guide for the entire layout. This simple step prevents those awkward skinny tile slivers along walls that scream “amateur hour.” For best results, consider using a bathroom renovation tile kit tailored to your space to simplify material selection and ensure compatibility.
Before you commit to laying down that first tile, take a few minutes to do a dry run that’ll save you from a layout nightmare. Symmetry planning guarantees you won’t end up with awkward slivers at the edges that look like an afterthought.
A dry run before tiling prevents awkward edge slivers and catches layout problems while they’re still fixable.
Here’s how to achieve visual balance:
This simple preview reveals potential problems before they’re permanent. You’ll spot where tiny cuts would look terrible and can shift everything slightly to create uniform borders that look intentional and professional. Using peel-and-stick tiles can simplify installation and reduce mess compared to traditional tile.
Laying out your tiles without any adhesive might feel like extra work, but it’s the difference between a finished floor you’ll admire and one that’ll haunt you every time you walk through the room.
This dry run lets you spot wonky cuts, awkward patterns, and spacing issues before they’re permanently stuck down. Start from your center marks and work outward, checking how tiles meet at doorways and against walls.
Pattern testing helps you visualize the final look and make adjustments while it’s still easy. Don’t skip level verification during this step—use a straightedge across your dry-laid tiles to catch any height differences in your subfloor.
Fix those problems now, and you’ll thank yourself later when everything sits perfectly flat. If you’re exploring other flooring choices, consider checking available luxury vinyl plank flooring options for sale.
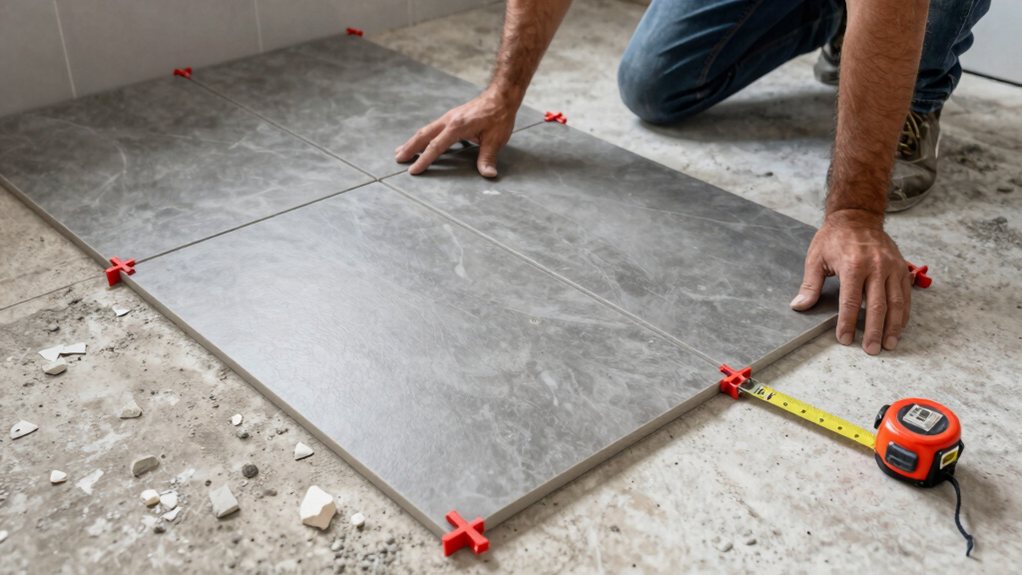
Tile spacers might look like simple plastic crosses, but they’re secretly doing the heavy lifting when it comes to professional-looking results.
Using consistent spacers guarantees your grout lines stay uniform from corner to corner, which makes everything look intentional rather than haphazard.
Here’s how to nail your grout width every time:
Those tiny plastic pieces create the difference between amateur hour and magazine-worthy floors.
When you’re tiling around outlets, pipes, or awkward corners, precision becomes your best friend—because nothing screams “DIY disaster” quite like a quarter-inch gap beside your bathroom fixture.
Template making is your secret weapon here. Use cardboard or paper to trace exact shapes before touching your actual tile, then transfer those measurements carefully.
When it’s time for precision cutting, grab a wet saw for straight lines and a tile nipper for curved cuts around pipes. Mark your cuts with a pencil on the glazed side, and always cut slightly inside your line—you can always shave off more, but you can’t add material back.
Test-fit each piece before applying adhesive, adjusting until it’s snug against obstacles without forcing it. For professional results, consider investing in a drywall finishing tools kit designed for smooth seams and clean corners.
You’ve got all the crucial tips now, so there’s nothing stopping you from creating that professional-looking tile job you’ve been dreaming about. Remember, taking time to plan your layout before you mix that first batch of mortar will save you from headaches later. Don’t rush the process—even pros measure twice and cut once. Now grab those tiles and transform your space into something amazing!