Phone:
(701)814-6992
Physical address:
6296 Donnelly Plaza
Ratkeville, Bahamas.

Phone:
(701)814-6992
Physical address:
6296 Donnelly Plaza
Ratkeville, Bahamas.
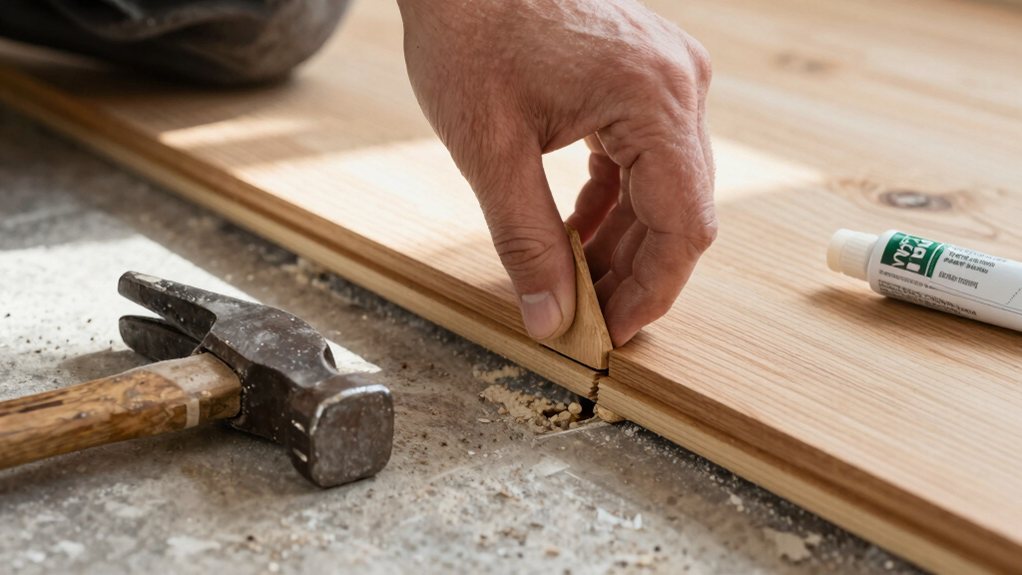
Keep squeaks silent by tackling floor movement issues, and discover the best methods to permanently fix your noisy hardwood floors.
To fix a squeaky hardwood floor for good, you need to address the root cause of the movement, not only the noise. First, walk slowly to pinpoint every squeak. From above, you can use breakaway screws designed to pull the board tight and snap off cleanly. For a more permanent fix, secure boards from underneath with adhesive and screws. These thorough repairs will give you a quiet floor, and we’ll show you exactly how to do it all.
Table of Contents
Ever wonder why your beautiful hardwood floors suddenly sound like a chorus of tiny violins every time you tiptoe to the fridge at midnight?
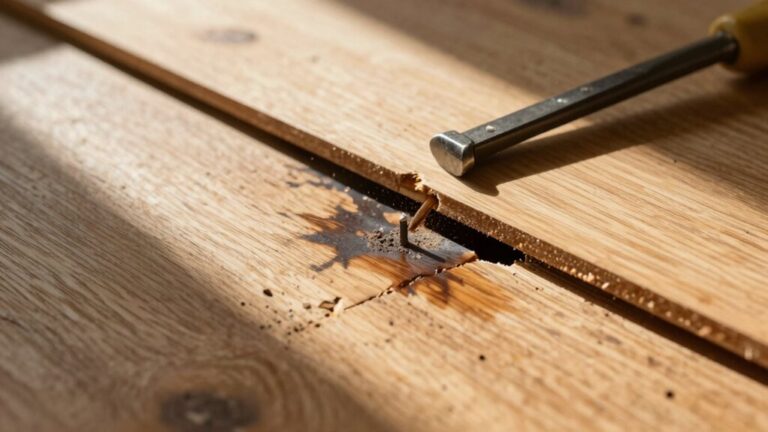
Your squeaky hardwood floor usually has one of five common causes. First, loose boards are a top culprit; old nails or screws can pull away from the joists below, letting boards rock up and down.
Loose boards are a top culprit, rocking on old nails as you step, creating that distinctive squeak.
Second, if the subfloor isn’t secured well to the joists, it flexes and groans. Third, floorboards themselves rub together as humidity changes, creating friction.
Fourth, a small gap between a joist and the subfloor makes a localized creak. Finally, seasonal moisture makes wood expand, tightening everything up. Basically, movement and friction are your floor’s noisy enemies. For persistent problems, consider professional floor joist repair to ensure structural stability.
Now that you know why your floors are singing those squeaky songs, you’re ready to play detective and find the exact culprit.
Pinpointing the source is the most important step to a permanent fix for your squeaky floors. Start by walking slowly to mark noisy spots with tape, then step directly on them to confirm. Your toolkit for this investigation is simpler than you think.
Also, when investigating, remember that a simple straightedge test can reveal dips and humps that telegraph through finished flooring.
Now that you’ve found those noisy spots, you can fix them from above without messing up your beautiful floors.
You’ll use specialized breakaway screws that pull the board tight to the joist and then snap off cleanly below the surface. It’s a clever, nearly invisible fix that tackles the root cause of the squeak. For installations over concrete or below-grade subfloors, use an underlayment with a built-in vapor barrier to protect against moisture.
How do you track down that squeak without leaving a scratch on your beautiful floors?
Start by walking the floor wearing soft-soled shoes, marking each noisy spot with painter’s tape so you can find it again without harming the finish.
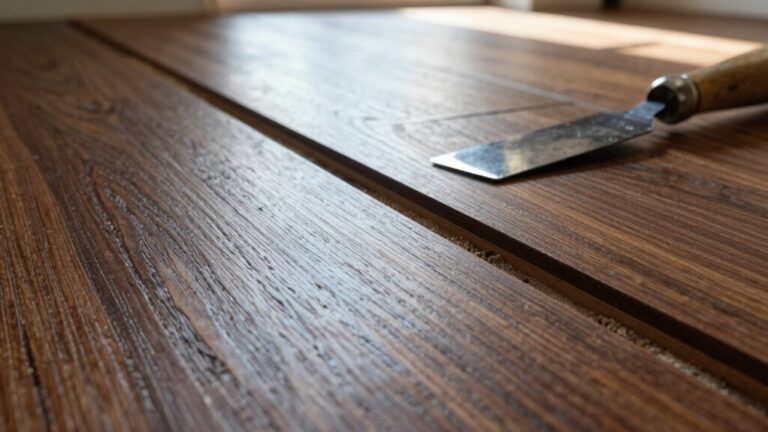
To pinpoint the exact board edge causing the trouble, slide a thin putty knife or a credit card between the planks while a helper steps on the taped spot to reproduce the squeak. This simple detective work saves you from fixing the wrong area.
Also inspect for soft spots or water damage under and around sinks—using a flashlight on your knees—to make sure the squeak isn’t a sign of subfloor rot that needs repair.
Once you’ve found that chatty board with your detective tape, you can quiet it down for good using special screws designed to work from above. Grab your hardwood squeaky floor repair kit; it contains breakaway screws and a guide.
Use the kit’s bit to find the joist line, then drive screws perpendicular into the board along it every 6–12 inches. These clever screws snap off neatly beneath the surface, so you won’t damage the visible hardwood face.
Your power drill and the included square-head bit make this straightforward. Just keep screws flush and centered.
Install several along the squeak, give it a day, then re-test. A few strategic screws can bring back the sweet sound of silence. Many homeowners also keep a professional cabinet hardware kit on hand for unrelated small hardware repairs.
This approach clamps everything together permanently, silencing squeaks for good. For extra accuracy, use a professional stud finder tool to precisely locate joists before reinforcing.
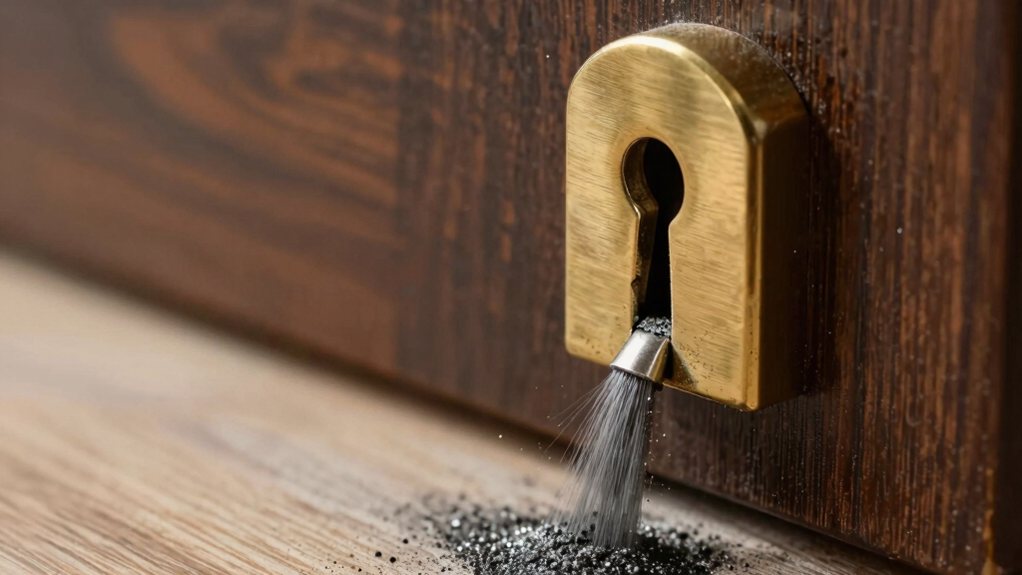
If you’re looking for a quick, no-fuss way to hush a squeaky floor without grabbing a power drill, you might be tempted by the old trick of sprinkling some powdered graphite or talcum powder between the boards.
This can be a great temporary fix, lasting weeks or months, when friction is the culprit. Just work a little into the seam.
But it’s not a cure-all. Skip powders if the squeak comes from a loose board or subfloor movement underneath; those need screws for a real fix.
Choose your powder carefully, too—powdered graphite lasts but can stain light wood, while talc is cleaner but more temporary.
Think of it as a quick quiet for a rental, but for a 90-year-old floor, plan a permanent repair every step of the way. For a permanent repair you may need a cordless drill with sufficient torque and speed to drive screws without damaging the wood.
You’ve got a squeak that’s driving you nuts, and you’re ready for a real fix—this is where a squeaky floor repair kit becomes your new best friend. I’ve tried quick tricks, but for a permanent solution, this kit is like starting a new account on quiet floors.
Fed up with that maddening squeak? This repair kit is your ticket to permanent peace and quiet.
Walk the area to find the noise, then use the joist-finding screws to mark your target line. The process is straightforward:
You’ll drive screws through the flooring into the joist below, snapping the heads off cleanly.
Just like that, peace is restored. A quality professional drill driver set makes the job faster and more precise.
Now, how do you make sure that squeak stays gone for good? First, always address the root cause of movement. Don’t just drive screws; wedge the area and apply construction adhesive between the subfloor and joist for a solid bond.
Let that cure fully for 24–48 hours before moving furniture back—patience pays off.
Next, control your home’s humidity, keeping it between 30–50%, so the wood doesn’t swell and create new friction.
Finally, take your time during the repair. Pinpoint every squeak by walking around and use a joist finder so every fastener hits solid framing.
A careful, thorough job means you can finally enjoy your quiet, squeak-free floor for years to come. Also perform moisture testing and proper priming before repairs to prevent future issues.
Tackling those squeaky floors isn’t so scary once you know the cause and the right fix. Whether you’re sprinkling some powder from above or securing boards from below, you’ve got this. Soon you’ll be sneaking a midnight snack without the floor announcing your every move. Enjoy your quiet, solid floors and the sweet sound of a job well done!