Phone:
(701)814-6992
Physical address:
6296 Donnelly Plaza
Ratkeville, Bahamas.

Phone:
(701)814-6992
Physical address:
6296 Donnelly Plaza
Ratkeville, Bahamas.
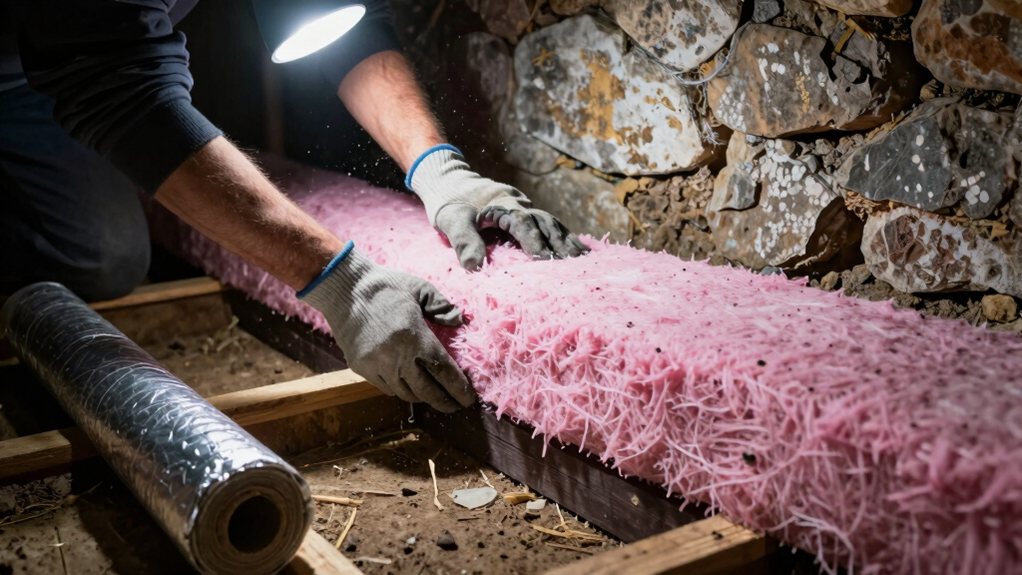
Our modern method seals out moisture and cold, ensuring your crawl space stays dry and warm—discover the essential steps to properly insulate.
First, you’ve got to choose: seal it up tight with the modern encapsulation method or stick with the old vented way, which often leads to mold and chilly floors. The right way starts by tackling moisture with drainage and a heavy vapor barrier, then air-sealing every gap. After that, you’ll insulate the foundation walls, which keeps everything warmer and drier. Stick with me and I’ll walk you through each simple, essential step to get it done.
Table of Contents
If you’re thinking about insulating your crawl space, you’ve probably stumbled into the great debate: the modern, sealed-up approach called encapsulation versus the old-school, vented method.
The old way relies on vents and insulating your subfloor, which can seem cheaper but often invites moisture, mold, and chilly drafts upstairs.
Encapsulation, the modern “right” way, tackles the problem at its source.
Encapsulation tackles crawl space problems at their source, making it the modern, right way to insulate.
You’ll seal the dirt floor with a continuous vapor barrier, then add rigid foam insulation to the foundation walls.
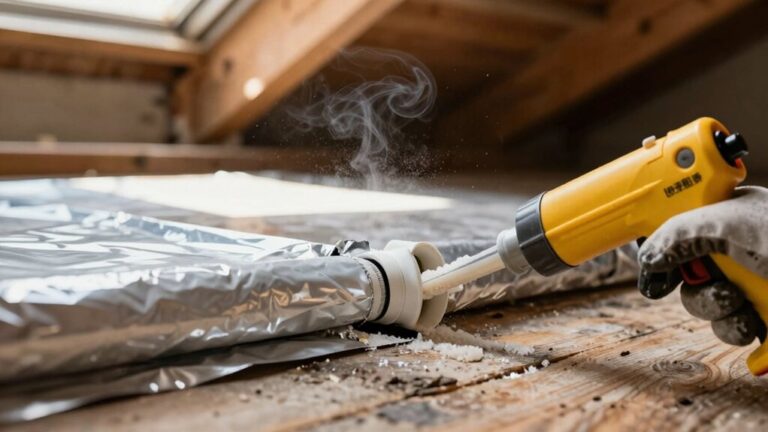
Don’t forget to air-seal those rim joists with spray foam!
This creates a dry, conditioned space that protects your home, saving energy and giving you warmer floors—no more polar bear toes on winter mornings.
Also inspect for water damage and rot—if more than 30% of the subfloor is decayed, replacement is recommended.
Before you even think about insulation, you’ve got to tackle moisture, because nothing ruins your hard work like dampness and mold.
You’ll start by stopping water at the source, installing a perimeter drain and sump pump if needed, and then cover the entire dirt floor with a thick plastic vapor barrier.
Finally, you’ll seal every seam and edge of that barrier tightly, which is a bit like wrapping a giant, oddly-shaped gift to keep the crawl space dry for good.
For concrete or below-grade areas, prioritize using an integral vapor barrier or 6 mil polyethylene to ensure long-term moisture protection.
Why start with drainage and a vapor barrier when insulating your crawl space? Because moisture is your insulation’s worst enemy, and you must stop it at the source.
Also, control interior humidity above 70% because high humidity can weaken insulation and promote mold growth.
A wet dirt floor pumps vapor into your home. Your goal is a bone-dry space.
Here are three key moves:
Now you’ve got that water under control, it’s time to build your first and best line of defense against the dampness that can ruin all your hard work.
Your next task is to roll out a continuous sheet of 6-mil plastic sheeting across the entire dirt floor. This is your vapor barrier.
Make sure you overlap and seal every seam by at least a foot with strong tape—think of it like wrapping a giant, awkward gift for your house.
Then, lap the plastic up the foundation walls and seal the top edge tightly.
This critical step isn’t just about laying plastic; it’s about air sealing the space from the ground up, locking out moisture for good.
Secure everything well so it stays put. Also, address any signs of mold remediation before installing the barrier to prevent trapping spores under the plastic.
While your new vapor barrier is a fantastic shield against ground moisture, there are still sneaky gaps around the perimeter that need your attention.
Sealing these openings is essential for keeping your crawl space dry and efficient.
Here’s your three-step attack plan:
Consider also sealing around exterior doors with exterior door replacement weatherstripping to improve the overall barrier and reduce air and moisture infiltration.
Once you’ve cleared out your crawl space, the next step is to stop the sneaky drafts that can make your floors cold and your energy bills high by air sealing everything you can find.
After clearing your crawl space, your next move is to seal those sneaky drafts that chill your floors and inflate your bills.
Start with the rim joists, sealing each bay with cut-to-fit rigid foam board or spray foam. You’ll want to seal all four edges to truly block air flow.
Next, hunt down every pipe and wire penetration, sealing even small gaps with spray foam—think of it as plugging leaks in a boat.
Don’t forget the sill plates and old nail holes; these are classic draft culprits.
Finally, do a thorough inspection with a smoke pencil to catch any misses, because a complete air barrier is your goal here.
For best results, use a professional caulking tool kit to ensure clean, durable seals.
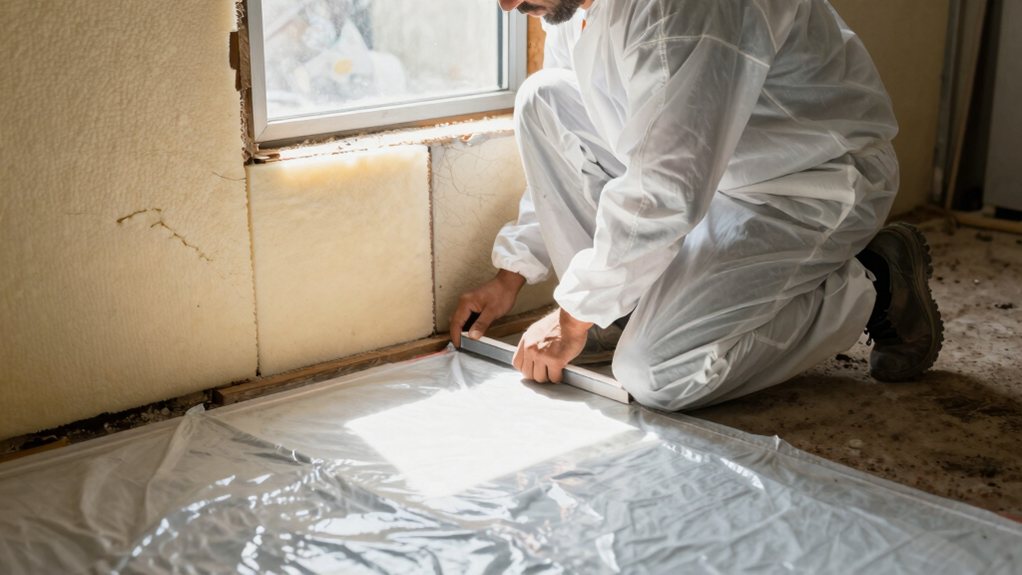
So, which path should you take—wrapping the crawlspace walls or insulating the floor above it?
Your main choice is between insulating the foundation walls or filling the floor joist cavity.
For most homes, sealing and insulating the walls is the superior strategy.
Here’s a quick breakdown to guide you:
The right decision keeps your home cozy and dry for years to come. Also, inspect the substrate and install a waterproof membrane in wet areas to prevent moisture-related failures.
Installing rigid foam insulation on your crawl space walls is a fantastic way to seal out the cold and damp, turning that dark area into a conditioned part of your home. First, choose your rigid foam board; polyiso offers the highest R-value per inch, making it super energy efficient.
Cut your panels to fit the foundation space snugly, running from the grade up, but leave a small pest-inspection gap at the top. Seal every edge and seam with spray foam—this is key for a tight barrier.
Secure the boards with special masonry fasteners and washers. Finally, tape all seams properly. Using these insulation products correctly locks in comfort and keeps your floors above nice and warm. Also, inspect and correct any uneven substrate or visible gaps before insulating, since these issues can lead to moisture pooling and long-term failures.
If you’re dealing with a vented crawlspace or you just want to keep that area separate from your home’s living space, insulating between the floor joists is your go-to move.
It’s like putting a cozy winter hat on your floor to keep the rooms above nice and toasty.
Here’s how to tackle it right:
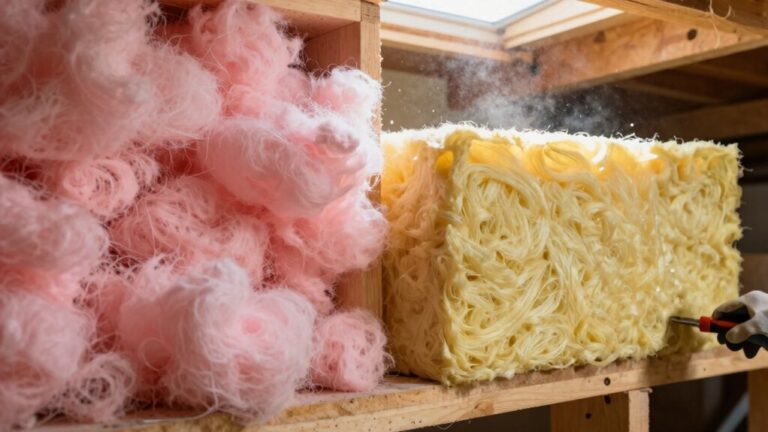
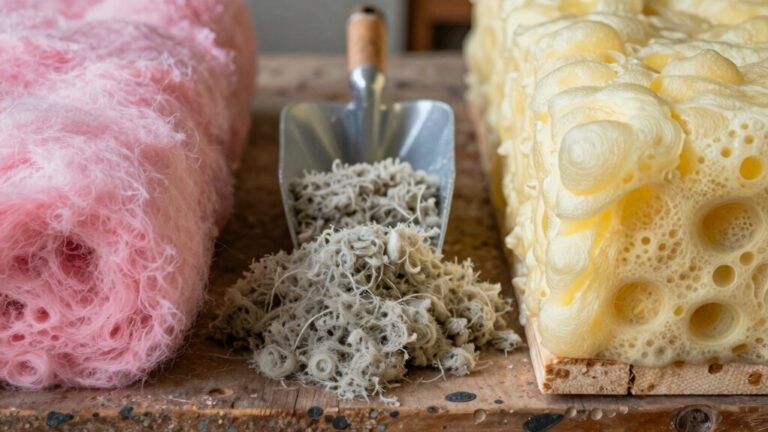
1. Pick Your Material: Use unfaced rigid foam boards or cut-to-fit fiberglass batts for each joist cavity.
Never use a vapor-retarding facing toward your cozy living space, as that could trap damaging moisture.
2. Seal and Secure: Cut foam about an inch narrower than your joist spacing for a snug fit.
Seal every panel edge with caulk or spray foam, then fasten boards up with adhesive and special washers.
3. Mind the Moisture: Make sure a solid vapor barrier covers the crawlspace dirt, because controlling dampness down there protects your insulation—and your floor—up above.
If you find rot, sagging, or other structural issues in the joists, consider contacting professional floor joist repair services to assess and fix the problem before insulating.
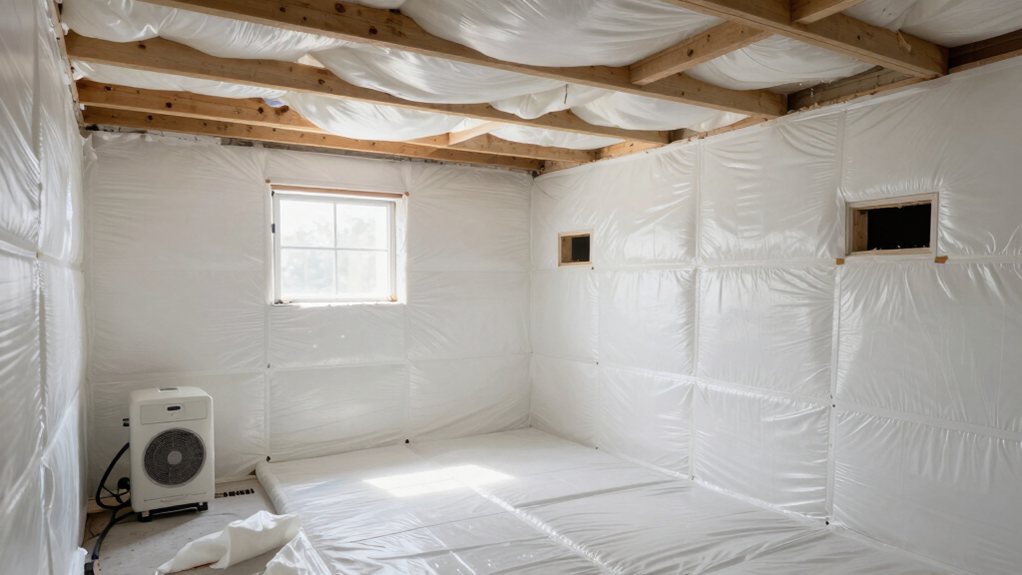
Now that your insulation is in place, it’s time to tackle moisture and air movement, which are the real keys to a healthy crawl space.
You can’t just rely on opening a vent in summer, as that humid outdoor air can actually cause more condensation and mold problems.
Instead, you’ll want to look at a smart combination of controlled ventilation and a good dehumidifier to keep things truly dry and comfortable.
Consider integrating a whole house air purifier to help circulate and filter the air throughout the home.
Since you’ve sealed up your crawl space, it’s time to give it a climate control system that actively manages moisture, because without one, hidden dampness can still lead to mold and rot.
Think of it as giving your home a healthy, dry basement.
Here’s your effective three-step plan:
Having your crawl space sealed and dry is a fantastic achievement, but the air inside still needs to move properly.
For an unvented, conditioned space, you must close those old foundation vents and provide a dedicated drying mechanism. If your HVAC equipment isn’t down there, you’ll need to introduce conditioned air—often via a passive return.
This isn’t just about moisture; it’s central to your home energy, comfort and energy efficiency. Stagnant, damp air cycling against your floor joists is a recipe for trouble.
Instead, use balanced strategies like an HRV or a timed fresh-air system. Make sure you manage humidity actively, adding a dehumidifier if needed, so your newly insulated space protects your home for years to come.
While insulating your crawl space is a fantastic way to save on energy bills, you can easily undo all that good work if you stumble into a few common traps.
Avoiding these mistakes protects your floor, maximizes your energy savings, and keeps your pipes from freezing.
Before you pat yourself on the back and call this project done, there’s a critical round of final checks to run, and you need to know when it’s smarter to call in a professional.
Verify your crawlspace is dry and the vapor barrier is sealed tight, stopping cold air and moisture.
This protects your home’s structure and can even make the area usable for dry storage space.
Check for any mold or wood rot—if you see it, call a pro.
Also, have an expert verify combustion safety and that your insulation meets fire code.
Some tasks, like fixing major drainage or radon, are best left to contractors.
This final diligence guarantees your home improvement lasts.
So, you’ve tackled the big stuff. Remember, getting your crawl space right means a healthier, more efficient home. It’s a project with real payoff, even if it feels like a bit of a chore now. Take your time, don’t skip sealing those air leaks, and you’ll avoid those common pitfalls. If you ever feel unsure, there’s no shame in calling a pro to lend a hand—sometimes peace of mind is the best insulation.